15 Vertical Garden Wall Ideas for Small Yards
Square footage is the one thing you genuinely can’t add to a small yard, but height is a completely different story.
Most small yards have far more usable vertical surface than anyone actually plants on, a fence, a bare wall, an unused corner that just sits there collecting nothing but shadow. Every one of those surfaces can grow something.
Going vertical isn’t just a workaround for limited space either. A well-built garden wall often ends up more visually striking than a comparable ground-level bed would have been in the same square footage, since it puts plants at eye level instead of somewhere you have to look down to notice.
Here are 15 vertical garden wall ideas that turn unused vertical space into genuine growing space.
Every one of these can be scaled to fit anything from a small balcony to a fuller backyard fence line.
1. Modular Felt Pocket Panels on a Fence
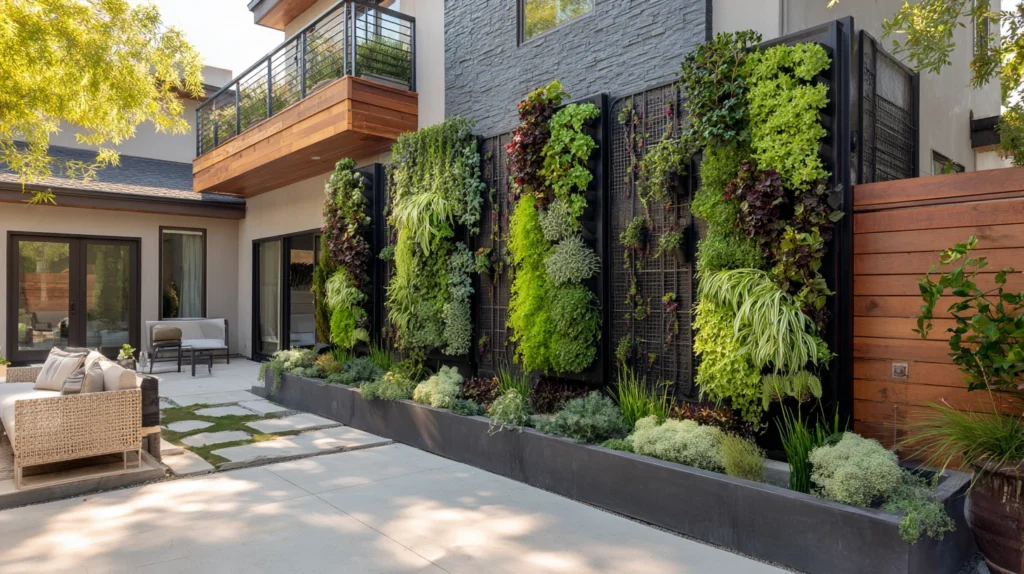
Fabric pocket panels mounted directly onto an existing fence, each individual pocket holding its own small plant, creating a checkerboard-style living wall.
Felt pocket systems are about as close to plug-and-play as vertical gardening gets, since each pocket functions as its own tiny planting cell, which makes it easy to swap out an underperforming plant without disturbing anything around it.
I mounted three felt panels across an 8-foot section of my back fence, filling the pockets with a mix of trailing herbs, strawberries, and a few flowering annuals for color.
Budget tip: Buy panels in bulk if covering a larger fence run, since per-panel pricing typically drops noticeably once you’re ordering more than two or three at once.
A few things worth getting right:
- Install a simple drip irrigation line along the top of the panels, since hand-watering dozens of small individual pockets evenly is nearly impossible to keep up with
- Choose plants with similar water needs within the same panel, since mismatched requirements mean some pockets inevitably end up over or under watered
- Mount panels a few inches off the fence surface rather than flush against it, allowing airflow that helps prevent mold against the wood
This system works especially well for renters, since the panels attach with simple hardware and come down cleanly without damaging the fence underneath.
2. Repurposed Wooden Pallet Planter
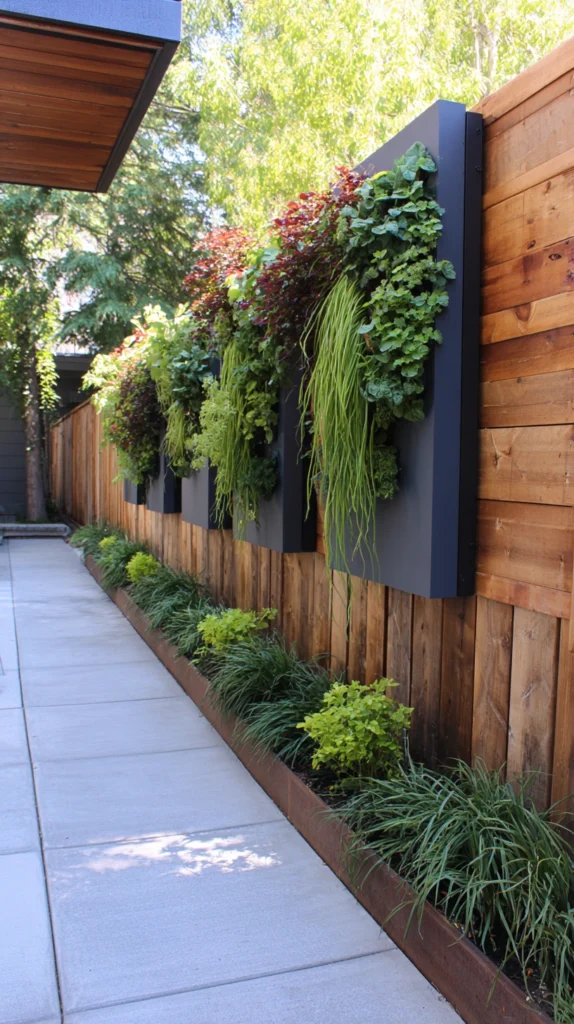
An upcycled wood pallet, stood on end and lined with landscape fabric, functioning as a rustic tiered planter mounted against a wall or fence.
Pallets are genuinely one of the cheapest vertical gardening materials available, and their natural slat structure already creates built-in planting tiers without any additional building required.
I sanded down a reclaimed pallet, stapled landscape fabric across the back and bottom of each slat gap, then filled the resulting pockets with a mix of succulents and small herbs.
Budget tip: Many hardware stores and shipping companies give away pallets for free once they’ve served their original purpose, making this one of the least expensive vertical garden options on this entire list.
A few practical notes:
- Let the filled pallet lie flat for a couple of weeks before standing it upright, giving plant roots time to establish and hold the soil in place
- Choose a pallet made from untreated wood specifically if you’re growing anything edible, since some pallets are treated with chemicals not meant for food-adjacent use
- Lean the pallet against a solid wall or secure it with brackets, since a freestanding pallet loaded with wet soil can be more top-heavy than it looks
Once it’s filled in, a pallet planter has a genuinely charming, collected look that fits naturally into a cottage or farmhouse-style yard.
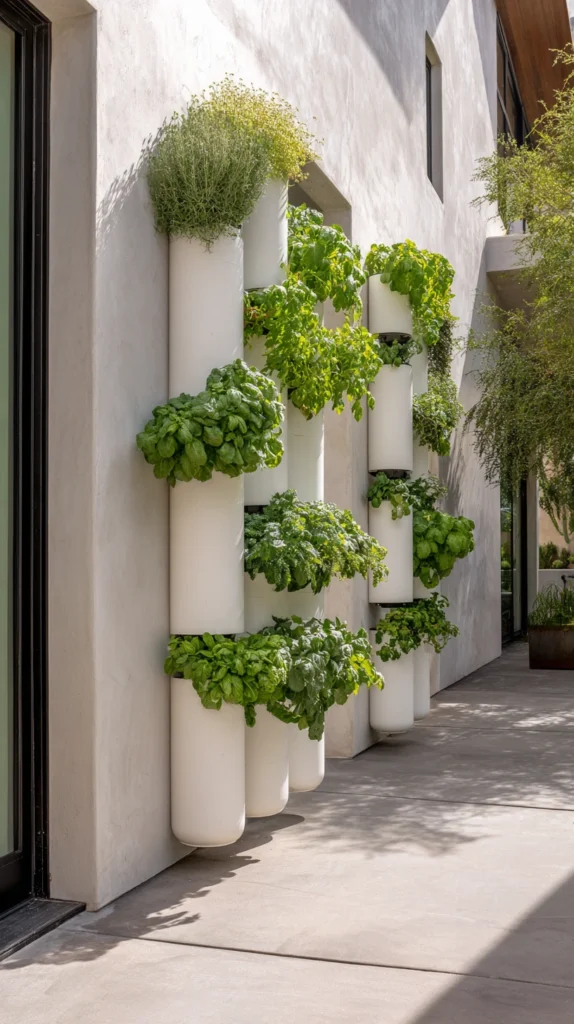
3. PVC Pipe Vertical Planter Tower
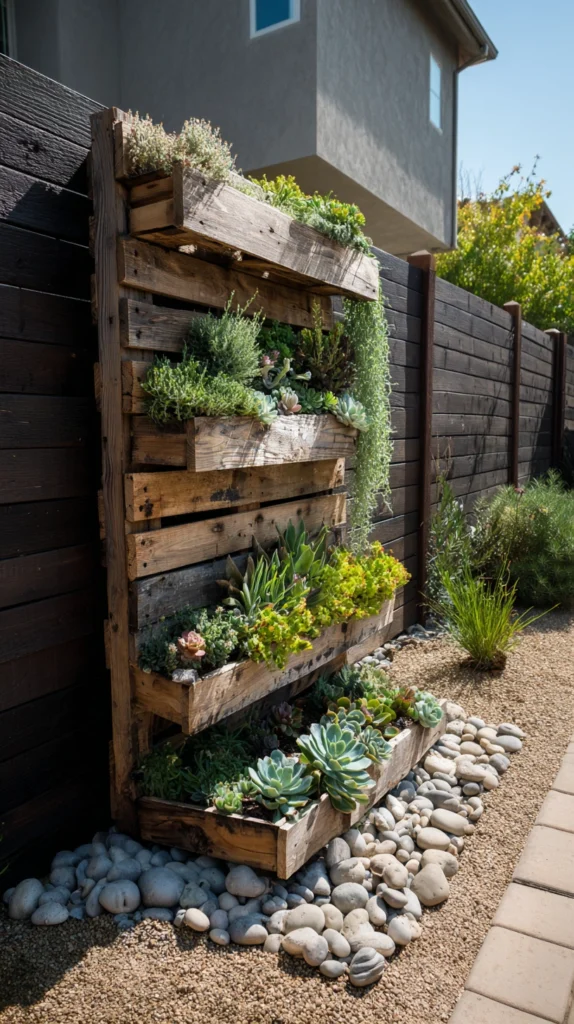
Sections of large-diameter PVC pipe, cut with planting holes along their length and mounted vertically, creating a tower of individual growing pockets.
This design maximizes growing space in an almost absurdly small footprint, since a single vertical pipe holds nearly as many plants as a modest horizontal bed while taking up a fraction of the ground space.
I mounted a 6-inch diameter PVC pipe vertically against my patio wall, cutting staggered planting holes along its length and filling the interior with potting soil, growing a mix of lettuce and strawberries through the openings.
Budget tip: PVC pipe and end caps cost very little compared to purpose-built vertical planters, and a single length of pipe from a hardware store can be cut into multiple planters if you’re covering more than one section of wall.
A few build considerations:
- Drill drainage holes at the base of the pipe before filling it, since standing water inside a sealed tube will quickly rot plant roots
- Stagger planting holes around the pipe’s circumference rather than lining them up in a single row, which spreads plants more evenly and prevents overcrowding on one side
- Water directly into the top of the pipe rather than trying to water each individual hole, letting gravity distribute moisture down through the soil column
This is one of the more DIY-friendly builds on this list, requiring only a saw, a drill, and materials most hardware stores carry as standard stock.
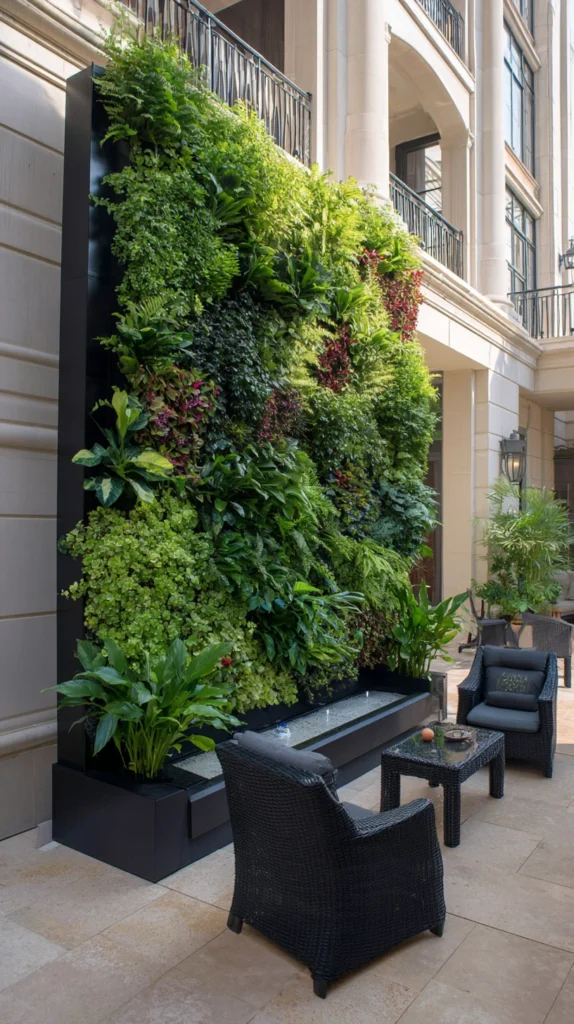
4. Living Wall Frame With Integrated Irrigation
A purpose-built modular living wall system, typically aluminum or plastic framing with a built-in drip irrigation grid, designed specifically for dense, uniform vertical planting.
These systems cost more upfront than most DIY options, but they solve the watering problem that trips up almost every other vertical garden design, since the irrigation is engineered directly into the frame rather than added as an afterthought.
I installed a modular living wall system along one side of my small patio, planting it with a dense mix of ferns, pothos, and a few flowering annuals, all watered automatically through the frame’s built-in drip lines on a timer.
Budget tip: Starting with a smaller frame section rather than covering an entire wall at once lets you test the system and your maintenance routine before committing to a larger, more expensive installation.
A few practical notes:
- Confirm the frame is rated for outdoor use specifically if installing anywhere exposed to direct weather, since some systems are designed only for indoor or covered applications
- Set the irrigation timer conservatively at first and adjust based on how the plants actually respond, rather than assuming the default setting fits every plant selection
- Choose plants with genuinely similar light and water requirements throughout the entire wall, since a uniform irrigation system can’t accommodate wildly different needs across a single grid
This is the most polished, professional-looking option on this list, and it tends to be the lowest-maintenance once properly dialed in, despite the higher initial cost.
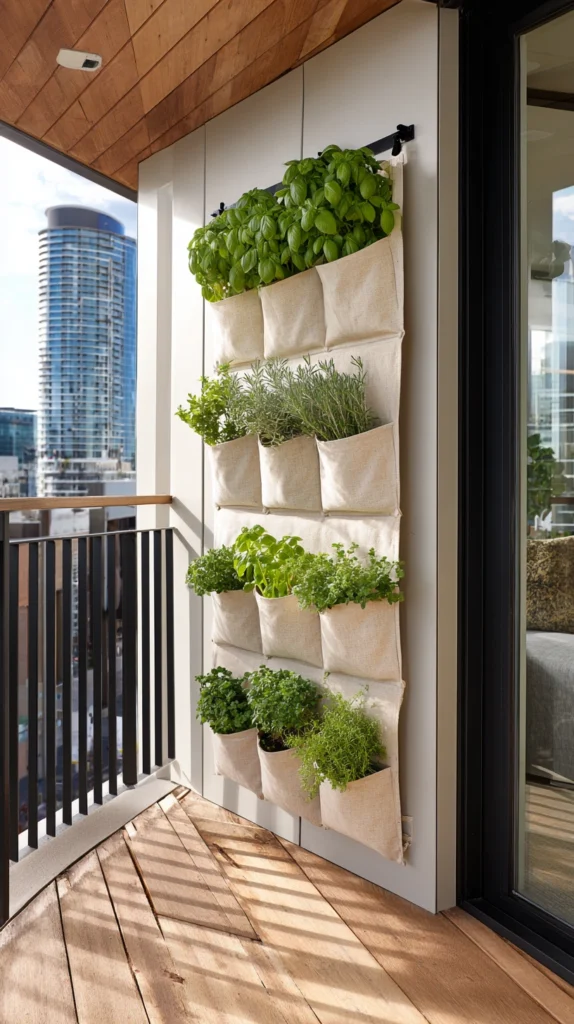
5. Hanging Shoe Organizer Herb Garden
A canvas or fabric shoe organizer, the kind meant to hang over a closet door, repurposed as a hanging vertical planter for a small herb collection.
This might be the single cheapest vertical garden idea that still looks genuinely intentional, since a simple hanging organizer already has the pocket structure built in and just needs plants added.
I hung a canvas shoe organizer against a sunny section of my balcony wall, planting each pocket with a different culinary herb, basil, thyme, oregano, and chives, kept within easy reach of my kitchen door.
Budget tip: A basic canvas shoe organizer costs far less than any purpose-built vertical planter, and it’s often something people already own or can find secondhand for next to nothing.
A few things worth knowing:
- Line each pocket with plastic before adding soil, since canvas alone will degrade quickly with regular watering and moisture exposure
- Poke drainage holes through the plastic liner in each pocket, or water will pool and rot the roots
- Choose herbs specifically, since their generally shallow root systems suit the limited soil depth this setup provides far better than deeper-rooted vegetables would
This is one of the fastest ideas on this entire list to set up, often achievable in under an hour with materials already sitting in a closet.
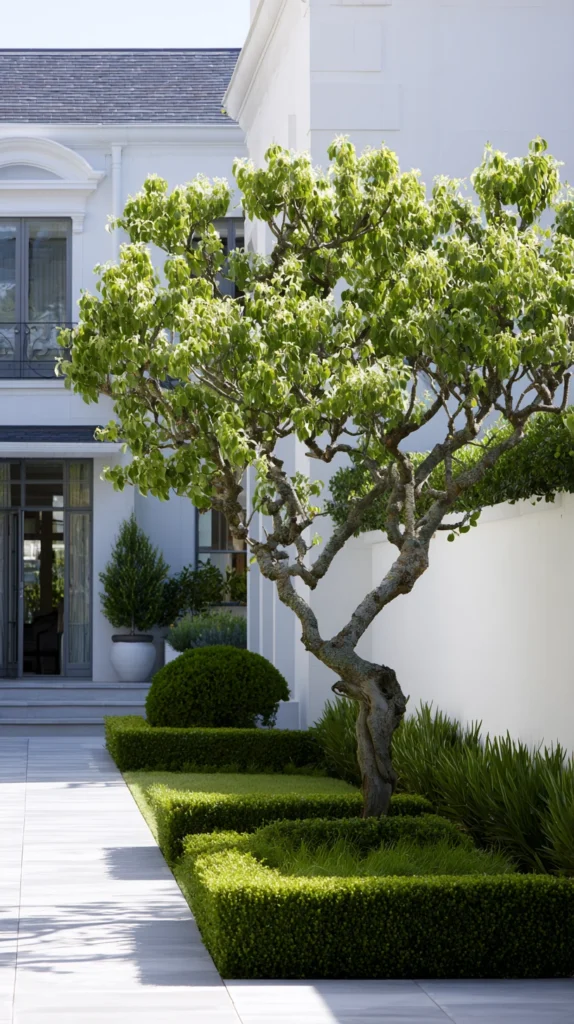
6. Espalier Fruit Trees Trained Flat Against a Wall
Fruit trees pruned and trained to grow flat against a wall or fence rather than in their natural rounded shape, turning a bare vertical surface into a productive, sculptural feature.
Espalier is an old technique, but it solves a genuinely modern problem for small yards, delivering an actual fruit harvest from a footprint that would otherwise support nothing more than a narrow flower bed.
I trained a dwarf apple tree flat against my south-facing fence, using a simple wire support system to guide branches horizontally as the tree grew, taking advantage of a stretch of fence that previously grew nothing at all.
Budget tip: Start with a young, inexpensive whip tree rather than a pre-trained espaliered specimen, since training the branches yourself over a couple of seasons costs a fraction of buying a tree that’s already shaped.
A few things to plan around:
- Install horizontal wire supports before planting, giving the tree’s branches something to be tied to as they grow
- Choose a south or west-facing wall specifically for the reflected warmth, which can noticeably speed up fruit ripening compared to an open, freestanding tree
- Prune consistently through each growing season to keep new growth trained flat rather than letting it sprawl forward off the wall
This is a slower-maturing project than most on this list, typically taking three to five years to fully fill in, but it turns otherwise wasted wall space into a genuinely productive part of the garden.
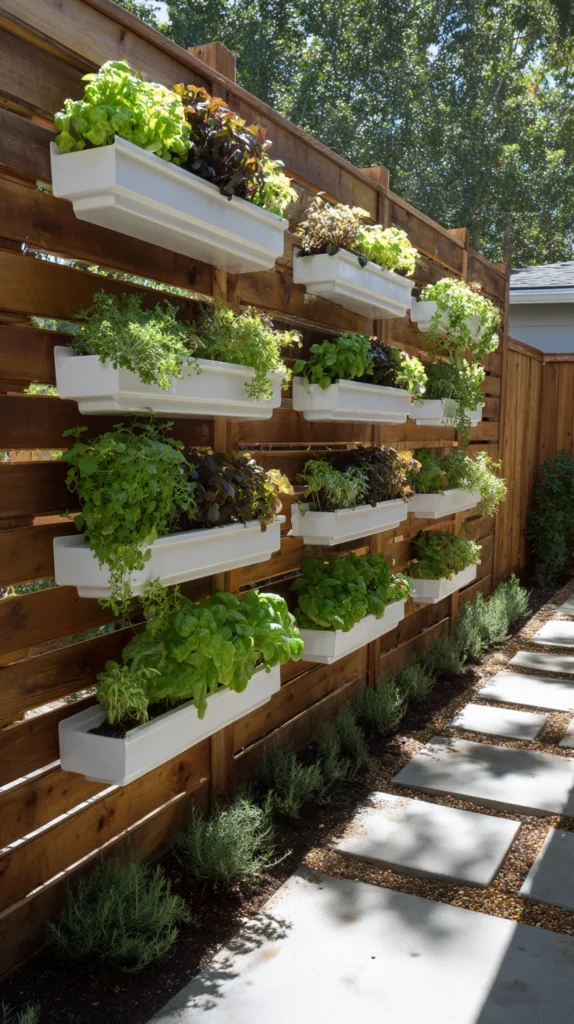
7. Gutter Planter Rows Mounted in a Ladder Pattern
Standard rain gutter sections, capped at both ends and mounted horizontally in a stacked, ladder-like pattern up a wall, each row functioning as its own narrow planting bed.
Gutters are inexpensive, lightweight, and already shaped exactly like a shallow planting trough, which makes them one of the more efficient materials for building a genuinely tiered vertical garden from scratch.
I mounted four sections of vinyl gutter horizontally up my garage wall, spacing each row about 18 inches apart, planting the top rows with trailing plants that spill down over the rows beneath them.
Budget tip: Vinyl gutter sections and end caps cost considerably less than most purpose-built tiered planters, and a single 10-foot length can typically be cut into two or three separate planting rows.
A few build considerations:
- Drill drainage holes along the bottom of each gutter section before mounting, since standing water in a shallow trough will quickly become a problem
- Mount brackets securely into wall studs rather than just surface material, since filled gutters carry real weight once the soil is wet
- Choose shallow-rooted plants specifically, since gutter depth rarely exceeds a few inches and won’t support anything with a deeper root system
Once trailing plants in the upper rows fill in and cascade down, this setup creates a genuinely lush, layered green wall from what started as plumbing supplies.
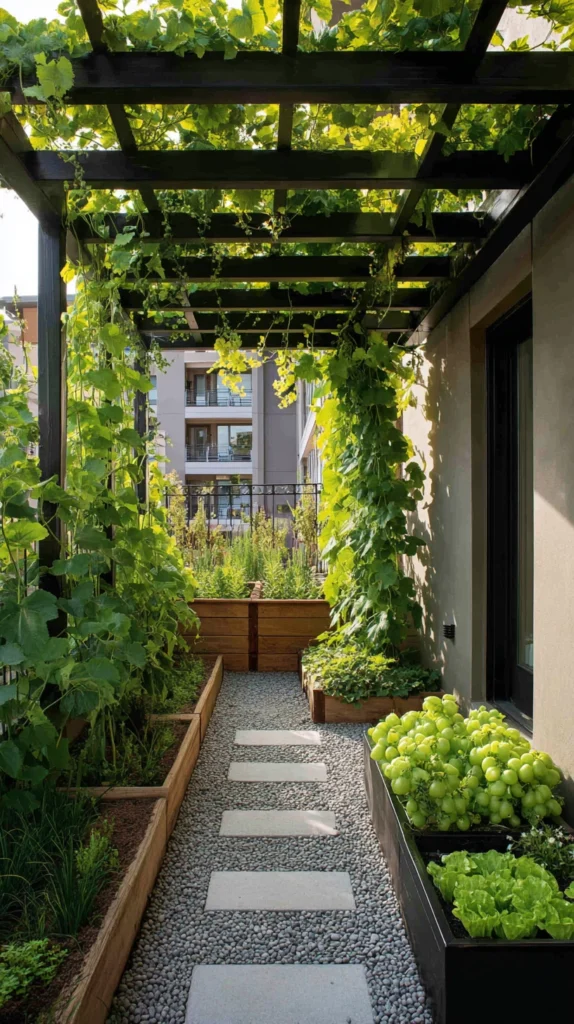
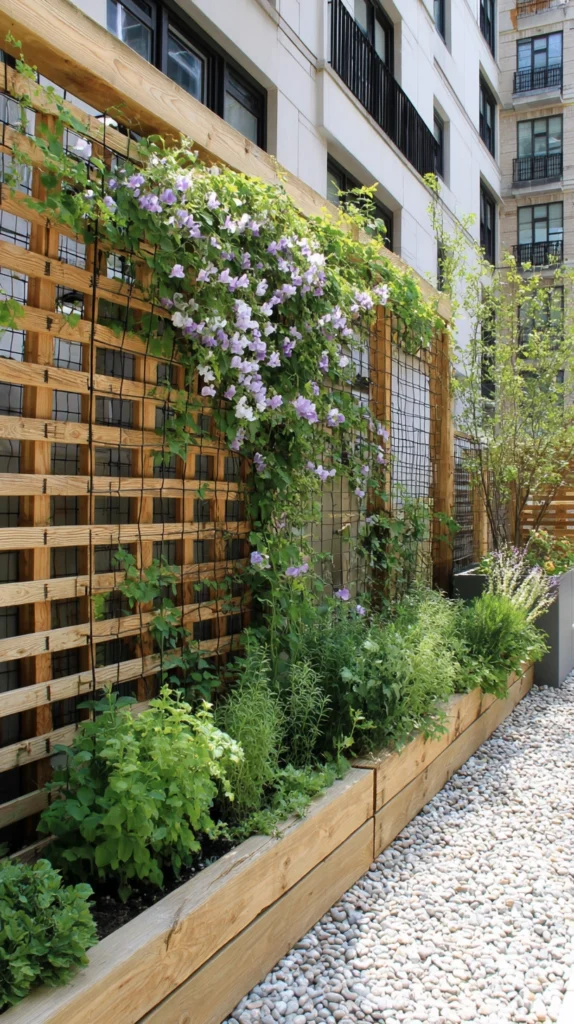
8. Trellis Panel With Climbing Vegetables
A simple wood or wire trellis mounted flat against a fence or wall, supporting climbing vegetables like cucumbers, pole beans, or small melons trained to grow vertically instead of sprawling across the ground.
This is less a true wall garden and more a way to reclaim vertical growing space for crops that would otherwise take up considerably more square footage sprawling horizontally.
I mounted a cattle panel trellis flat against my sunniest fence section, training cucumbers and pole beans up the wire grid, freeing up the actual ground space beneath for a row of lettuce that appreciates the afternoon shade the vines now provide.
Budget tip: A single cattle panel cut down to size costs less than several pre-made trellis kits, and one panel typically provides enough trellis material for two or three separate wall sections.
A few practical notes:
- Mount the trellis a few inches off the wall or fence surface, giving vines room to wrap around the wire without crushing against a flat surface
- Choose vining varieties specifically bred for trellis growing, since not every cucumber or bean variety climbs equally well
- Tie heavier fruit, like larger melon varieties, in a supportive sling if growing them vertically, since the vine alone may not support the fruit’s full weight
This approach essentially doubles your usable growing space in a small yard, since the ground beneath the trellis remains available for a second crop entirely.
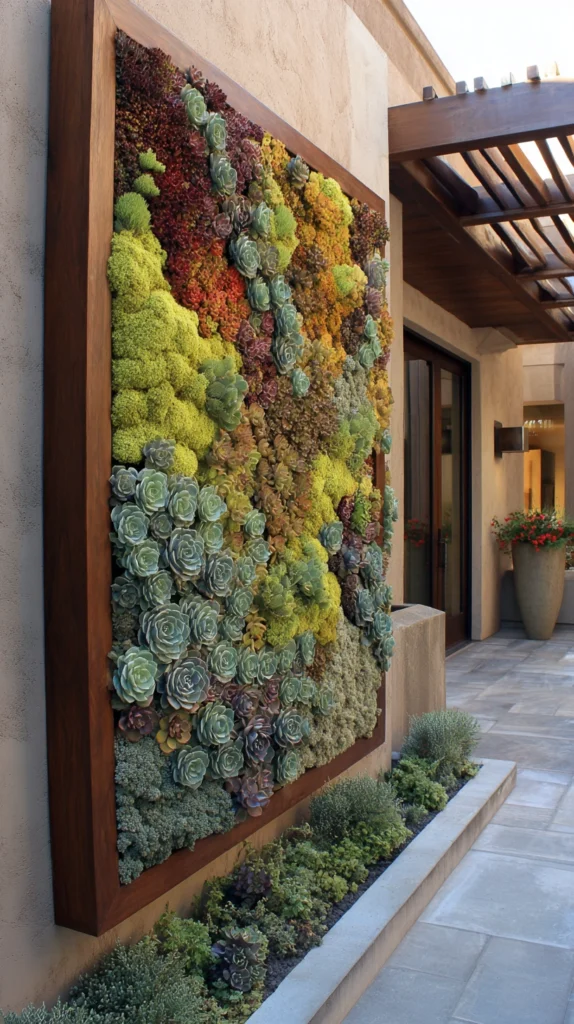
9. Succulent Mosaic Wall Frame
A shallow wooden frame filled with soil and planted densely with a mosaic of small succulents, mounted flat against a wall and left largely upright once the plants have rooted in.
Succulents are particularly well suited to vertical mounting specifically because of their shallow, compact root systems and general tolerance for the lower soil volume a wall-mounted frame provides.
I built a shallow cedar frame, lined it with wire mesh and sphagnum moss, and densely planted it with a mix of echeveria, sedum, and sempervivum before mounting it flat against a sunny exterior wall.
Style tip: Plant in a deliberate color gradient or pattern rather than scattering varieties randomly, since a mosaic arrangement reads as considerably more intentional once the succulents fill in and the pattern becomes clearly visible.
A few build considerations:
- Let the frame lie flat for four to six weeks after planting, giving roots time to establish before gravity has to hold everything in place vertically
- Choose a well-draining succulent-specific soil mix rather than standard potting soil, which retains too much moisture for this application
- Water by misting rather than saturating the frame directly, since a vertical mounting makes it easy to overwater without realizing how much moisture is actually reaching the roots
This is one of the lower-maintenance options on this entire list once established, since succulents tolerate the inconsistent watering that a wall-mounted frame often makes unavoidable.
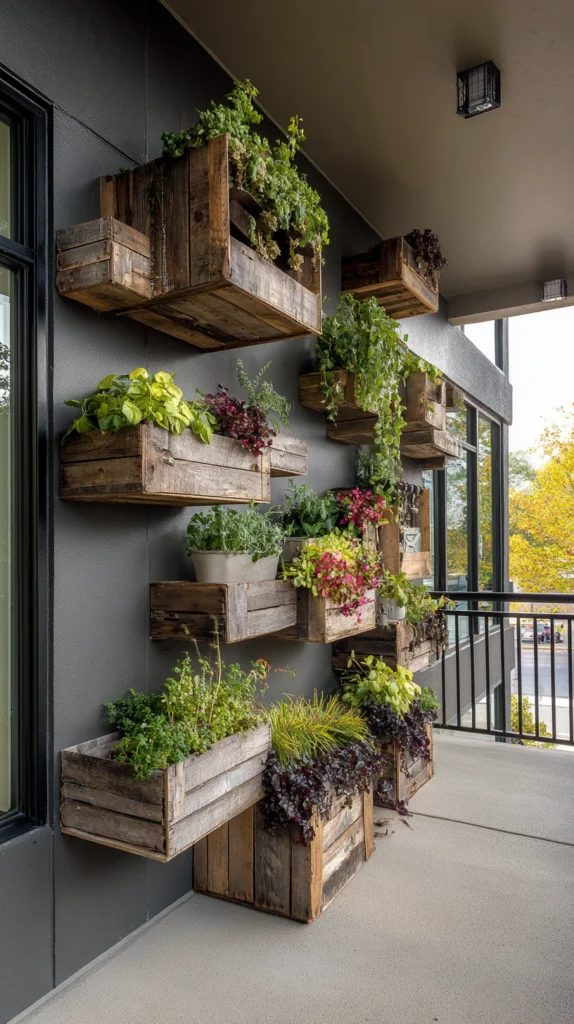
10. Repurposed Wine Crate Stacked Shelving
Wooden wine or fruit crates, stacked and secured together, mounted against a wall to create a tiered series of small planting boxes at varying heights.
Stacked crates bring genuine rustic character to a vertical garden, and their naturally varied box sizes create built-in visual interest without requiring any specialized design planning.
I collected a mix of wooden wine crates from a local shop, stacked and screwed them together in a staggered pattern, then mounted the whole structure against my patio wall, planting each crate with a different small vegetable or flowering annual.
Budget tip: Wine shops and specialty grocers often give away used wooden crates for free once they’ve served their original shipping purpose, making this one of the more affordable rustic vertical garden options available.
A few practical notes:
- Line each crate with landscape fabric before adding soil, since raw wood will degrade considerably faster with direct soil and moisture contact
- Secure crates to the wall with sturdy brackets rather than relying on the stack’s own weight, especially once soil and plants add real weight to the upper boxes
- Drill drainage holes in the bottom of each crate if they don’t already have natural gaps between the wood slats
The staggered, mismatched crate sizes give this design a considerably more organic, collected feel than a uniform grid of identical planters would achieve.
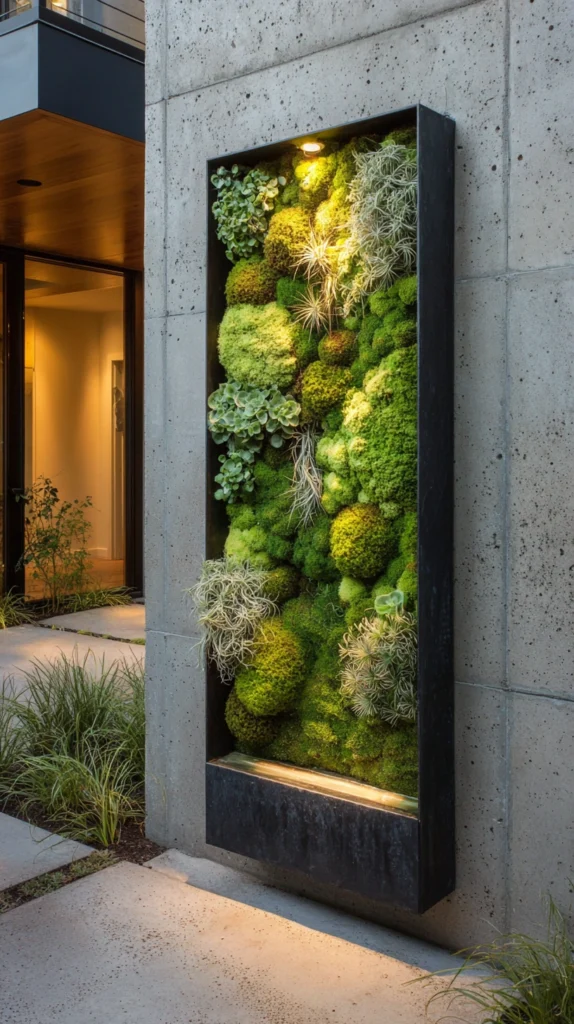
11. Chicken Wire and Moss Frame for Air Plants
A simple wire frame stuffed with sphagnum moss, used to mount and display a collection of air plants that need no soil at all, arranged in a naturalistic cluster against a wall.
Air plants solve the soil weight and drainage problems that come up in nearly every other vertical garden design on this list, since they don’t require any growing medium beyond the moisture they absorb directly through their leaves.
I built a simple chicken wire frame, packed it loosely with sphagnum moss, and tucked a collection of tillandsia air plants into the moss at varying depths, mounting the whole frame against a shaded section of exterior wall.
Budget tip: Air plants themselves cost relatively little compared to potted alternatives, and this display method requires no soil, no drainage system, and minimal building materials beyond wire and moss.
A few practical notes:
- Mist air plants two to three times a week rather than relying on rainfall alone, especially in a covered or sheltered location
- Choose a shaded or partially shaded wall specifically, since most air plant varieties burn easily in direct, intense afternoon sun
- Remove and soak plants briefly in water every couple of weeks if they show signs of curling or drying out beyond what regular misting addresses
This is one of the lightest-weight options on this entire list, making it a strong choice for a wall or fence that couldn’t reliably support the weight of a soil-based planter.
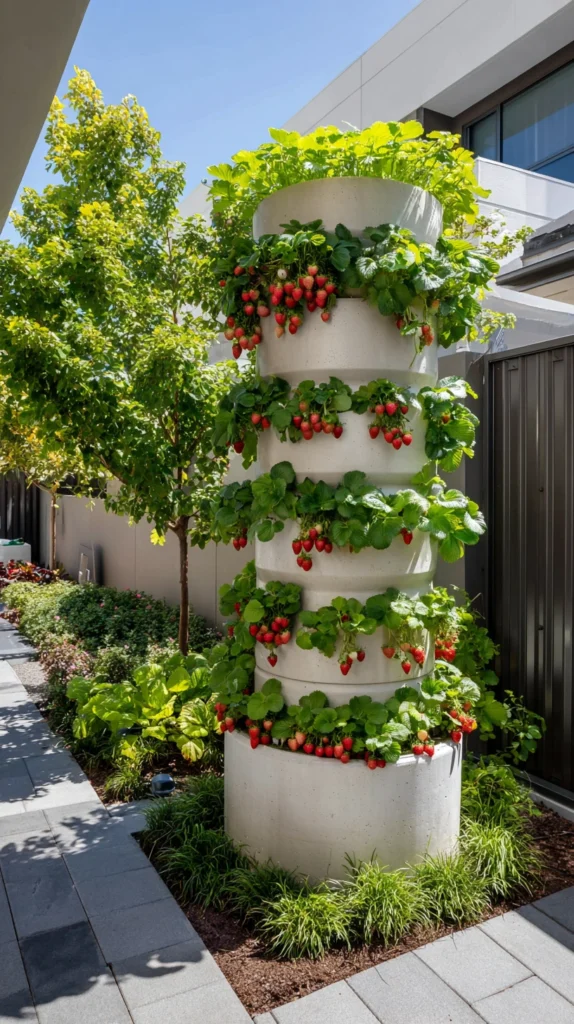
12. Vertical Strawberry Tower Barrel
A large plastic or wooden barrel with planting pockets cut into the sides at staggered intervals, creating a dense, space-efficient tower specifically for growing strawberries.
Strawberries in particular thrive in this kind of vertical arrangement, since their shallow root systems and trailing runners both suit a tower’s limited soil depth and vertical growing pattern.
I converted a food-grade plastic barrel into a strawberry tower, cutting staggered planting holes around the sides and adding a perforated central PVC pipe filled with gravel to help distribute water evenly down through the barrel’s interior.
Budget tip: A used food-grade barrel, available through many local farms or breweries for a modest fee or sometimes free, costs considerably less than a purpose-built strawberry tower planter.
A few build considerations:
- Add a perforated central watering column specifically, since a barrel this size struggles to distribute moisture evenly to plants near the top without one
- Plant runners at the very top of the barrel to trail freely down the sides, rather than trying to tuck every single plant into a side pocket
- Rotate the barrel occasionally if it only gets strong sun from one direction, ensuring even growth around its full circumference
A single well-planted barrel like this can produce a genuinely surprising strawberry harvest from a footprint barely larger than a single trash can.
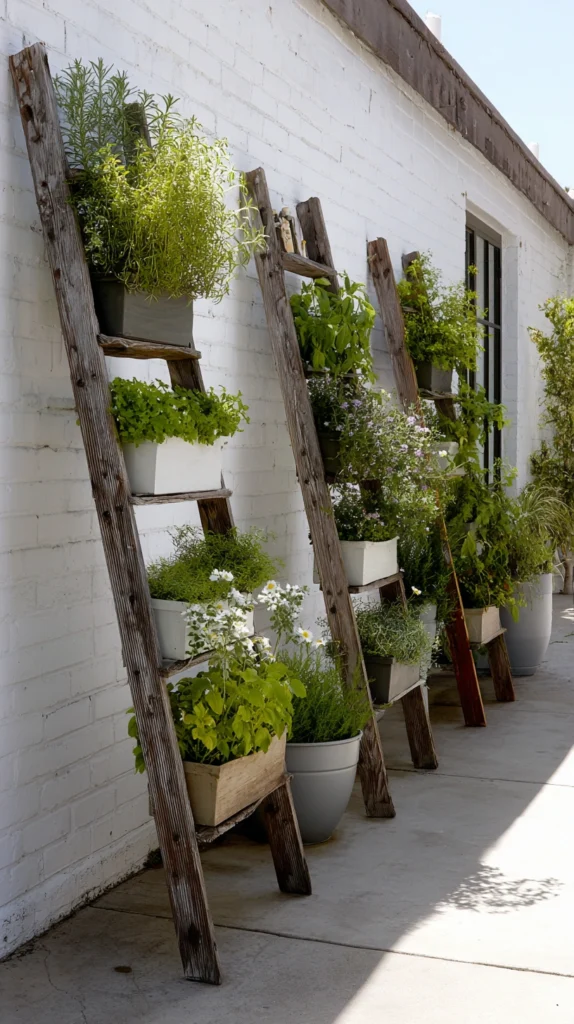
13. Repurposed Ladder Plant Display
An old wooden ladder, leaned against a wall or fence, used to display a graduated series of potted plants at ascending heights rather than mounting anything permanently to the structure itself.
This is less a true built-in vertical garden and more a flexible display method, but it delivers real vertical visual interest without any permanent construction or wall modification at all.
I leaned a weathered wooden ladder against my garage wall, arranging small potted herbs and trailing plants on each rung, with the largest pots on the lower steps and progressively smaller ones climbing toward the top.
Budget tip: An old, weathered ladder found secondhand often costs less than a new decorative plant stand, and the visible wear actually suits this rustic display style better than a pristine new piece would.
A few practical notes:
- Confirm the ladder is structurally sound before loading it with pots, since rotted or weakened rungs won’t support real weight safely
- Balance pot placement so weight distributes evenly rather than clustering everything on one side, which can make a leaned ladder unstable
- Choose pots in graduated sizes specifically, since this size progression is what gives the display its sense of intentional visual rhythm
This is one of the most flexible ideas on this list, since the entire arrangement can be rearranged, added to, or moved to a different spot entirely without any tools at all.
14. Vertical Pallet Wall With Integrated Trellis Netting
A larger repurposed pallet or built wooden frame combined with lightweight trellis netting stretched across open sections, supporting both potted plants and climbing vines within a single structure.
Combining a solid planting frame with open netting sections lets you grow two different types of plants in the same vertical footprint, structured pockets for smaller plants and open netting for climbing vines that need room to spread.
I built a larger version of a simple pallet frame, leaving the top third open and stringing lightweight plastic trellis netting across that section, growing sweet peas and morning glory through the netting above a lower section planted with smaller herbs and flowers.
Budget tip: Plastic trellis netting costs very little per square foot and can cover considerably more open area than a solid wood or wire structure would for the same price.
A few build considerations:
- Secure netting taut at both top and bottom, since loose netting sags considerably once vines add real weight to it
- Choose lightweight annual vines specifically for netting sections, since heavier perennial vines may need a sturdier support than plastic netting alone provides
- Keep the solid planting section and the netting section visually connected through consistent framing, rather than letting them read as two unrelated pieces mounted side by side
This combination approach makes efficient use of a single wall space by putting compact plants and climbing vines to work in the same structure rather than requiring separate installations for each.
15. Repurposed Rain Barrel Overflow Vertical Garden
A vertical planting system built directly beneath a rain barrel’s overflow outlet, positioned to catch and use excess water that would otherwise simply run off during heavy rain.
This idea specifically closes a loop that most rainwater collection systems leave open, putting a barrel’s inevitable overflow to direct use rather than letting it drain away unused during any storm heavy enough to fill the barrel completely.
I positioned a small tiered planter system directly beneath my rain barrel’s overflow spout, growing moisture-loving plants like ferns and impatiens that benefit from the extra water specifically during heavier rain events.
Budget tip: This setup adds very little cost beyond the planter itself, since it’s simply repositioning existing rainwater infrastructure to serve double duty rather than requiring any new plumbing or collection equipment.
A few practical notes:
- Choose plants specifically tolerant of occasional water surges rather than a steady, predictable watering schedule, since overflow only occurs during heavier rain events
- Position the planting system slightly downhill from the overflow spout so gravity does the work of directing water where it’s needed
- Add a simple diverter or splash guard if overflow volume during heavy storms threatens to wash soil out of the planters below
This is one of the more resourceful ideas on this list, turning what’s normally wasted excess water into a genuine benefit for a section of vertical planting that would otherwise need separate manual watering.
The Quickest Win If You’re Short on Time This Weekend
The hanging shoe organizer herb garden takes the least time and money of anything on this list, and it’s a reasonable way to test whether you actually enjoy maintaining a vertical garden before committing to a bigger, more permanent structure.
A Few Things That Matter More Than People Expect
- Weight adds up fast once soil is wet, so confirm whatever you’re mounting to can actually support a fully loaded, saturated structure
- Water distribution across a vertical surface is rarely as even as it looks on paper, so plan to check the driest and wettest spots separately rather than assuming uniform watering
- Sun exposure often changes noticeably from the bottom of a wall to the top, so don’t assume every section of a tall structure gets identical light
Where Vertical Gardens Most Often Fail
Most struggling vertical gardens aren’t suffering from a bad plant choice, they’re suffering from uneven watering that nobody noticed until plants near the top were already stressed while ones near the bottom were sitting in standing water. Check moisture at multiple heights on any vertical structure regularly, rather than assuming that watering the whole thing once solves the problem for every section equally.