15 Popcorn Ceiling Ideas
Popcorn ceilings were standard in homes built from the 1950s through the 1980s, and while the texture has fallen out of style, there’s more than one way to deal with it. Full removal isn’t always necessary or practical, and several cover-up and update options can modernize the look without the mess of scraping.
Below are 15 ways to update, cover, or remove a popcorn ceiling, with real numbers on material cost, labor time, and budget so you can choose the approach that fits your ceiling, your timeline, and your budget.

Before You Start: Asbestos Testing
Homes built before 1980 may have popcorn ceilings containing asbestos, which was commonly used in ceiling texture products until it was phased out. This is the single most important step before starting any removal or sanding project.
Testing costs $20-50 for a DIY test kit, or $200-400 for a professional lab-certified test. A small sample is sent to a certified lab, and results typically return within a few days to a week.
If asbestos is present, do not scrape, sand, or otherwise disturb the ceiling yourself. Hiring a licensed asbestos abatement professional is required in this case, and costs vary significantly by region and ceiling size.
Cover-up methods that don’t disturb the existing texture (like drywall overlay, drop ceilings, or paneling) are generally safer options if asbestos is confirmed, since they avoid disturbing the material rather than requiring removal.
1. Wet-Scrape the Popcorn Texture Off Completely
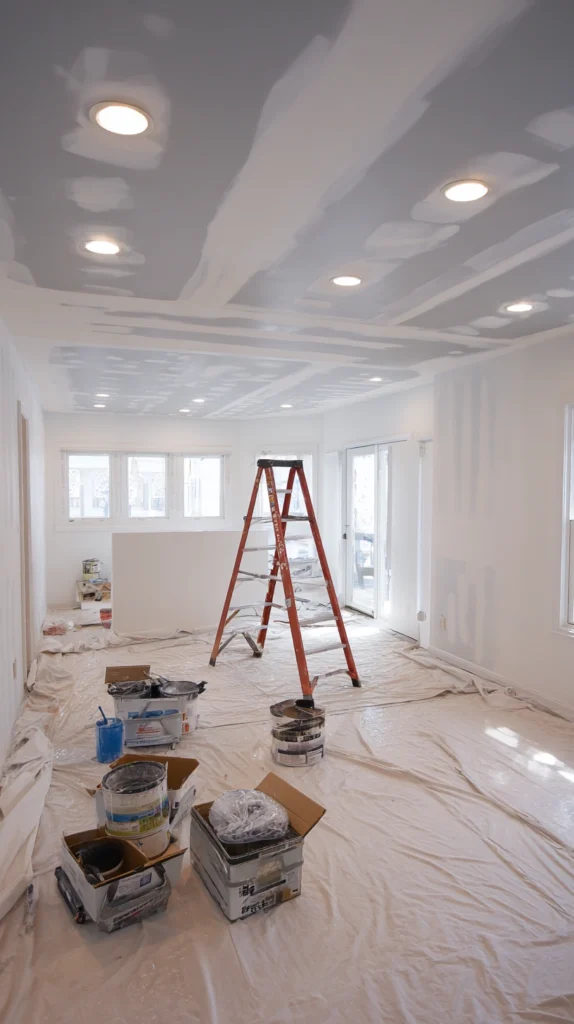
Traditional wet-scraping remains the standard method for full popcorn removal, using water to soften the texture before scraping it away with a wide putty knife. A typical 200 sq ft ceiling takes 4-8 hours to scrape depending on texture thickness and ceiling condition.
Budget: $50-100 in supplies for a DIY scrape (plastic sheeting, a garden sprayer, putty knives), or $1-3 per sq ft if hiring a professional, roughly $200-600 for a 200 sq ft room. This is one of the most labor-intensive options on this list but delivers a genuinely smooth ceiling underneath.
Lightly misting small sections of the ceiling with water and letting it soak for 10-15 minutes before scraping softens the texture significantly, making the material come away in larger sheets rather than a dusty mess. Working in small 3×3 foot sections keeps the water from drying out before you get to scrape it.
Plan for drywall repair afterward in most cases, since scraping frequently reveals seams, screw pops, or minor damage that was previously hidden under the texture.
2. Skim Coat the Ceiling for a Smooth Finish
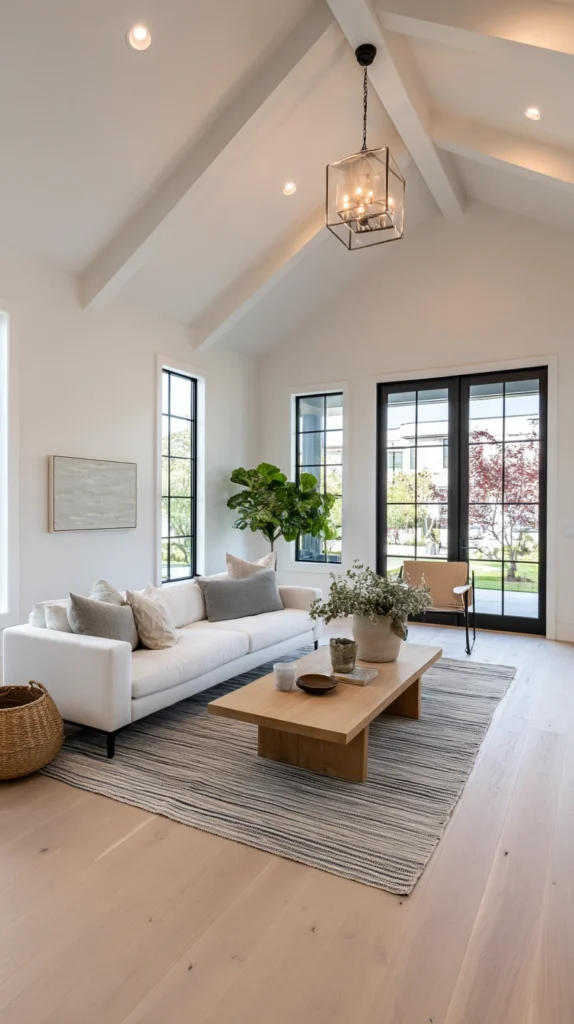
Skim coating applies a thin layer of joint compound directly over the existing popcorn texture (after removal) or in some cases over a stabilized texture, creating a smooth, modern ceiling surface. This is typically done as a follow-up step after scraping, though some contractors skim over intact texture in specific situations.
Budget: $1-2 per sq ft in materials for a DIY skim coat, or $2-4 per sq ft for professional application, roughly $400-800 for a 200 sq ft room. This step is what actually creates the smooth finish people picture when replacing a popcorn ceiling.
Applying the compound in thin, even layers with a wide taping knife, sanding lightly between coats, typically takes 2-3 coats to achieve a fully smooth result. This is a skill-intensive process, and while it’s possible to DIY, many homeowners find hiring a drywall finisher worth the cost for ceiling work specifically, since overhead application is more physically demanding than wall work.
Priming and painting after the final sanding pass completes the transformation from popcorn to smooth.
3. Cover the Ceiling With a New Layer of Drywall
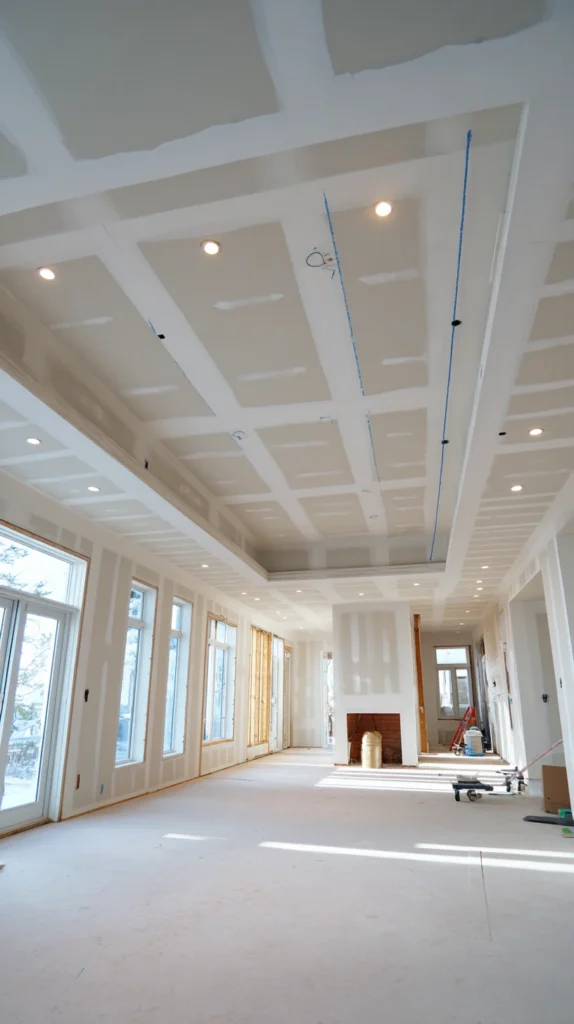
Installing a fresh layer of thin drywall directly over the existing popcorn ceiling avoids the mess of removal entirely while still delivering a completely smooth, modern surface. Standard overlay drywall runs 1/4 to 3/8 inch thick, thinner than standard wall drywall to minimize the height loss to the room.
Budget: $1.50-3 per sq ft in materials, or $3-6 per sq ft installed, roughly $600-1,200 for a 200 sq ft room. This is comparable in cost to a full scrape-and-skim approach but with less mess and no need to test for asbestos disturbance, since the existing texture stays untouched underneath.
This method does reduce ceiling height very slightly, though the thin overlay drywall typically only takes up about 3/8 to 1/2 inch once installed, which is rarely noticeable in a standard 8-foot ceiling. Screws need to reach through the new layer and into the ceiling joists above, not just the old drywall, for a secure long-term hold.
This is one of the most popular alternatives to full removal specifically because it sidesteps asbestos concerns while still achieving a completely smooth finished look.
4. Add a Wood Plank Ceiling Over the Texture

Installing wood planks, whether tongue-and-groove, shiplap, or simple common boards, directly over an existing popcorn ceiling covers the texture completely while adding warmth and character. Standard boards run 3.5-7.25 inches wide depending on style.
Budget: $150-500 for materials on a 200 sq ft ceiling, plus installation time, similar in cost to a standalone wood ceiling project covered elsewhere. This approach also avoids disturbing the popcorn texture, which matters if asbestos testing hasn’t been done or comes back positive.
Furring strips are typically installed first, running perpendicular to the ceiling joists, creating a flat, level nailing surface for the wood planks despite any unevenness in the popcorn texture below. This step is what makes installing wood directly over textured popcorn practical, rather than trying to nail planks straight into an uneven surface.
This option delivers one of the most dramatic style transformations on this list, shifting the ceiling from dated texture to a warm, finished wood look in one project.
5. Add Beadboard Panels Over the Popcorn Texture
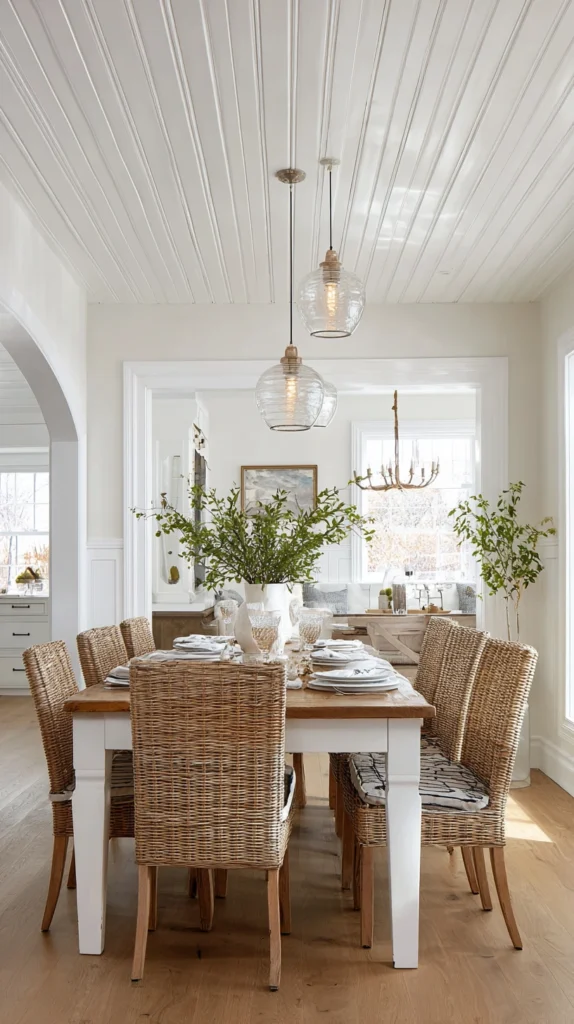
Beadboard sheets installed over furring strips cover popcorn texture while adding a classic, cottage-style grooved detail overhead. Standard beadboard sheets run 4×8 feet, and a 200 sq ft ceiling needs about 7-8 sheets.
Budget: $200-500 for beadboard sheets and furring strips for a 200 sq ft ceiling, one of the more affordable full-coverage options on this list. This avoids any need to disturb or test the existing popcorn texture.
As with wood plank ceilings, furring strips installed perpendicular to the joists create a flat surface for the beadboard panels, correcting for any unevenness in the texture beneath. Painting the finished beadboard white or a soft cream keeps the room feeling bright, which matters since covering a popcorn ceiling with any material adds a small amount of visual weight overhead.
This is a particularly good option for a bathroom, laundry room, or cottage-style bedroom where the beadboard detail fits the room’s overall aesthetic.
6. Install a Drop Ceiling Grid System
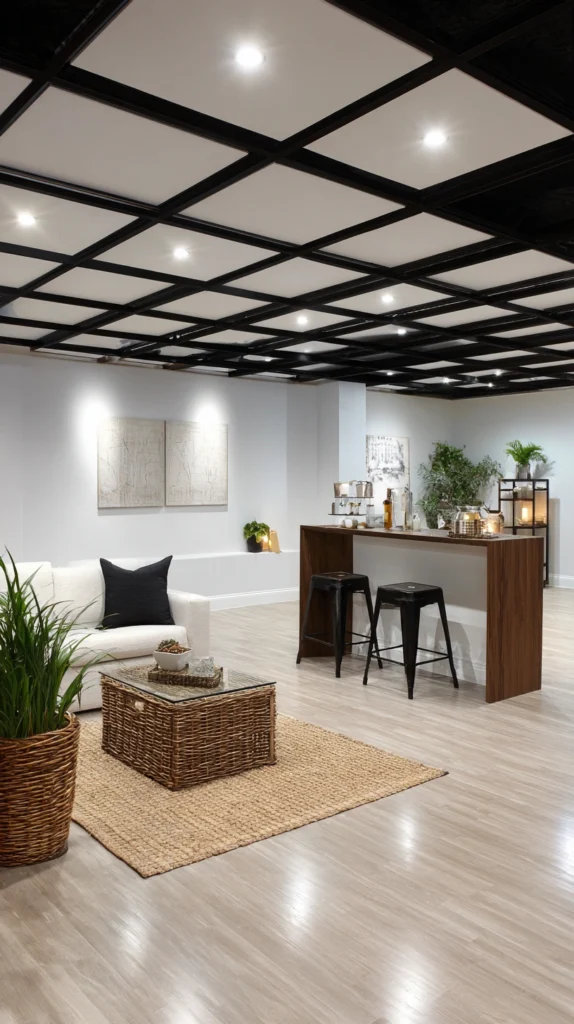
A suspended drop ceiling grid, hung a few inches below the existing popcorn ceiling, fully conceals the texture while offering easy access to anything above for future repairs. Standard drop ceiling tiles run 2×2 or 2×4 feet.
Budget: $2-5 per sq ft for a full grid and tile installation, roughly $400-1,000 for a 200 sq ft room. This is a comparable cost to several other cover-up methods on this list, with the added benefit of easy future access.
This approach reduces ceiling height by at least 3-4 inches, so it works best in rooms with 8-foot ceilings or taller where the height loss won’t feel cramped. Modern drop ceiling tiles have moved well beyond the plain white acoustic style, with wood-look, tin-look, and other decorative options now widely available.
This is one of the more practical choices for a basement or utility space specifically because of the easy access it provides to plumbing, wiring, or ductwork above.
7. Add PVC Ceiling Panels for a Low-Maintenance Cover
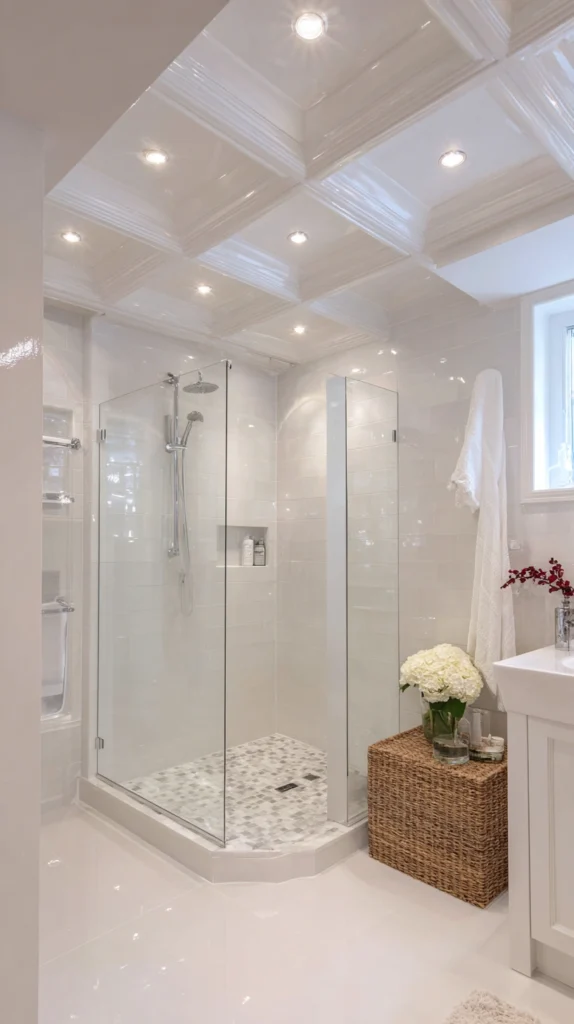
PVC ceiling panels, designed to mimic tin, wood, or coffered plaster designs, install directly over popcorn texture using furring strips and are highly resistant to moisture and staining. Standard PVC panels run 2×2 or 2×4 feet, similar to drop ceiling tile sizing.
Budget: $3-6 per sq ft for panels and installation hardware, roughly $600-1,200 for a 200 sq ft room. This sits at a moderate price point but requires very little ongoing maintenance once installed.
These panels are lightweight and simple to cut with basic tools, making this one of the more approachable DIY cover-up projects on this list for someone without extensive carpentry experience. Their moisture resistance makes PVC panels a particularly good choice for a kitchen, bathroom, or basement where humidity is more of a concern.
Many PVC panel designs snap or interlock together, which speeds up installation considerably compared to individually fastening every piece.
8. Add Tin-Look Ceiling Tiles for a Vintage Update
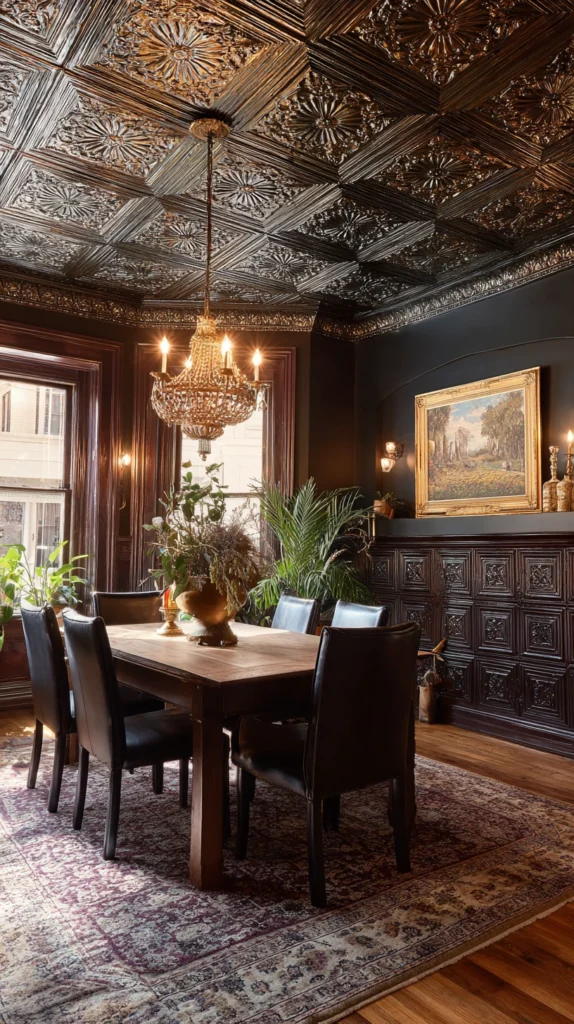
Tin-look tiles, whether real pressed metal or a lightweight faux-tin material, bring ornate, decorative detail to a ceiling while completely hiding the popcorn texture underneath. Standard tin tiles run 2×2 feet, matching typical drop ceiling grid sizing.
Budget: $4-10 per sq ft for real tin, or $2-4 per sq ft for faux tin PVC versions, roughly $400-2,000 for a 200 sq ft room depending on material choice. Faux versions cost significantly less while still delivering a similar decorative look from a normal viewing distance.
These tiles typically install into a drop ceiling grid system, meaning this option combines the concealment benefits of a suspended ceiling with a far more decorative finished appearance than standard acoustic tile. A metallic bronze, copper, or antiqued silver finish tends to read as more intentional and less like an obvious grid system than a plain white tile would.
This is a strong option for a dining room, kitchen, or entryway where the ceiling itself becomes a design feature rather than just a surface to hide.
9. Wallpaper Over a Skim-Coated Popcorn Ceiling
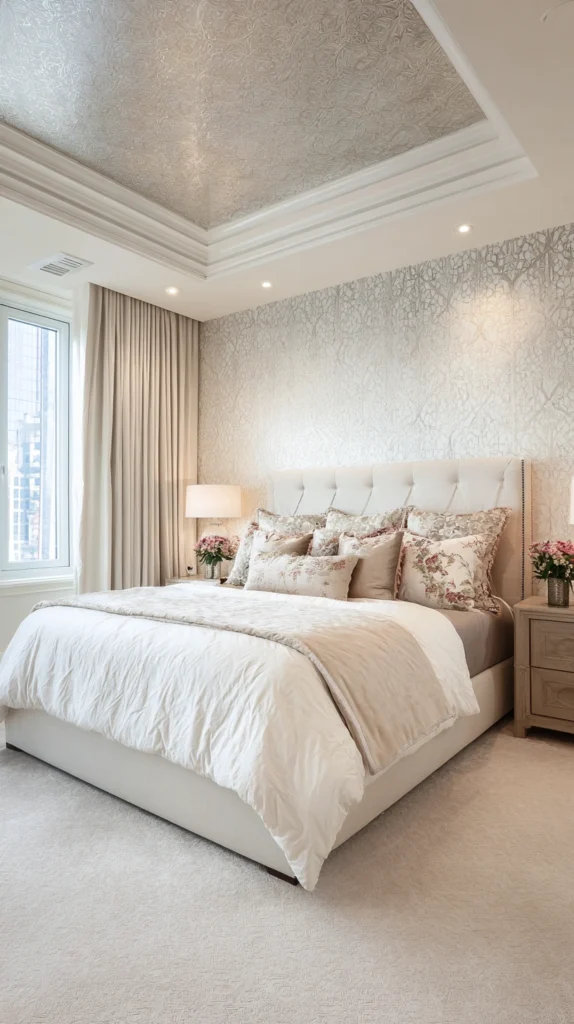
Wallpaper can be applied to a ceiling, but only after the popcorn texture has been removed and the surface skim-coated smooth, since wallpaper won’t adhere properly to a textured surface. This combines two earlier steps on this list (scraping and skim coating) with a decorative finish.
Budget: $15-40 per roll of ceiling-appropriate wallpaper, on top of the $600-1,200 typically spent on scraping and skim coating a 200 sq ft ceiling. This is one of the pricier combination options on this list since it requires full texture removal first.
Because ceiling wallpaper installation involves working overhead with paste and full-length paper strips, many people find this project easier with a second person helping to support and align the paper during installation. A patterned or metallic wallpaper on the ceiling creates a striking, unexpected design feature in a dining room, powder room, or bedroom.
This is best considered only after confirming the ceiling is asbestos-free, since it requires full removal and smoothing before the wallpaper stage even begins.
10. Simply Paint the Popcorn Ceiling As-Is
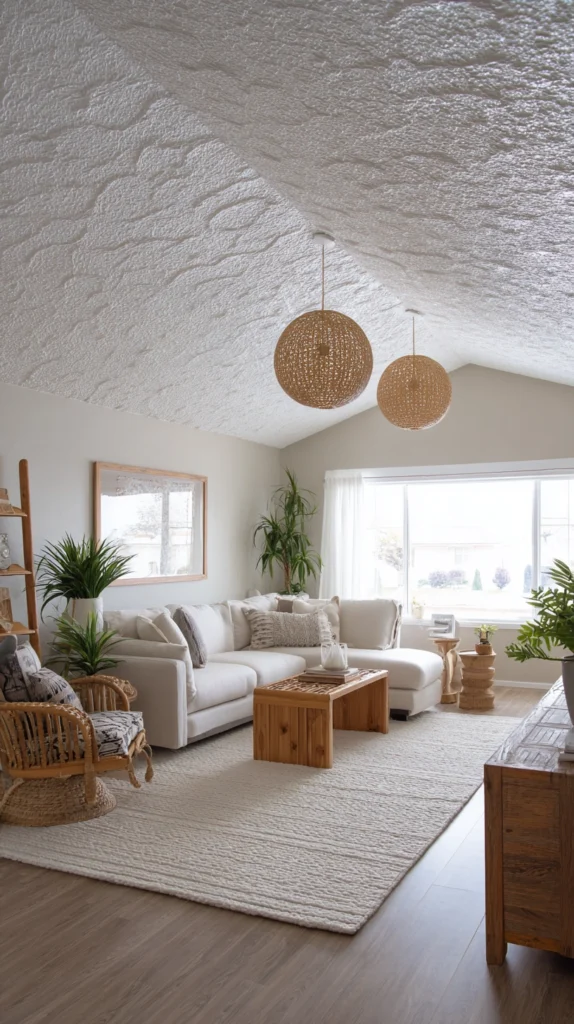
For a lower-cost, lower-effort update, painting the existing popcorn texture without removing it still meaningfully refreshes a dated, yellowed, or stained ceiling. This is the simplest option on this list and doesn’t require disturbing the texture at all.
Budget: $30-60 for ceiling paint and supplies for a 200 sq ft room, one of the cheapest options on this entire list. A paint sprayer works much better than a roller for this application, since rolling can knock loose bits of the textured popcorn material.
If asbestos testing hasn’t been done or has come back positive, painting over the intact texture (without sanding or disturbing it first) is one of the safest cosmetic updates available, since it doesn’t create airborne particles. A fresh coat of bright white or a soft ceiling white can make a yellowed, aged popcorn ceiling look significantly more updated even though the texture itself remains unchanged.
This won’t modernize the actual texture or style, but it’s the fastest and cheapest way to freshen up a popcorn ceiling that’s simply looking old or discolored.
11. Install a Shiplap Ceiling Cover-Up
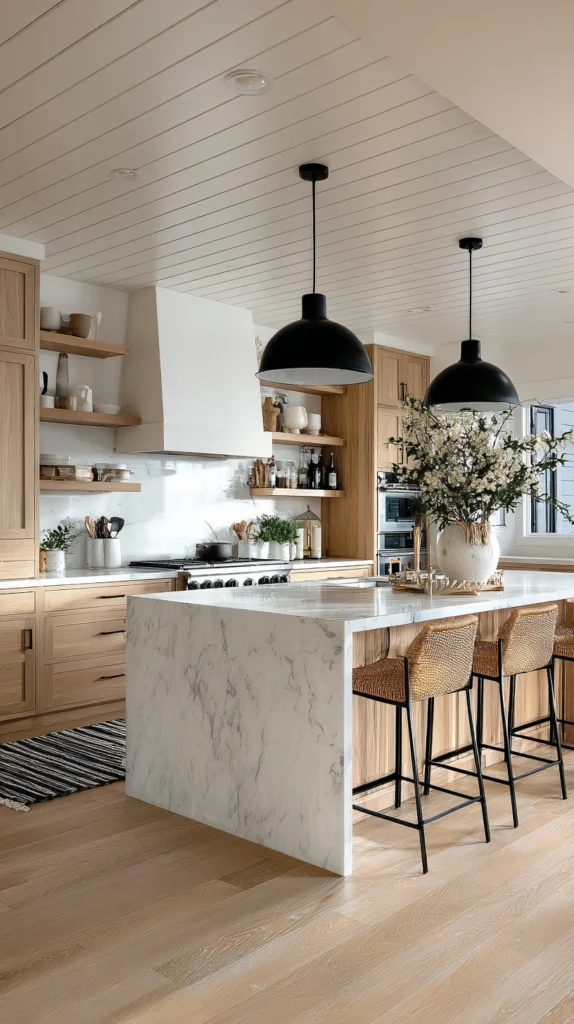
Shiplap’s overlapping horizontal boards, installed over furring strips, cover popcorn texture completely while delivering one of the most popular modern farmhouse looks available for ceilings. Standard shiplap boards run 5.5-7.25 inches wide.
Budget: $200-600 for materials on a 200 sq ft ceiling, similar in range to other plank-style cover-ups on this list. MDF-based shiplap costs less than real wood and paints just as well for this application.
As with other plank ceiling cover-ups, furring strips installed first correct for any unevenness in the underlying popcorn texture, creating a flat surface for the shiplap boards. Using spacers to maintain a consistent shadow gap between boards during installation is what gives shiplap its distinctive textured look rather than reading as a flat, seamless surface.
This is one of the most requested ceiling styles in recent years, making it a strong choice if updating the ceiling is also part of a broader room refresh.
12. Add Faux Wood Beams to Distract From the Texture
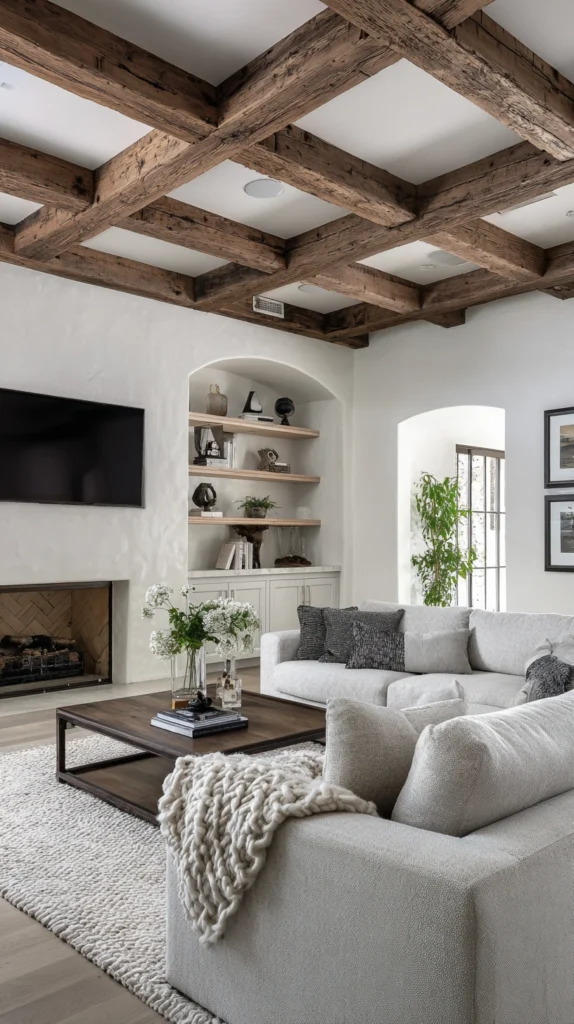
Rather than fully covering or removing the popcorn texture, adding a few faux wood beams across the ceiling draws the eye to the beams themselves and makes the surrounding texture far less noticeable. Standard faux beams run 6-10 inches wide, spanning the room’s width or length.
Budget: $300-800 for 3-4 lightweight polyurethane beams in a 200 sq ft room. This is one of the lower-cost ways to meaningfully change a room’s ceiling appearance without removing or covering the popcorn texture at all.
Polyurethane faux beams are lightweight enough to be glued and screwed directly into ceiling joists without needing to address the popcorn texture underneath in any way. Spacing beams evenly across the room, typically every 24-36 inches, creates the strongest visual impact and the most convincing architectural look.
This is a clever workaround for anyone not ready to invest in a full removal or cover-up project but who still wants to meaningfully change how the ceiling reads in the room.
13. Use Peel-and-Stick Ceiling Tiles for a No-Tool Update
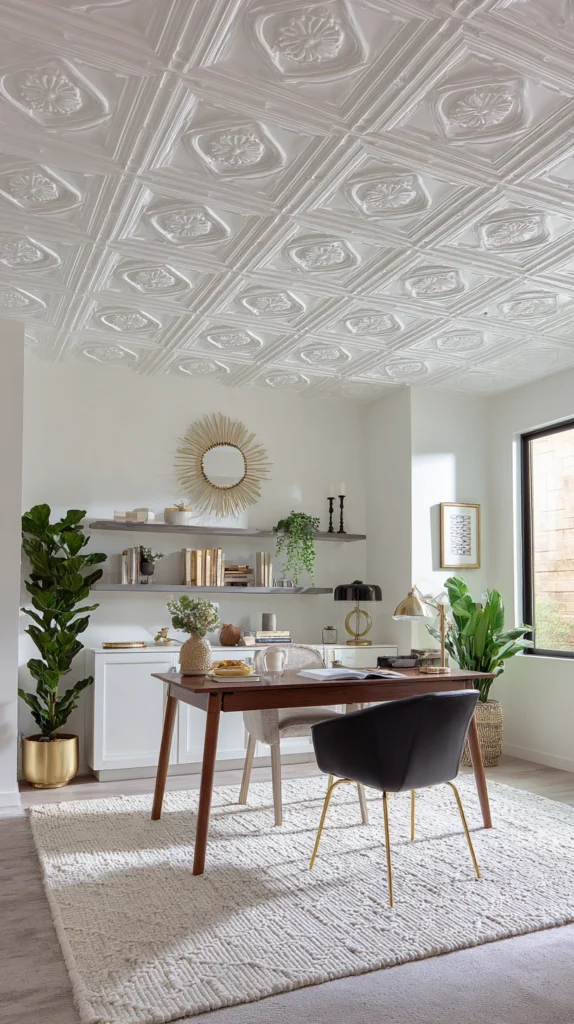
Peel-and-stick foam or PVC ceiling tiles are designed to adhere directly over an existing surface, including textured popcorn ceilings in many cases, without any nails, screws, or furring strips. Standard peel-and-stick tiles run 12×12 or 24×24 inches.
Budget: $2-4 per sq ft, roughly $400-800 for a 200 sq ft ceiling. This is one of the fastest options on this list, often completed in a single afternoon by one person.
Because these tiles rely on adhesive rather than mechanical fasteners, results can be inconsistent on a heavily textured popcorn surface, so checking the manufacturer’s guidance on texture depth and doing a small test patch first is worth the extra step before committing to the full ceiling. Cleaning and lightly knocking down any loose or flaking texture beforehand improves adhesion significantly.
This is a good lower-commitment option to try in a smaller room or closet before deciding whether to invest in a larger cover-up project elsewhere in the home.
14. Patch and Texture-Match for Repairs Only
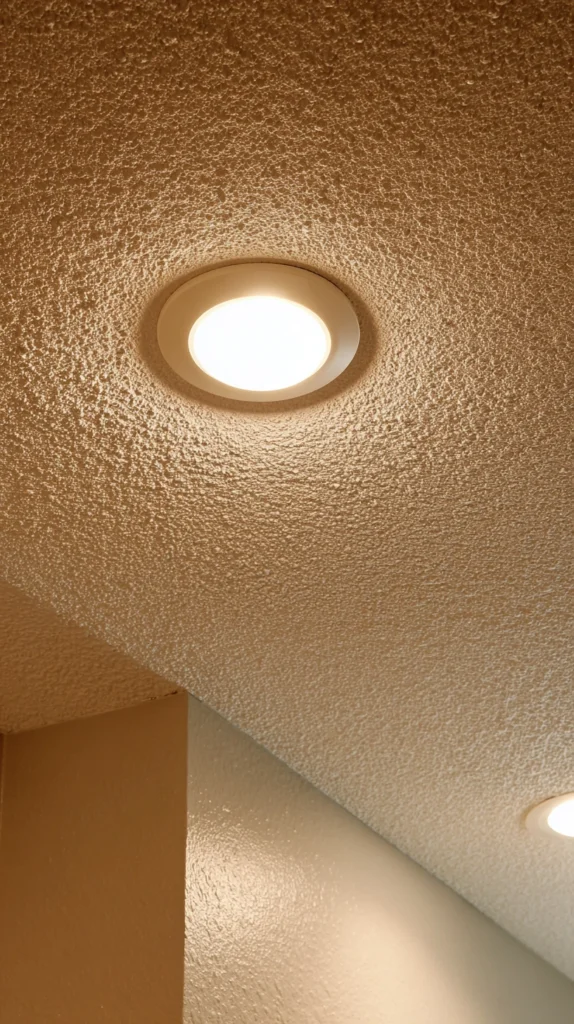
If the popcorn ceiling itself is in decent shape but has a few damaged or water-stained patches, texture-matching just those areas is far more affordable than addressing the entire ceiling. This works well for anyone not ready to commit to a full update but who needs to fix specific problem spots.
Budget: $30-80 in patching compound and texture spray for a few small repair areas, compared to hundreds or thousands for a full ceiling treatment. Popcorn texture spray, sold in cans similar to spray paint, is designed specifically to match the look of existing ceiling texture.
Testing the texture spray on a small, inconspicuous area first helps confirm the pattern and thickness match your specific ceiling before applying it to a visible repair spot. This approach only makes sense as a short-term or budget-driven solution, since it maintains the same dated look rather than updating it.
This is worth considering as a stopgap while saving up for one of the larger cover-up or removal projects elsewhere on this list.
15. Hire a Professional for Full Removal and Skim Coating
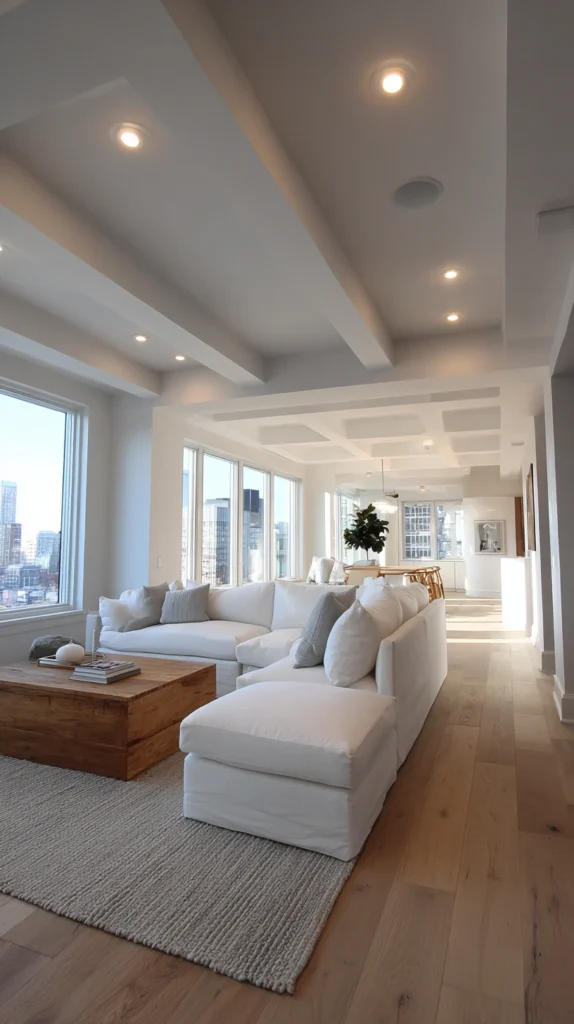
For the most seamless, completely transformed result, hiring a professional drywall contractor to handle both the popcorn removal (or asbestos abatement, if needed) and the skim coating in one combined project often delivers the best finished quality. This combines several steps from this list into one professionally managed job.
Budget: $2-6 per sq ft for a full professional removal and skim coat, roughly $400-1,200 for a 200 sq ft room, more if asbestos abatement is required. This is on the higher end of the cost range for popcorn ceiling projects but typically delivers the smoothest, most consistent result with the least amount of homeowner labor or mess.
Getting multiple quotes from licensed contractors, and confirming whether asbestos testing and abatement (if needed) is included in the quote, helps avoid unexpected costs partway through the project. Professional crews also typically complete a full room in a day or two, compared to a full weekend or longer for most DIY approaches on this list.
This is the best option for anyone wanting the ceiling fully transformed with minimal personal time investment, particularly for larger homes with multiple rooms needing the same treatment.
Quick Start Project List
Lowest-effort updates to try first:
- Paint the existing texture as-is
- Add faux beams to distract from the texture
- Patch and texture-match damaged areas only
- Try peel-and-stick tiles in a small room first
Budget-Friendly Version
Lowest-cost options overall:
- Painting the popcorn texture without removal
- DIY wet-scrape removal with skim coating
- PVC or faux-tin panels instead of real pressed tin
- Furring strips plus common board planks instead of specialty wood
Success Indicators
- Ceiling no longer reads as visibly dated once finished
- No asbestos concerns remain unresolved before any disturbance
- The chosen method matches the room’s actual ceiling height and use
- The finished surface holds up well to cleaning and everyday wear
- The overall look matches the rest of the room’s updated style
Remember
Test for asbestos before scraping, sanding, or otherwise disturbing any popcorn ceiling installed before 1980, choose a cover-up method over removal if asbestos is confirmed or testing isn’t an option, budget for drywall repair alongside any full scrape-and-remove project since damage is often hidden under the texture, match the ceiling treatment to the room’s height and use rather than choosing the most dramatic option by default, and treat a popcorn ceiling update as one of the highest-impact changes available for modernizing a dated room.