How to Clean a Blackstone Griddle: The Complete Guide
A Blackstone griddle rewards regular cleaning with a naturally nonstick cooking surface that actually improves over time, but skipping cleaning steps leads to rust, sticky buildup, and food that tastes off.
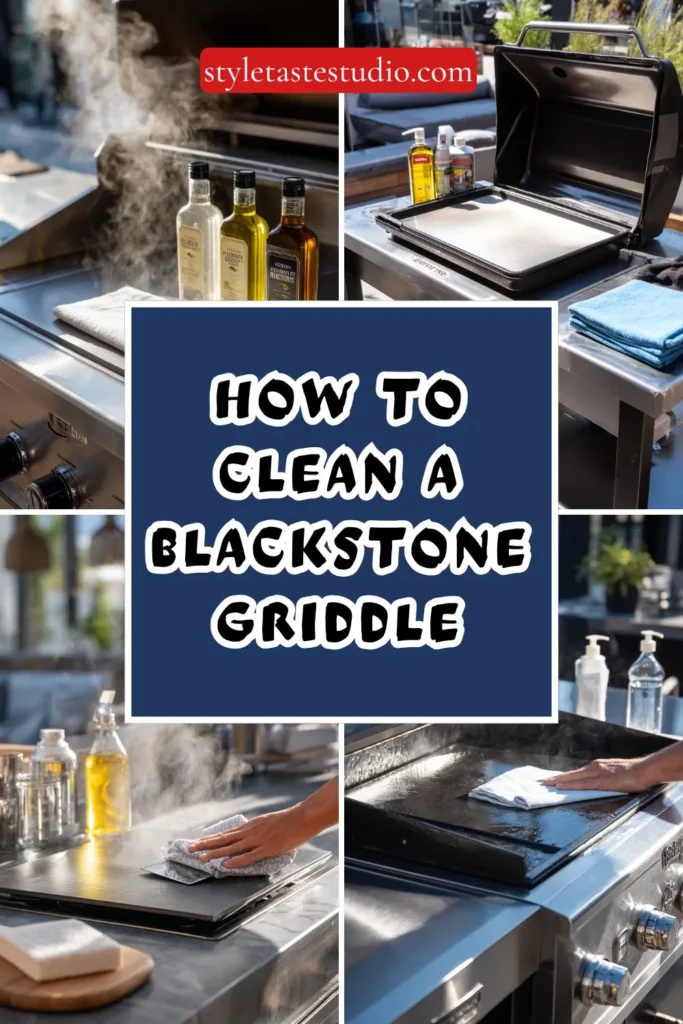
The good news is that proper cleaning takes just a few minutes after each use, with a deeper clean needed only occasionally.
Below is a complete guide to cleaning a Blackstone griddle, covering daily maintenance, deep cleaning, rust removal, and reseasoning, with real specifics so the surface stays in top condition for years of use.
Why Regular Cleaning Matters
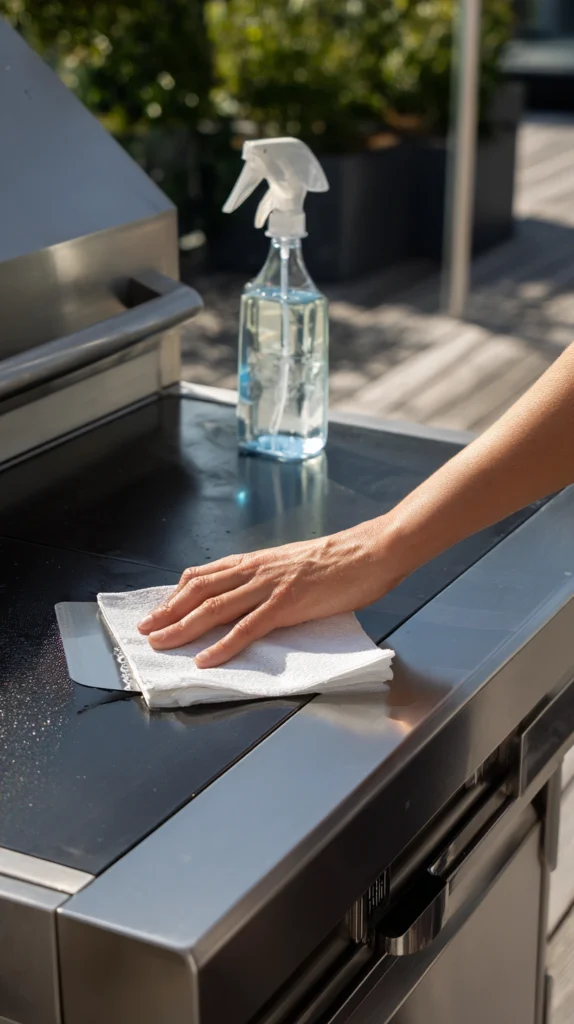
Leftover grease and food residue left on a griddle surface between uses can turn rancid, affecting the flavor of the next meal cooked on it. Regular cleaning also prevents rust from forming on the bare steel surface.
A quick clean after every single use takes about 5 minutes and prevents 90% of the problems that lead to a bigger deep-cleaning project later. Skipping this step even a few times in a row is what typically leads to stuck-on carbon buildup that’s much harder to remove.
Beyond food safety and flavor, consistent cleaning is also what builds and maintains the seasoning layer that gives a griddle its nonstick surface, so cleaning and seasoning work together rather than being separate concerns.
Tools and Supplies Needed
Basic daily cleaning supplies:
- Metal griddle scraper or spatula
- Paper towels or a clean cloth
- Water in a squirt bottle
- Cooking oil (vegetable, canola, or flaxseed oil)
Deep cleaning supplies:
- Griddle cleaning stone or pumice block
- Mild dish soap (for occasional use only)
- A soft grill brush without metal bristles
- Baking soda for tougher stains
Avoid using steel wool or abrasive metal scrubbing pads for regular cleaning, since they can scratch the surface and strip away built-up seasoning unnecessarily.
Daily Cleaning After Each Use
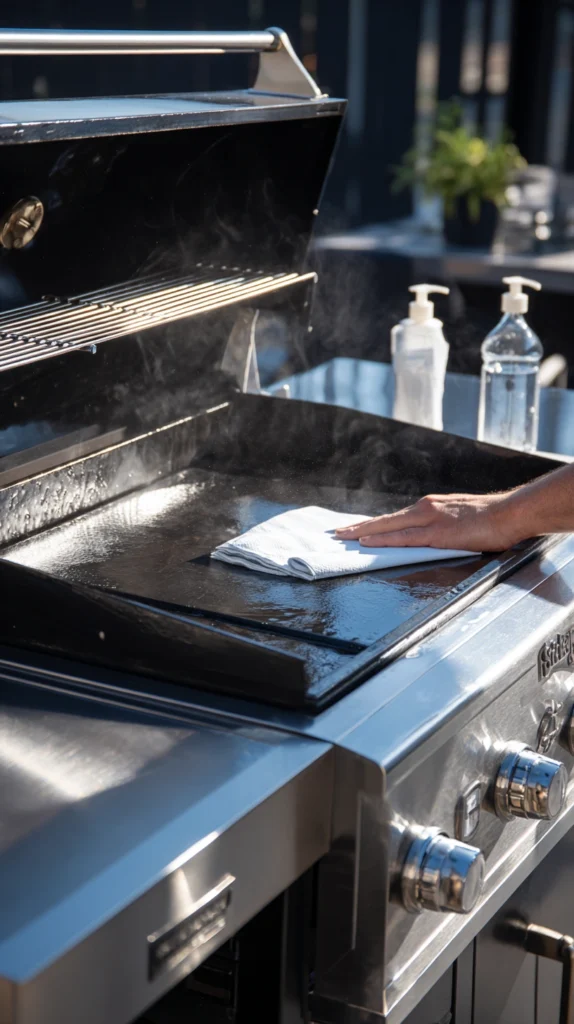
Cleaning immediately after cooking, while the griddle is still warm, is far easier than waiting until it cools completely, since warm grease and food residue scrape off much more easily.
Step 1: Scrape off food debris. While the griddle is still warm (not screaming hot), use a metal scraper to push all food scraps and loose debris toward the grease trap or a disposal container.
Step 2: Add water to steam-clean the surface. Pour a small amount of water onto the warm griddle and use the scraper to work it around, loosening any remaining stuck-on residue. The water will steam slightly, which helps lift residue without scrubbing hard.
Step 3: Scrape the water and residue away. Push the water and loosened debris off the griddle surface and into the grease trap, then wipe the surface with paper towels or a clean cloth until dry.
Step 4: Apply a thin layer of oil. Once the surface is dry, apply a small amount of cooking oil with a paper towel, spreading it thin and even across the entire cooking surface. This protects the steel from rust and maintains the seasoning layer until the next use.
Cleaning Immediately vs. Waiting
Cleaning while the griddle is still warm is significantly easier than waiting until it’s fully cooled, since grease hardens and food residue sets as the surface temperature drops.
If you do need to wait before cleaning, reheating the griddle briefly on low before starting the cleaning process softens dried residue and makes the scraping step much easier.
Deep Cleaning for Stuck-On Residue
Even with regular daily cleaning, a deeper clean every few weeks (or sooner if you notice sticky buildup or dull spots) helps maintain the cooking surface long-term.
Step 1: Heat the griddle to medium-high. A hot surface helps loosen baked-on grease and carbon buildup that a quick daily clean might not fully remove.
Step 2: Use a griddle cleaning stone. With the griddle still warm, scrub the surface in circular motions using a griddle stone or pumice block, adding water as needed to help lift residue. Focus extra attention on any dark, sticky, or discolored patches.
Step 3: Scrape and wipe clean. Use the metal scraper to remove the loosened grime along with the water, then wipe the entire surface thoroughly with paper towels until it looks clean and even.
Step 4: Re-oil the surface generously. After a deep clean, apply a slightly heavier coat of oil than you would after a normal daily clean, since deep cleaning removes more of the built-up seasoning layer than routine maintenance does.
How Often to Deep Clean
Frequent use (several times a week): Deep clean every 2-3 weeks to keep the surface in top condition.
Occasional use (once a week or less): Deep clean roughly once a month, or whenever you notice the surface looking dull or sticky.
Removing Rust From the Griddle Surface
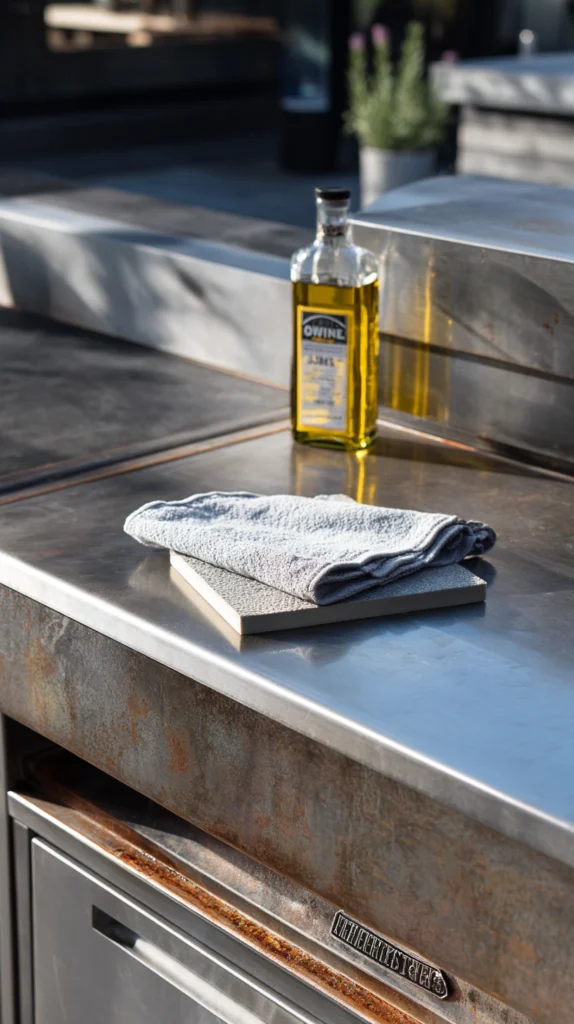
Rust can develop on a Blackstone griddle if it’s left uncleaned, uncoated with oil, or exposed to moisture for extended periods, but it’s usually fixable without needing to replace the surface.
Step 1: Scrub the rusted area with a griddle stone or fine sandpaper (220-400 grit). Work in circular motions until the rust is fully removed and the bare steel underneath is visible.
Step 2: Wipe away all dust and debris. Use a clean, dry cloth to remove any grit or rust particles left behind from the scrubbing process.
Step 3: Re-season the affected area. Apply a thin layer of oil and heat the griddle to a high temperature until the oil smokes slightly, then let it cool. Repeat this oiling and heating process 2-3 times to rebuild a protective seasoning layer over the bare steel.
Catching rust early, as soon as small spots appear, makes this process much faster than waiting until rust has spread across a larger area of the cooking surface.
Reseasoning After Cleaning
Seasoning is the thin, polymerized layer of oil that gives a griddle its nonstick quality, and it needs to be reapplied any time a deep clean or rust removal strips it away. This process is straightforward but does require some patience for the best results.
Step 1: Ensure the surface is clean and completely dry. Any leftover water or residue will prevent the oil from bonding properly during the seasoning process.
Step 2: Apply a thin, even layer of oil. Use a paper towel to spread the oil across the entire surface, including the edges, making sure there are no thick pools of oil sitting in any one spot.
Step 3: Heat the griddle until the oil smokes. Turn the burners to high and let the oil heat until it begins to smoke lightly, which indicates the oil is polymerizing onto the steel surface.
Step 4: Let it cool, then repeat. Allow the griddle to cool slightly, then repeat the thin oil application and heating process 2-4 more times to build up multiple seasoning layers.
Flaxseed oil is a popular choice for seasoning since it polymerizes into a particularly hard, durable layer, though vegetable or canola oil work well too and are more affordable for repeated seasoning sessions.
Cleaning the Grease Trap and Drainage System
The grease trap collects fat and food debris scraped off the cooking surface during use, and it needs regular emptying to avoid overflow and buildup. Most Blackstone models include a removable grease cup or tray beneath the front of the griddle.
Empty the grease trap after every use, or once it’s roughly half full, whichever comes first, since an overfilled trap can overflow onto the cart or ground below. Always let collected grease cool completely before disposing of it, and never pour hot grease directly down a drain.
Wash the grease cup itself periodically with mild dish soap and warm water, since old grease residue left in the cup can develop odor and attract pests over time.
What Not to Use When Cleaning
Avoid steel wool and abrasive metal pads, which scratch the steel surface and strip away seasoning unevenly, making future cleaning and cooking less consistent.
Avoid harsh chemical oven cleaners or bleach-based products, since these can react with the steel and leave residue that’s unsafe for food contact surfaces.
Avoid soaking the griddle surface in standing water, since prolonged water exposure promotes rust far more than a quick water-and-scrape cleaning method.
Limit dish soap use to occasional deep cleans only, since regular soap use can strip the seasoning layer that took multiple sessions to build up.
Preparing the Griddle for Long-Term Storage
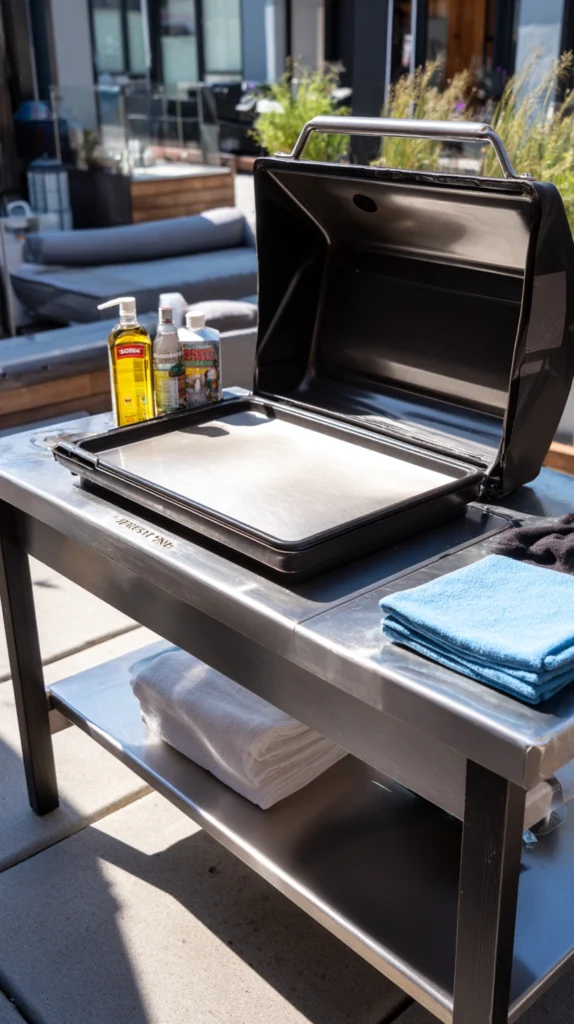
If storing the griddle for an extended period, such as over winter, a slightly more thorough cleaning and oiling process helps prevent rust and damage during the time it sits unused.
Step 1: Deep clean the entire surface following the steps above, removing all food residue and buildup.
Step 2: Apply a heavier-than-usual coat of oil across the entire surface, since this layer needs to protect the steel for weeks or months rather than just until the next meal.
Step 3: Cover the griddle with a weatherproof cover if storing outdoors, or a simple cloth or plastic cover if storing indoors, to keep dust and moisture away from the surface.
Step 4: Check the surface periodically during storage, especially in humid climates, and reapply oil if the surface looks dry or shows any early rust spots.
Troubleshooting Common Cleaning Problems
Food sticking despite regular cleaning: Usually indicates the seasoning layer has worn thin; run through a full reseasoning cycle to rebuild it.
Dark, sticky residue that won’t scrape off: This is often built-up carbonized oil rather than food debris, and typically requires the deep-cleaning steps with a griddle stone to fully remove.
Rust spots appearing repeatedly in the same area: Check that the area is getting a thorough oil coating after each clean, since thin or missed spots in the oil layer are the most common cause of recurring rust.
Uneven cooking or hot spots after cleaning: Confirm the surface was completely dry before reseasoning, since trapped moisture under an oil layer can create uneven heating patterns.
Cleaning a Brand-New Griddle Before First Use
A new Blackstone griddle comes coated with a factory protective layer that needs to be removed before the first cooking session, since this coating isn’t meant to be eaten. Skipping this step is one of the most common first-time mistakes new owners make.
Step 1: Wash the surface with warm, soapy water. This is one of the only times using dish soap on the cooking surface is fully recommended, since the goal here is removing the factory coating entirely rather than preserving seasoning.
Step 2: Rinse thoroughly and dry completely. Any leftover soap residue can affect the flavor of food cooked afterward, so a thorough rinse and dry with a clean towel matters more at this stage than during regular use.
Step 3: Season the griddle for the first time. Follow the same reseasoning steps described earlier in this guide, applying thin layers of oil and heating until smoking, repeating 3-4 times for a brand-new surface. A new griddle typically needs more initial seasoning layers than a griddle that’s simply being reseasoned after a deep clean.
Taking the time to properly season a new griddle before the first real cooking session sets the foundation for how well the nonstick surface performs for years afterward.
Choosing the Right Oil for Seasoning
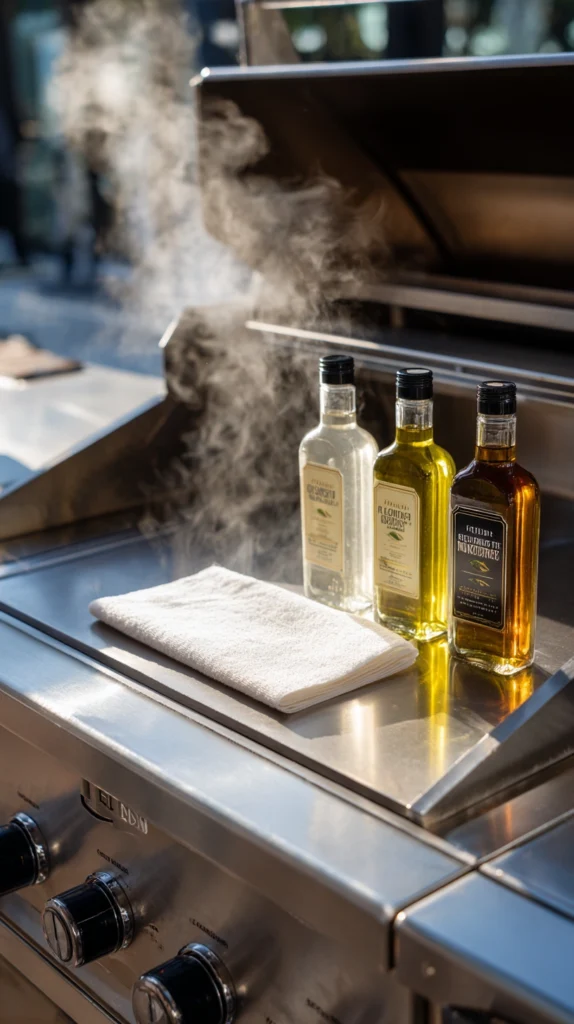
Not all cooking oils perform equally well for seasoning a griddle, since the goal is a durable, polymerized coating rather than just a greasy surface. Oil choice affects both how well the seasoning holds up and how it’s applied.
Flaxseed oil produces one of the hardest, most durable seasoning layers of any common oil, though it can be more expensive and slightly trickier to apply in a thin enough layer without becoming tacky.
Vegetable and canola oil are widely available, inexpensive, and work well for both initial seasoning and ongoing maintenance oiling, making them the most practical everyday choice for most home cooks.
Avoid butter, olive oil, or other oils with a low smoke point for the seasoning process specifically, since these can burn or turn sticky rather than forming a smooth, hard seasoning layer at the high heat seasoning requires.
Whichever oil you choose for seasoning, using the same oil consistently over time tends to produce a more even, predictable seasoning layer than switching between different oils from one session to the next.
Quick Reference Cheat Sheet

After every use:
- Scrape off food debris while warm
- Add water and scrape again to loosen residue
- Wipe dry
- Apply a thin layer of oil
Every 2-4 weeks:
- Deep clean with a griddle stone
- Reapply a slightly heavier oil coat afterward
As needed:
- Sand and reseason any rust spots immediately
- Empty the grease trap regularly, don’t let it overflow
Remember
Clean the griddle while it’s still warm rather than waiting until it’s fully cooled, since residue scrapes off far more easily at that stage, apply a thin layer of oil after every single cleaning to protect the seasoning and prevent rust, address rust spots as soon as they appear rather than letting them spread across a larger area, avoid steel wool or harsh chemical cleaners that strip the seasoning layer, and think of seasoning as an ongoing maintenance habit rather than a one-time setup step, since the surface actually improves the more consistently it’s cared for.