14 Driveway Entrance Curb Appeal Ideas
A driveway entrance sets the tone for the entire property before anyone even reaches the front door, which makes it one of the highest-impact areas for curb appeal improvements. Small changes here — better lighting, defined edges, a bit of landscaping — often make a bigger visual difference than people expect for the cost involved.
Below are 14 ways to upgrade a driveway entrance, from full pillar-and-gate builds to simple lighting and landscaping swaps, with real numbers on dimensions, material cost, and budget so the project fits your driveway and your budget.
Entrance Style Considerations
Formal/traditional entrances:
- Brick or stone pillars
- Symmetrical landscaping on both sides
- Wrought iron or estate-style gates
- Best for colonial or traditional home styles
Modern entrances:
- Clean concrete or metal pillars
- Minimal, structured plantings
- Horizontal-slat or cable gates
- Best for contemporary or mid-century homes
Cottage/farmhouse entrances:
- Wood or split-rail fencing
- Looser, layered plantings
- Simple wood or picket gates
- Best for cottage, farmhouse, or cape-style homes
1. Add Stone or Brick Entrance Pillars
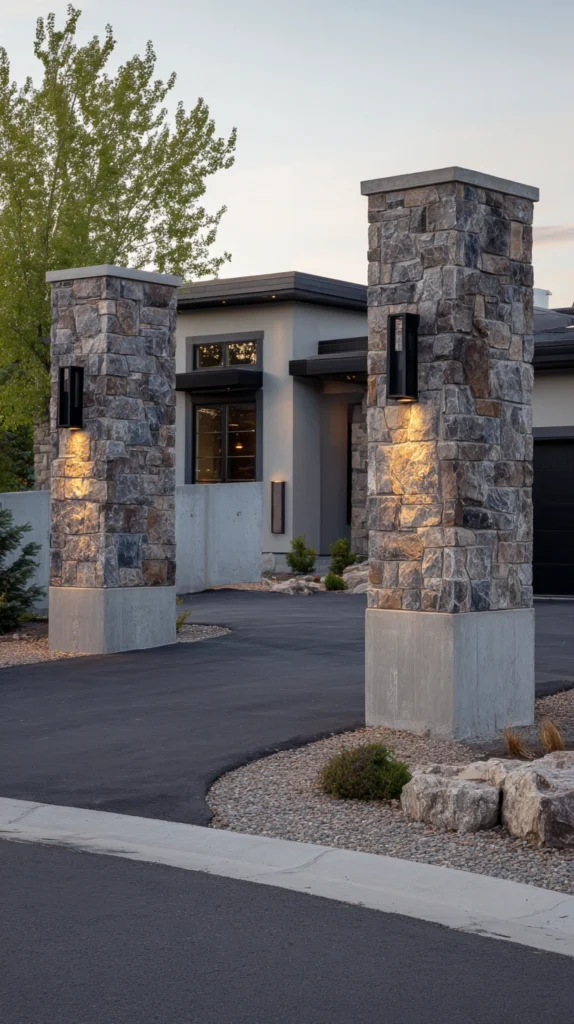
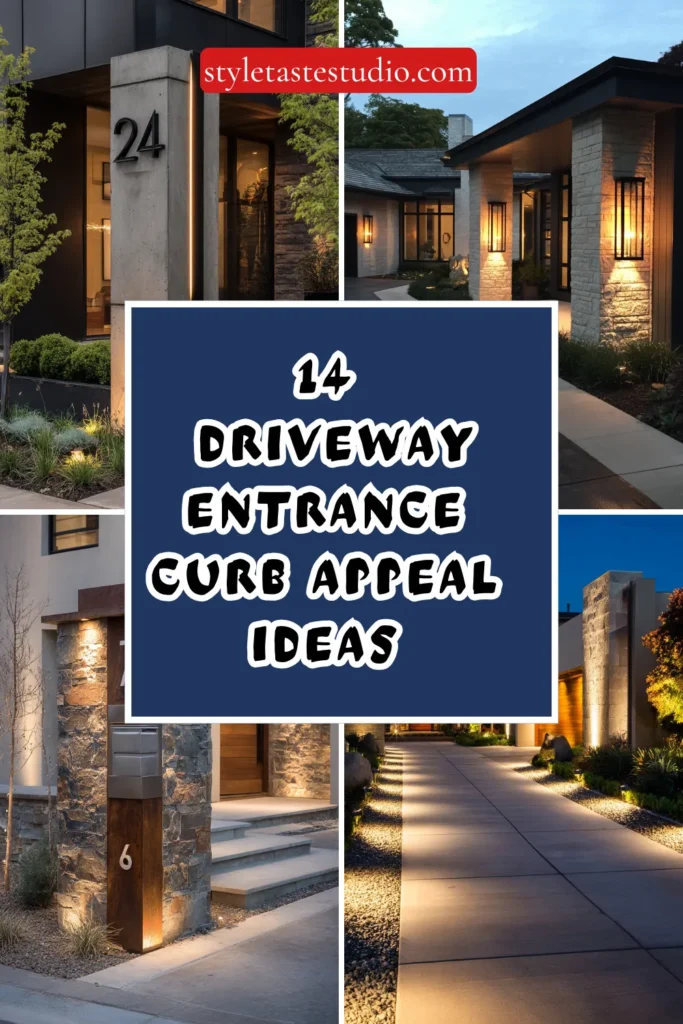
A pair of stone or brick pillars flanking the driveway entrance is one of the most classic ways to create a defined, formal entry point. Standard entrance pillars run 2×2 feet at the base and 4-5 feet tall, positioned 10-14 feet apart to allow for standard vehicle width.
Budget: $1,500-4,000 per pillar for a full stone or brick build with a proper footing, or $800-1,500 per pillar using a manufactured stone veneer over a block core. Manufactured veneer costs significantly less than natural stone while still delivering a similar look from the street.
A poured concrete footing below the frost line is essential in colder climates, since pillars built without proper footings are prone to shifting and cracking after a few freeze-thaw cycles. Matching the pillar material to your home’s existing brick, stone, or siding creates a more cohesive look than choosing an unrelated material.
Adding a flat stone or precast concrete cap on top of each pillar both protects the structure from water infiltration and gives the pillar a more finished, intentional appearance.
2. Install Lantern-Style Lighting on Pillars or Posts
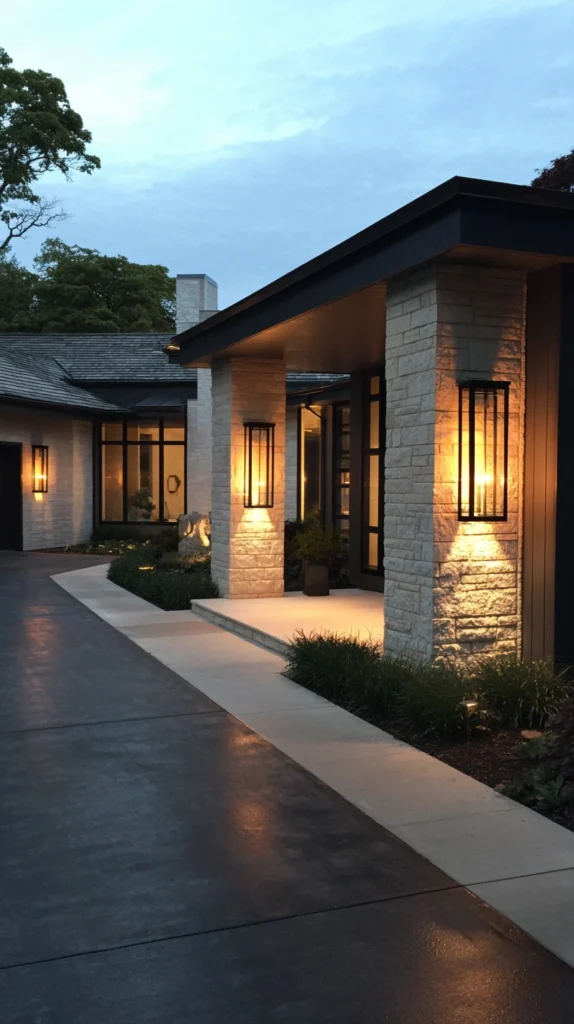
Lantern fixtures mounted on entrance pillars or posts add both function and old-world charm, especially when illuminated in the evening. Standard lantern fixtures run 12-20 inches tall and are typically mounted so the bottom of the fixture sits about 6 feet from the ground.
Budget: $80-250 per fixture for a quality lantern light, plus $100-300 per fixture for electrical wiring if not already run to the pillars. Solar-powered lantern fixtures are a lower-cost alternative that skip the electrical wiring cost entirely, running $40-100 per fixture.
Wiring for hardwired fixtures is far easier to run during the pillar construction phase than afterward, so it’s worth planning electrical conduit into the pillar design from the start if you’re building new pillars anyway. A warm white bulb temperature (rather than cool white or daylight) gives the entrance a more welcoming glow after dark.
Consistent lighting on both sides of the entrance, rather than just one fixture, creates better symmetry and makes the driveway easier to see when pulling in at night.
3. Add a Decorative Gate for Definition and Security
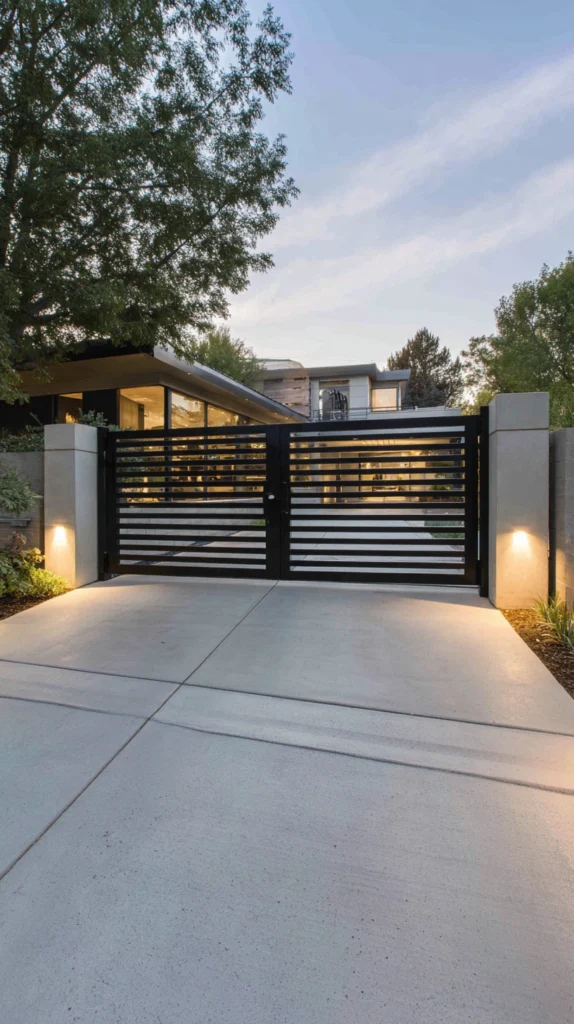
A gate spanning the driveway entrance adds both a strong visual statement and a functional security layer, whether manually operated or automated. Standard driveway gates run 12-16 feet wide for a single vehicle entrance, or up to 20+ feet for a double-gate configuration.
Budget: $1,500-4,000 for a manual wood or metal gate, or $4,000-10,000+ for an automated gate system with an opener and access controls. Manual gates cost significantly less but require getting in and out of the car to open and close them.
Wrought iron and aluminum gates offer a more formal, estate-like look and require less maintenance than wood, which needs periodic staining or sealing to hold up against weather. A local fence or gate contractor can typically install a basic manual gate in a day or two, while automated systems often take longer due to the additional electrical and control wiring involved.
Check local setback and homeowners’ association requirements before installing any gate, since many areas have rules about gate placement relative to the street and sidewalk.
4. Line the Driveway With Landscape Lighting
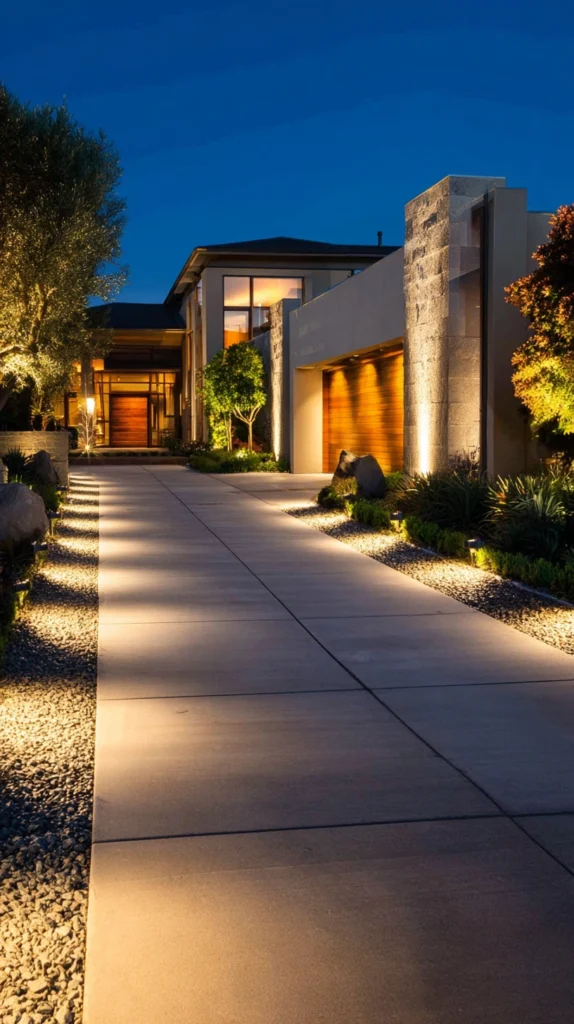
Low-voltage landscape lights installed along both sides of the driveway improve nighttime visibility and add a resort-like quality to the approach. Standard path lights are spaced every 8-10 feet along the driveway’s length.
Budget: $30-60 per light fixture, plus $100-300 for a low-voltage transformer, or roughly $600-1,500 total for a 100-foot driveway with lights on both sides. Solar path lights eliminate the wiring cost entirely, though they typically produce a dimmer, less consistent light than hardwired options.
Low-voltage lighting kits are a manageable DIY project for most homeowners, since the wiring runs at a safe voltage that doesn’t require a licensed electrician in most areas, though local code should always be confirmed first. Burying the wiring 2-3 inches deep along the driveway edge keeps it protected from lawn equipment and foot traffic.
Staggering the lights slightly, rather than placing them in a perfectly straight line, can create a more natural look when paired with landscaping rather than a runway-style appearance.
5. Add Layered Landscaping on Both Sides of the Entrance
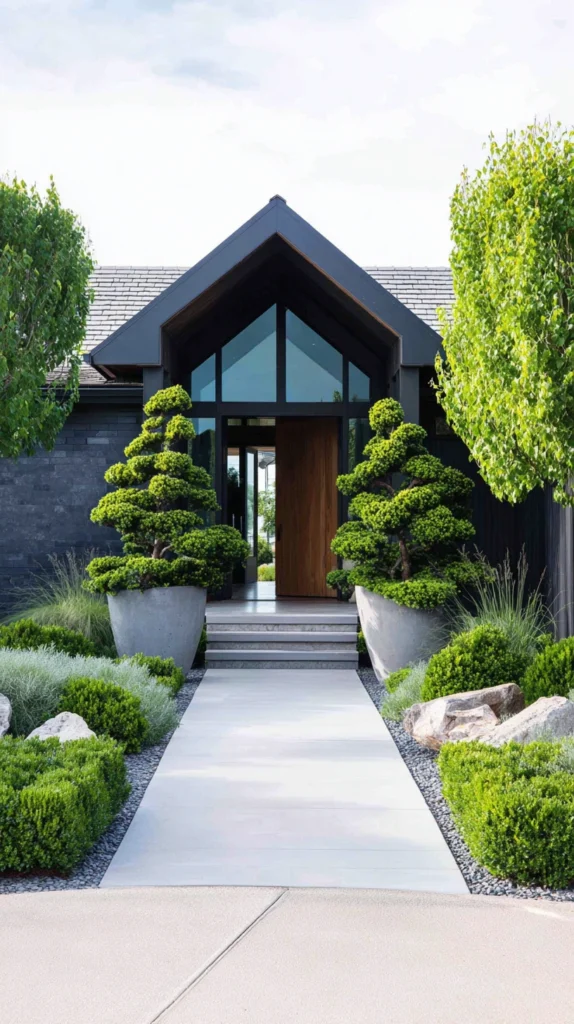
Layered plantings — low groundcover in front, mid-height shrubs behind, and a taller anchor plant or small tree at the back — create a lush, professionally landscaped look at the driveway entrance. Plan for a planting bed roughly 4-6 feet deep on each side of the entrance for enough room to layer properly.
Budget: $300-800 per side for a full layered planting bed, including mulch, depending on plant sizes chosen. Starting with smaller plant sizes costs significantly less than buying larger, more mature specimens, though it takes a season or two longer to fill in.
Choosing plants suited to your specific climate zone matters more here than almost anywhere else on the property, since entrance plantings are highly visible and a struggling or dead plant right at the driveway is one of the most noticeable curb appeal problems a home can have. Repeating the same plant palette on both sides of the entrance, rather than using different plants on each side, creates the strongest sense of symmetry and intentional design.
Adding a 2-3 inch layer of mulch after planting both improves the finished look and helps retain soil moisture between waterings.
6. Install a Paver or Stone Border Along the Driveway Edge
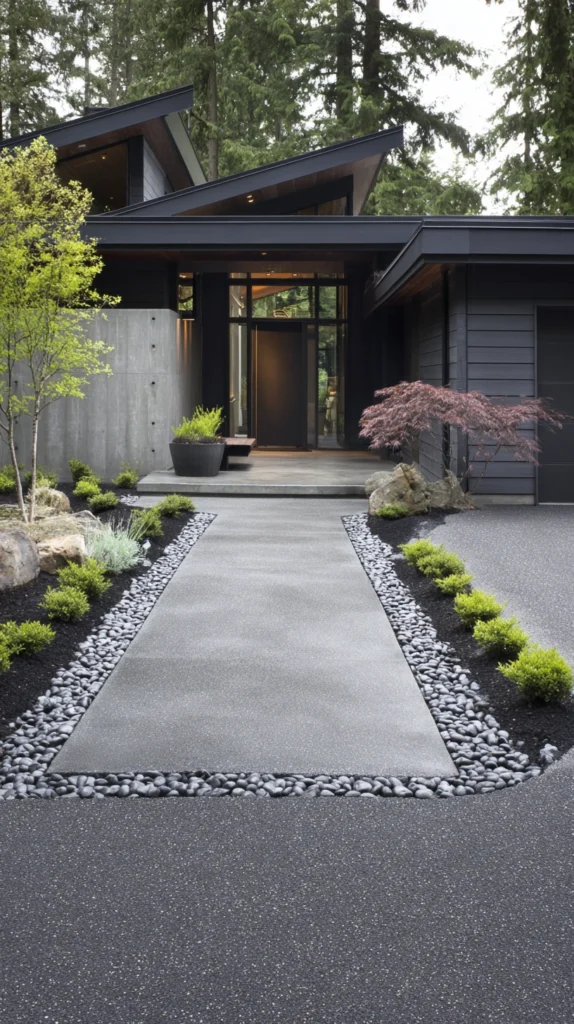
A defined paver or stone border along both edges of the driveway creates a crisp, finished look and helps prevent grass or mulch from creeping onto the driveway surface over time. Standard border pavers run 4-8 inches wide, installed flush with or slightly above the driveway surface.
Budget: $8-15 per linear foot installed, or roughly $800-1,500 for a 100-foot driveway with borders on both sides. DIY installation using paver edging kits can bring material costs down to $3-6 per linear foot, excluding labor.
A compacted gravel base beneath the pavers is essential for keeping the border level and stable over time, since skipping this step is the most common reason a paver border shifts or sinks within the first year or two. Choosing a paver color or material that complements rather than exactly matches the driveway itself creates a more intentional, designed contrast.
This project pairs particularly well with new landscape lighting or layered plantings, since the defined edge gives both of those upgrades a cleaner line to work from.
7. Add a New or Upgraded Mailbox Structure
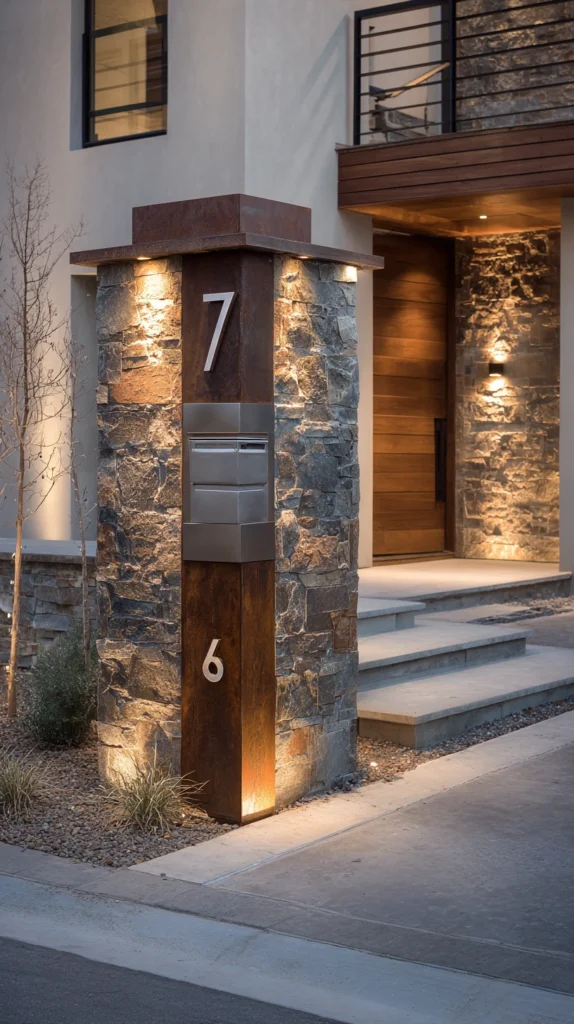
A mailbox positioned at the driveway entrance is one of the first things visitors and passersby notice, making it a surprisingly high-impact upgrade for a relatively small project. Standard mailbox posts run 4-4.5 feet tall per USPS guidelines for road-side placement.
Budget: $150-400 for a quality mailbox and post combination, or $500-1,200 for a brick or stone mailbox pillar to match entrance pillars elsewhere on the property. A matching mailbox pillar built from the same material as entrance pillars ties the whole approach together visually.
Confirm your local postal service’s height and setback requirements before installing any new mailbox, since these standards are fairly strict and an improperly placed mailbox can result in delivery issues. Adding house numbers directly on the mailbox or its post, in a font and size visible from the street, is a small detail that meaningfully improves wayfinding for visitors and delivery drivers alike.
Matching the mailbox’s material and finish to any nearby lighting fixtures or pillars creates a more cohesive, designed look rather than a mailbox that reads as an afterthought.
8. Add Large-Format House Numbers Near the Entrance
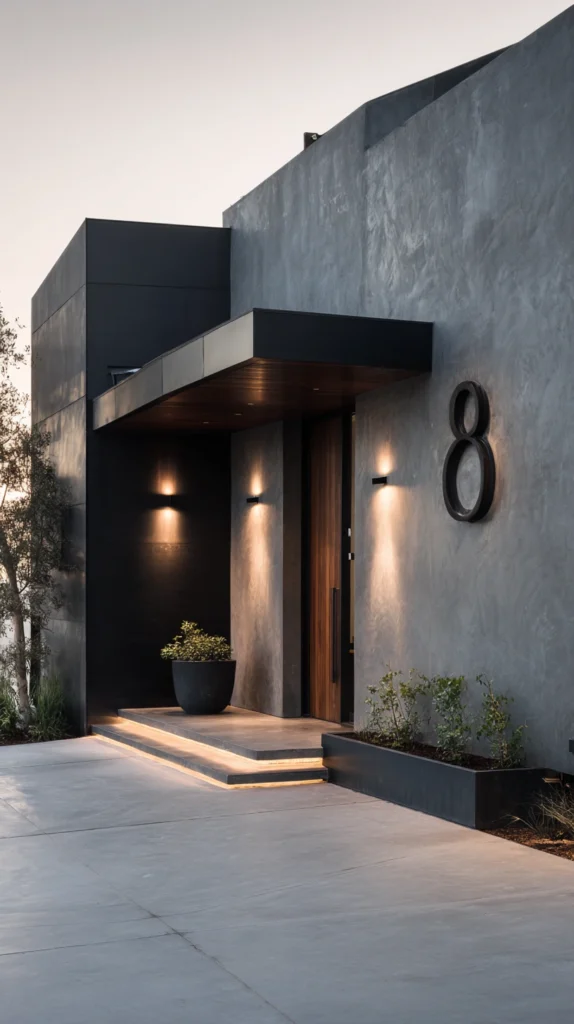
Bold, clearly visible house numbers positioned near the driveway entrance (rather than tucked beside the front door) make a home easier to find and add a modern design detail at the same time. Standard modern house numbers run 4-8 inches tall for good street visibility.
Budget: $30-100 for a set of quality metal or illuminated house numbers, plus mounting hardware. This is one of the least expensive projects on this list relative to its visual and functional impact.
Mounting numbers on an entrance pillar, a low garden wall, or a dedicated small post near the driveway is more visible from a moving car than numbers placed only on the house itself, especially on properties with a long driveway or significant setback from the street. Illuminated or reflective numbers add a meaningful safety benefit for evening deliveries, guests, and emergency services.
Choosing a font and finish that matches other metal details on the property (light fixtures, house hardware) creates a more polished, coordinated look.
9. Build a Low Garden Wall Flanking the Entrance
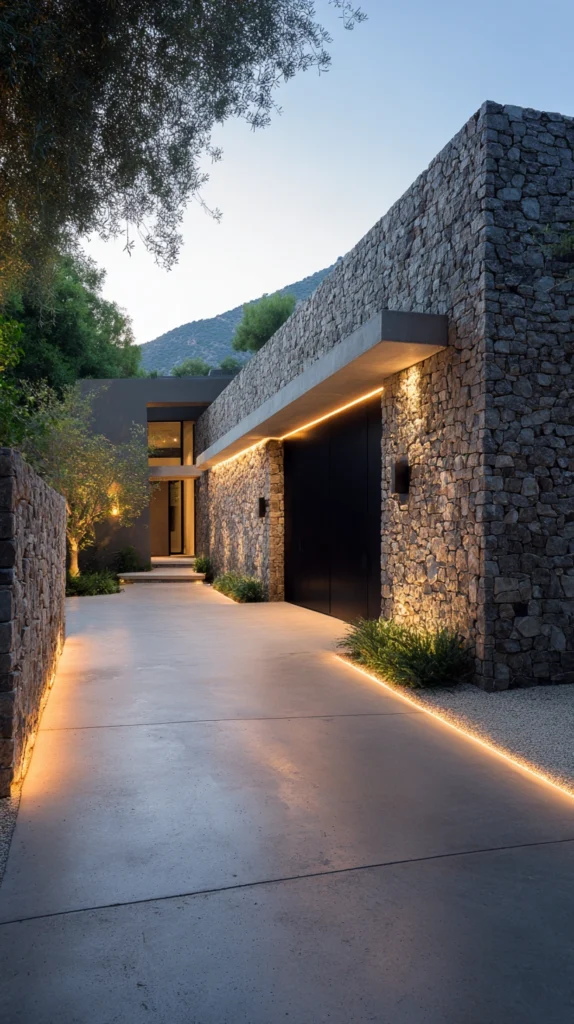
A low stacked-stone or brick wall on either side of the driveway entrance adds structure and a sense of arrival without the height or cost of full pillars. Standard low garden walls run 18-24 inches tall and 6-10 feet long on each side.
Budget: $25-45 per linear foot installed for a stacked stone or brick wall, or roughly $600-1,200 total for walls on both sides of a standard entrance. DIY installation using interlocking retaining wall blocks can bring costs down meaningfully compared to hiring a mason.
A proper compacted gravel base is just as important here as with pavers, since a low wall built directly on unprepared soil is likely to shift or lean within a year or two. Capping the wall with a contrasting stone or precast concrete cap gives it a more finished, deliberate look compared to a flat top edge.
These walls also double as informal seating or a display spot for potted plants, adding function beyond their purely decorative role.
10. Add a Decorative Arch or Trellis Over the Entrance
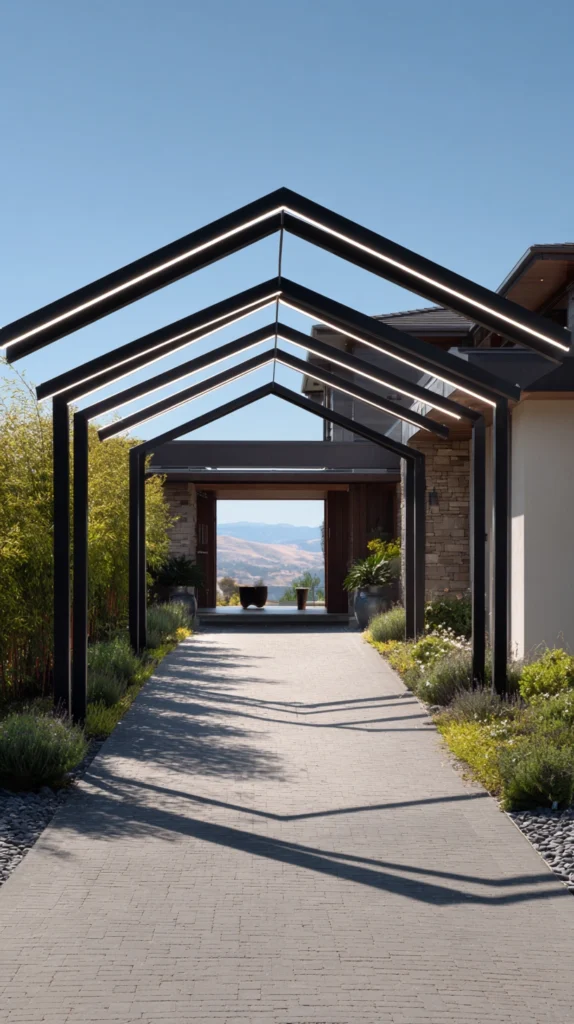
An arch or trellis spanning the driveway entrance, especially one with climbing plants trained across it, creates a memorable, storybook-like approach to the property. Standard driveway arches need to clear at least 12-13 feet in height to safely accommodate most vehicles, including larger trucks and SUVs.
Budget: $500-1,500 for a quality metal or wood arch structure, not including the cost of planting and training climbing vines. Height clearance is the most important measurement to confirm before ordering, since a miscalculation here creates an unusable structure.
Climbing roses, wisteria, or clematis are popular plant choices for training across a driveway arch, though they can take 2-3 years to fully fill in and create the lush, established look most people picture. A metal arch typically holds up to weather and plant weight better than wood over the long term, though wood offers a warmer, more traditional look in the meantime.
This is one of the more dramatic upgrades on this list, and it’s worth confirming with your local utility company that there are no overhead lines in the area before installing a tall structure.
11. Upgrade the Driveway Surface Itself Near the Entrance
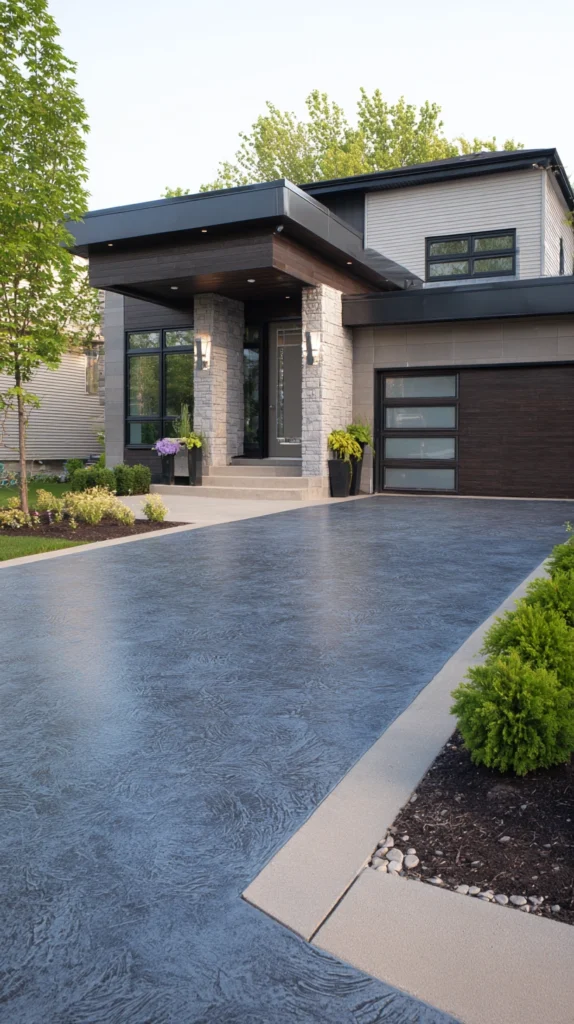
Even if a full driveway replacement isn’t in the budget, resurfacing or adding a decorative border just at the entrance section creates an immediate, high-visibility improvement. Standard driveway entrances benefit from resurfacing the first 10-15 feet closest to the street.
Budget: $8-15 per sq ft for stamped or stained concrete at the entrance, or $5-10 per sq ft for a simple asphalt seal-coat and crack repair over the same area. Focusing the upgrade on just the entrance section, rather than the full driveway length, keeps costs contained while still meaningfully improving the first impression.
Stamped concrete patterns that mimic brick or stone paving are a popular way to visually upgrade an entrance without the cost of installing real pavers, and they hold up well to vehicle weight when installed correctly. A simple crack repair and fresh seal-coat on an existing asphalt driveway is the lowest-cost option on this list and can be completed in a single weekend.
This project pairs especially well with new border pavers, since a freshly resurfaced entrance makes any adjacent landscaping or lighting upgrades look even more finished.
12. Add an Entrance Sign or House Name Plaque
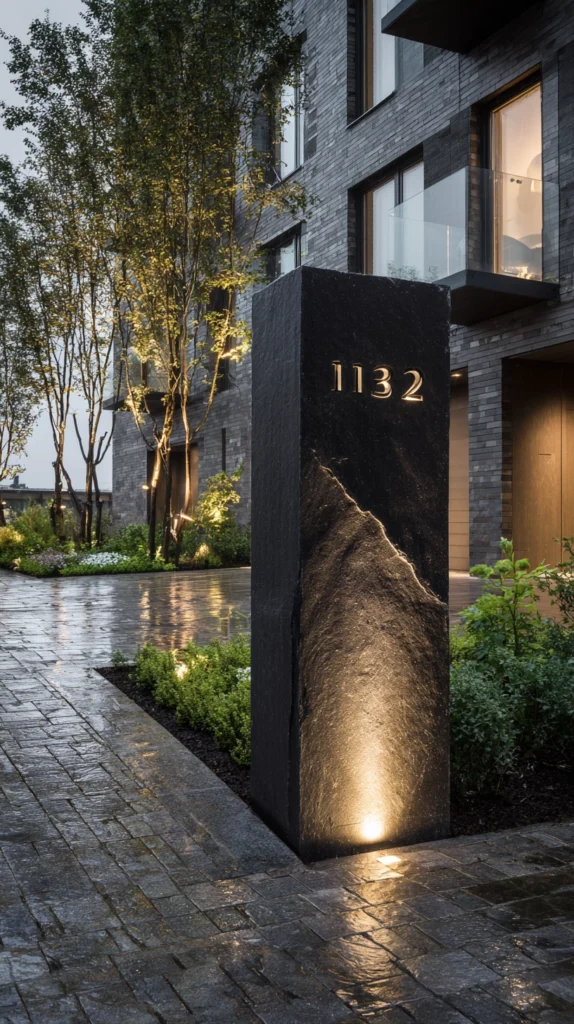
An engraved stone, wood, or metal plaque displaying the house name, family name, or address near the driveway entrance adds a distinctive, personalized touch, particularly common on larger or more rural properties. Standard entrance plaques run 12-24 inches wide, mounted on a pillar, post, or low wall.
Budget: $100-400 for a quality engraved sign, depending on material and size. Stone and metal signs cost more upfront but require far less maintenance over time than a painted wood sign, which needs periodic refinishing.
Positioning the sign at a height and angle visible from the road, rather than facing directly into the driveway, ensures it’s actually legible to passing traffic rather than only visible to people already pulling in. Backlighting or an adjacent spotlight on the sign extends its visibility and impact into the evening hours.
This upgrade is especially popular on properties with a name (a farm, an estate, or a distinctive architectural style) worth highlighting, though a simple address plaque works just as well for improving wayfinding on any property.
13. Add Symmetrical Container Plantings at the Entrance
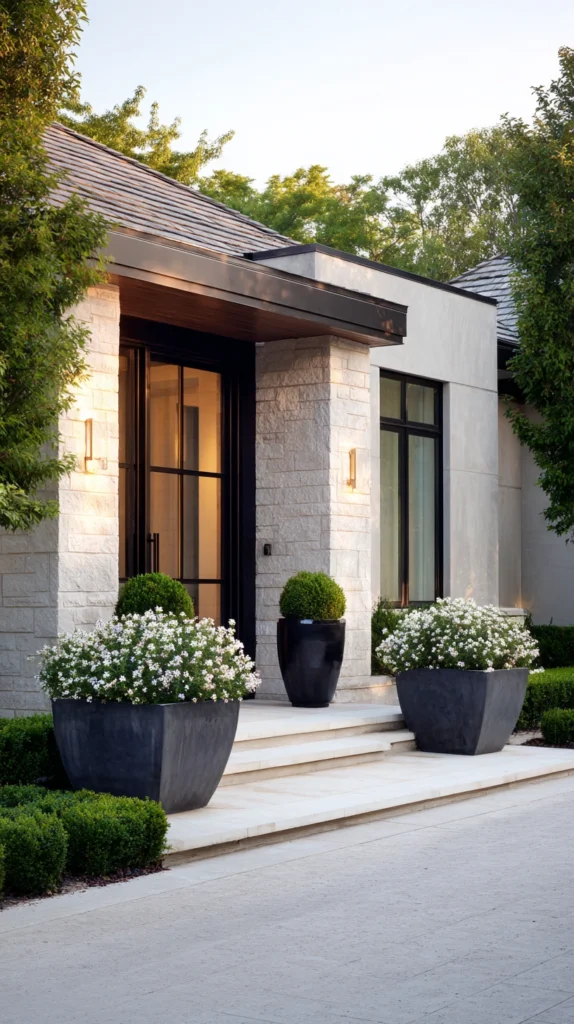
A pair of matching large planters filled with seasonal flowers or evergreen shrubs on either side of the driveway entrance is one of the simplest, most flexible upgrades on this list. Standard entrance planters run 18-24 inches in diameter for enough visual weight to read well from the street.
Budget: $60-150 per planter for a quality weatherproof container, plus $30-80 per planter for plants, depending on size and variety chosen. This is one of the most affordable entrance upgrades and one of the easiest to change seasonally.
Choosing frost-resistant material (fiberglass, high-fired ceramic, or concrete) matters in colder climates, since standard terracotta can crack after repeated freeze-thaw cycles left outdoors year-round. Rotating seasonal flowers in spring and fall, while keeping a consistent evergreen shrub as the container’s anchor plant, balances year-round structure with seasonal color.
This is also one of the easiest upgrades to try before committing to a bigger, more permanent entrance project like pillars or a wall, since planters can be repositioned or replaced with minimal cost or effort.
14. Add a Cohesive Address Marker Combined With Lighting
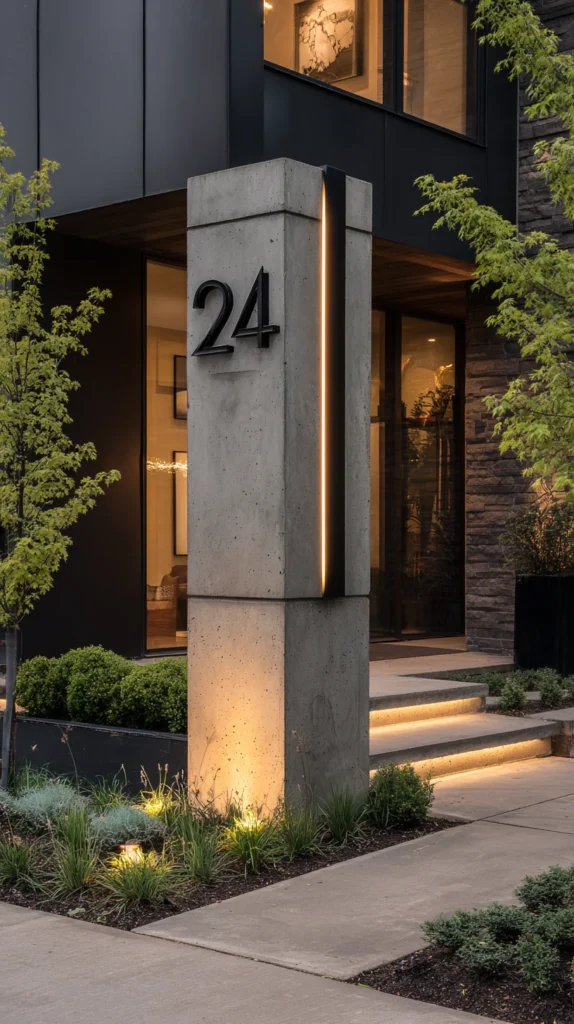
Combining house numbers, a small light fixture, and simple landscaping into one cohesive entrance marker creates a polished, all-in-one focal point rather than several disconnected elements. Standard combination markers run about 3-4 feet tall, similar in scale to a large mailbox post.
Budget: $300-700 for a custom-built combination marker with numbers and integrated lighting, or $150-350 for a simpler pre-made kit. This approach consolidates several smaller upgrades from this list into one unified structure.
Building this as a small stone or brick pedestal, with house numbers mounted on the front and a small solar or hardwired light fixture on top, creates a single strong focal point rather than requiring separate projects for lighting, numbers, and structure. This is a good option for properties without room or budget for full pillars but that still want a clear, well-marked, well-lit entrance.
Positioning this marker on just one side of the driveway (rather than needing a matching pair) also keeps the project’s cost and complexity lower than most of the paired options elsewhere on this list.
Permits and Planning Considerations
Larger structural projects on this list — pillars, gates, and garden walls in particular — sometimes require a permit depending on your city or county, so it’s worth a quick call to the local building department before breaking ground.
Homeowners’ associations often have their own separate rules on top of city requirements, covering everything from approved materials to maximum height for pillars, walls, and signage near the street.
Utility companies can mark buried lines for free in most areas before any digging begins, which matters for projects involving new footings, wiring for lighting, or post holes for a gate or arch.
Planning the full entrance vision first, even if you only complete one or two elements this year, helps later additions (lighting, a gate, a wall) feel cohesive rather than like separate afterthought projects.
Quick Start Project List
This weekend, under $300:
- Solar path lights along the driveway edge
- New house numbers with reflective or illuminated finish
- A pair of large planters with seasonal flowers
- Basic mailbox and post upgrade
Budget-Friendly Version
Lowest-cost upgrades overall:
- Solar landscape lighting instead of hardwired
- DIY paver edging kits instead of a professional install
- Container plantings instead of built-in landscaping beds
- A simple crack repair and seal-coat instead of full resurfacing
Success Indicators
- Entrance is clearly visible and well-lit after dark
- House numbers are legible from the street, not just up close
- Landscaping on both sides feels balanced and intentional
- The entrance reflects the home’s overall architectural style
- Visitors and delivery drivers find the entrance easily on the first try
Remember
Start with lighting and house numbers before bigger structural projects like pillars or gates, since these deliver strong impact for relatively low cost, confirm any local setback, HOA, or postal service requirements before building anything permanent near the street, match new materials to the home’s existing architecture rather than choosing an unrelated style, prioritize a compacted gravel base under any pavers or walls to prevent shifting over time, and treat the entrance as a project you can build up in stages rather than needing to complete all at once.