12 Inexpensive Wood Ceiling Ideas
Getting a wood ceiling look doesn’t require premium lumber or a contractor. Some of the cheapest materials for this project aren’t even sold as “ceiling wood” at all — they’re leftover flooring samples, fence pickets, and furring strips most people wouldn’t think to look at twice.
Below are 12 inexpensive ways to bring wood texture to a ceiling, with real numbers on material cost, coverage, and budget so the project stays affordable from start to finish.
Cost-Saving Considerations
Cheapest raw materials:
- Furring strips (thin, inexpensive lumber)
- Fence pickets (sold in bulk, low per-piece cost)
- Luan plywood (thinner and cheaper than standard sheets)
- Flooring samples or discontinued stock
Where cost adds up fastest:
- Pre-finished or stained specialty panels
- Hardware and adhesive for large coverage areas
- Labor if hiring out installation
- Waste from poor initial measuring
1. Build a Furring Strip Grid Ceiling
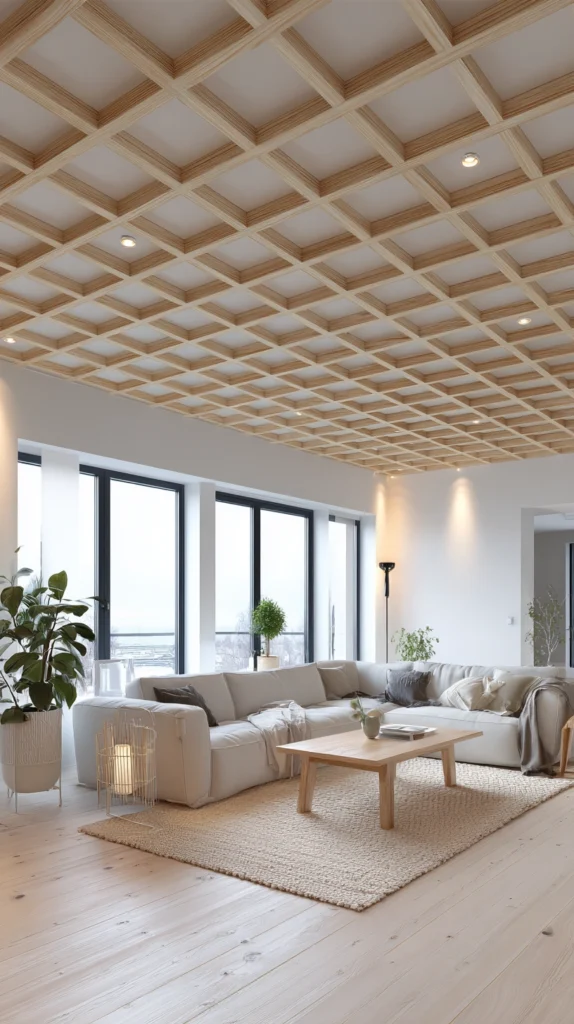
Furring strips are thin, inexpensive boards typically sold for framing and shimming, but arranged in a simple grid pattern they create a striking, architectural wood ceiling for very little money. Standard furring strips run about 1.5×3 inches and cost far less per linear foot than dimensional lumber.
Budget: $0.50-1.50 per linear foot, or roughly $150-300 total for a 120 sq ft ceiling grid. This is one of the cheapest materials on this list simply because furring strips aren’t marketed as a finish product.
Arranging the strips in a square or rectangular grid pattern, spaced 12-24 inches apart, creates a modern coffered look without the cost of true millwork. Sand the rough-cut edges lightly before installing, since furring strips typically come with a rougher finish than appearance-grade lumber.
Painting or staining the grid one uniform color after installation, rather than before, gives the cleanest, most consistent finished look.
2. Cover the Ceiling in Luan Plywood
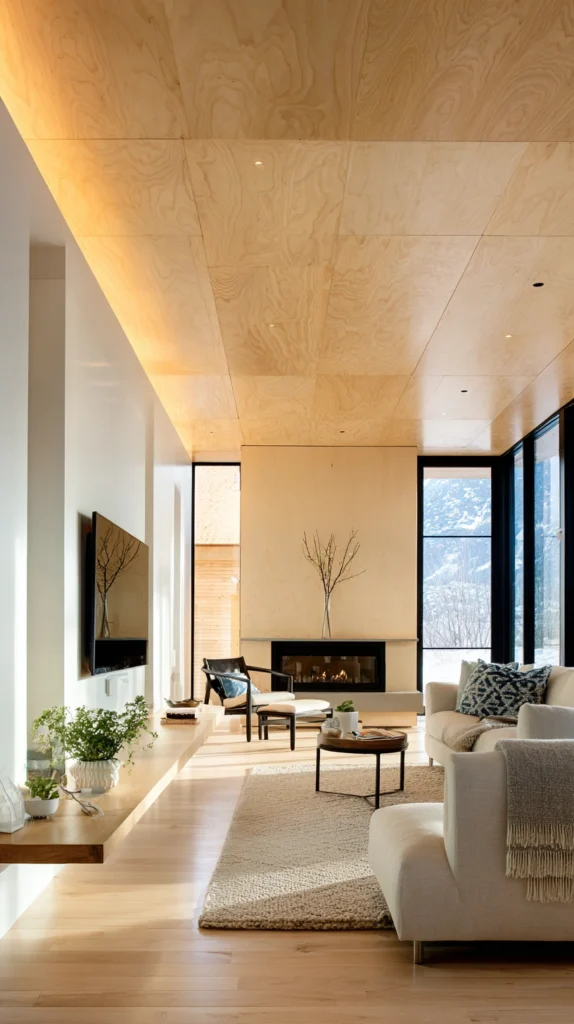
Luan plywood is a thin, inexpensive underlayment-grade plywood often used beneath flooring, but its smooth surface and light wood tone make it a workable budget ceiling option. Standard luan sheets run 4×8 feet and cost noticeably less than cabinet-grade plywood.
Budget: $15-25 per sheet, or roughly $60-100 total for a 120 sq ft ceiling. This is one of the lowest-cost full-coverage wood ceiling options available.
Because luan is thin and somewhat flexible, it needs support every 16-24 inches to avoid sagging over time, so plan on fastening it directly to ceiling joists rather than spanning large gaps unsupported. A light stain or clear sealant brings out whatever subtle grain the luan surface has, since it’s not the most visually interesting wood on its own.
This works best as a budget backdrop for a room where a faux beam grid, wood slats, or a stenciled pattern will be added on top, rather than as a standalone finish.
3. Repurpose Cedar Fence Pickets as Ceiling Boards
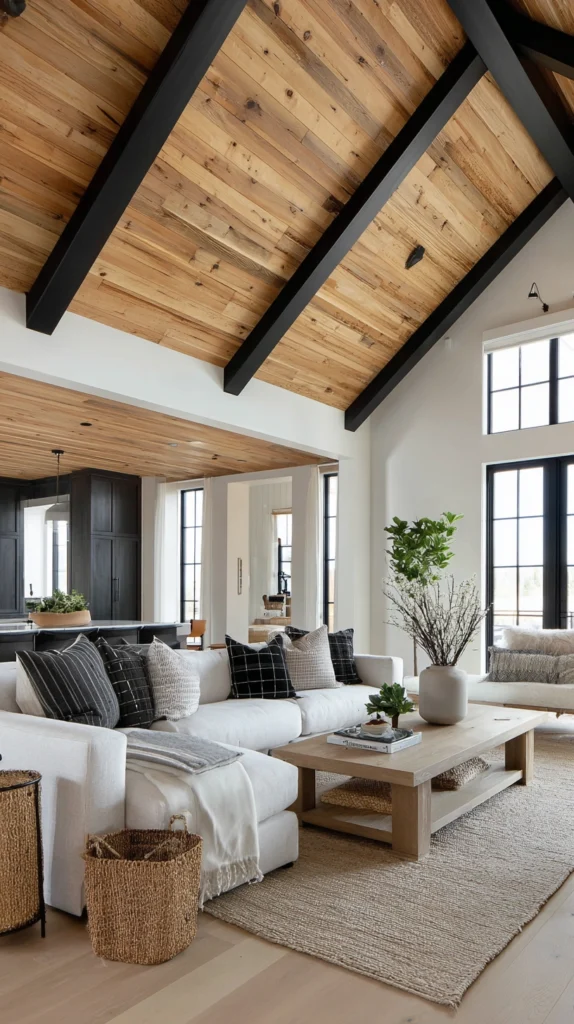
Cedar fence pickets are sold in bulk at a much lower per-square-foot cost than standard cedar boards marketed for interior use, despite being the same basic material. Standard fence pickets run 5.5 inches wide and 6 feet long, so a 120 sq ft ceiling needs about 45-50 pickets.
Budget: $3-6 per picket, or roughly $150-300 total for a 120 sq ft ceiling. This is a fraction of the cost of cedar sold specifically as tongue-and-groove ceiling material.
Fence pickets typically have one rough side and one smoother side, so plan to sand the rough face if you want it facing into the room, or embrace the rough texture for a more rustic look. Trimming the pointed or rounded tops off standard pickets before installation gives cleaner, more usable rectangular boards.
Since pickets aren’t tongue-and-groove, small gaps or a simple shiplap-style overlap work best rather than trying to butt the edges perfectly flush.
4. Install Bamboo Paneling for a Budget Natural Look
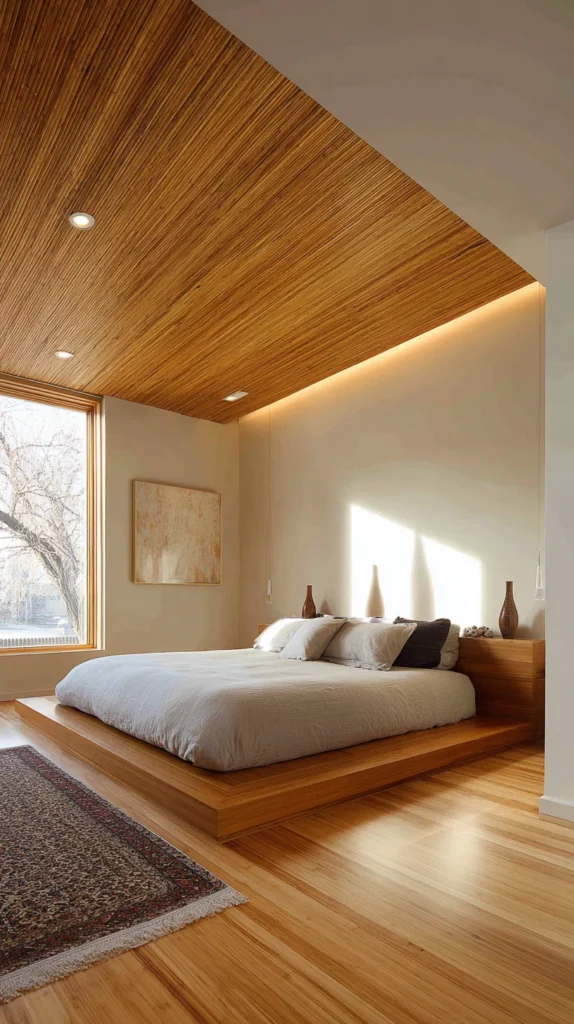
Bamboo paneling offers a warm, natural wood look at a lower cost than many hardwood veneer products, since bamboo grows and is harvested much faster than traditional lumber. Standard bamboo panels run 4×8 feet, similar to plywood sheet sizing.
Budget: $2-4 per sq ft, or roughly $240-480 total for a 120 sq ft ceiling. This sits at a moderate price point but often looks more refined than other budget options for a similar cost.
Bamboo’s naturally light, striated grain pattern gives a distinct look from pine or oak, which is worth considering if you want a wood ceiling that reads as intentionally different rather than a budget stand-in for a pricier lumber. Pre-finished bamboo panels skip the staining and sealing steps entirely, saving both time and additional material cost.
This option works especially well in a room with a coastal, tropical, or modern minimalist theme, where bamboo’s clean grain pattern fits naturally.
5. Use Wood-Look Vinyl Plank Flooring on the Ceiling
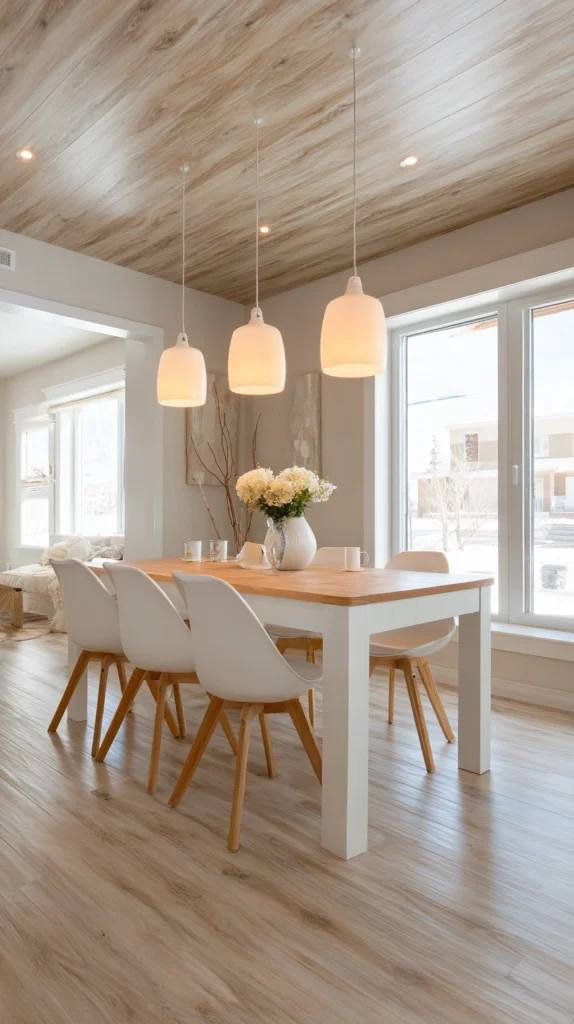
Vinyl plank flooring, designed to mimic wood grain at a low cost, can be installed on a ceiling using construction adhesive for a surprisingly convincing wood look. Standard vinyl planks run 6-9 inches wide and 36-48 inches long, and a 120 sq ft ceiling needs about 130-150 sq ft accounting for waste.
Budget: $1.50-3 per sq ft, or roughly $180-450 total for a 120 sq ft ceiling. This is often cheaper than real wood planking of any kind, since vinyl flooring is manufactured at a larger scale.
Because vinyl planks are designed for floors, not ceilings, a strong construction adhesive rather than the click-lock or floating installation method is necessary to keep them securely attached overhead. Choosing a matte rather than glossy finish helps the material read as wood rather than obviously as flooring once installed above eye level.
This is one of the more unconventional options on this list, but it holds up well in humid spaces like bathrooms or laundry rooms where real wood might be a poor fit.
6. Create a Scrap Wood Mosaic Ceiling
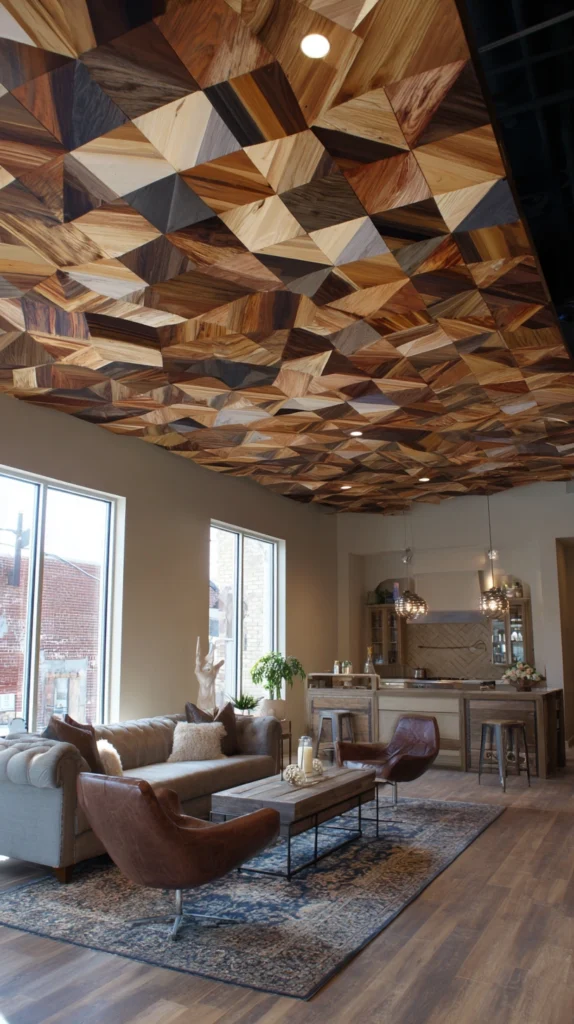
A mosaic-style ceiling built from mismatched scrap wood pieces — offcuts, leftover trim, reclaimed odds and ends — turns what would otherwise be waste material into a genuinely unique, one-of-a-kind ceiling. There’s no standard sizing here, since the whole approach is built around using whatever pieces are available.
Budget: often $0-100 if using entirely scrap and offcut material, or up to $200-300 if supplementing with a small amount of purchased wood to fill gaps. This is potentially the cheapest option on this list if you already have wood scraps on hand from other projects.
Sorting scraps by thickness first makes installation far easier, since pieces of similar depth create a flatter, more even ceiling surface than randomly mixing thick and thin pieces together. Planning a rough layout on the floor before installing overhead helps balance the color and size variation across the full ceiling.
This approach takes more planning time than any single-material option on this list, but the material cost savings are hard to beat if scrap wood is already available.
7. Add Beadboard Wallpaper Instead of Real Beadboard
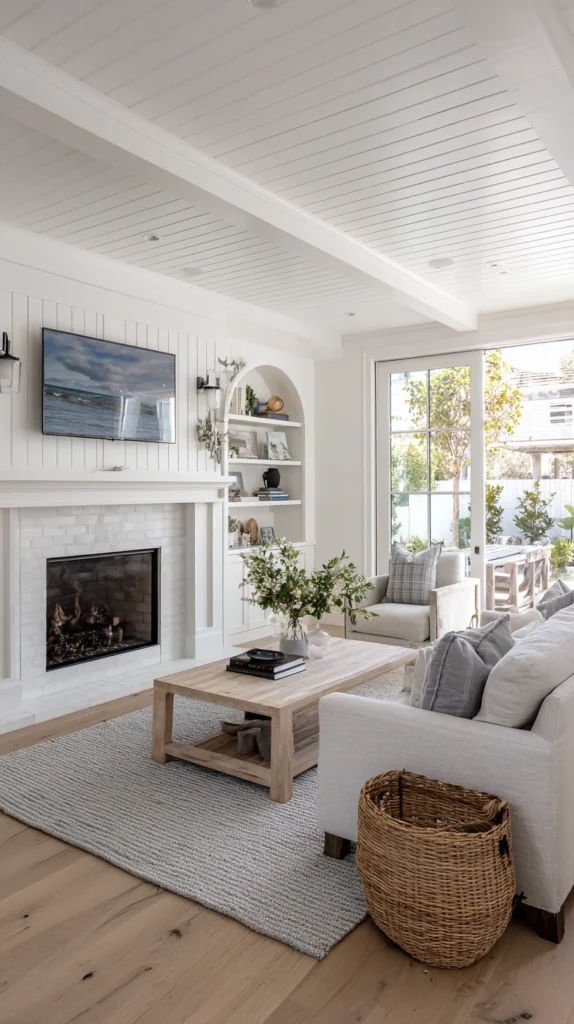
Textured, paintable wallpaper designed to mimic beadboard’s grooved panel look costs significantly less than installing actual wood or MDF beadboard sheets. Standard wallpaper rolls cover about 33-56 sq ft depending on the brand, so a 120 sq ft ceiling needs 3-4 rolls.
Budget: $15-30 per roll, or roughly $60-120 total for a 120 sq ft ceiling. This is meaningfully cheaper than sheet-good beadboard while still delivering a similar grooved, textured look once painted.
Because this is a paper or vinyl product rather than solid wood, it installs with wallpaper paste rather than nails or screws, which makes it one of the fastest and least tool-intensive options on this list. Priming the ceiling surface beforehand ensures the paste adheres evenly across the whole area.
Painting the wallpaper after installation, just as you would real beadboard, completes the look and adds a protective layer against everyday wear.
8. Repurpose Salvaged Doors or Shutters as Ceiling Panels
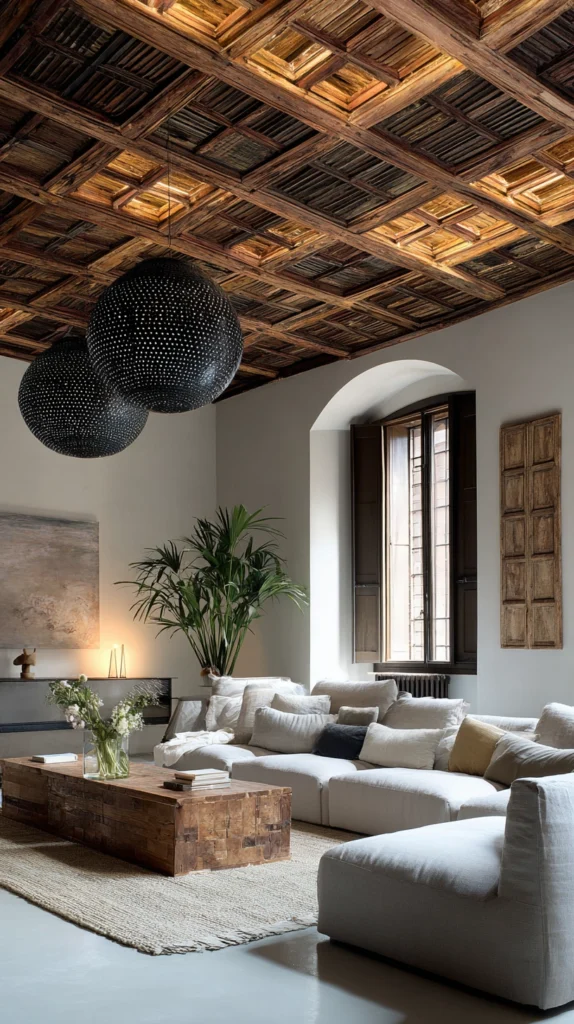
Old wood doors, shutters, or window panels sourced secondhand can be cut down and mounted flat against a ceiling for a distinctive, architecturally interesting surface. Costs vary widely by source, but salvage yards and online marketplaces often sell these components for a fraction of new lumber costs.
Budget: often $20-60 per salvaged door or shutter panel, or roughly $200-500 total for a 120 sq ft ceiling depending on how many pieces are needed. This is more labor-intensive to plan and fit than a standard plank ceiling, but it delivers a genuinely unique result.
Inspecting salvaged pieces for structural soundness, old paint (which may contain lead in older homes), and insect damage is an important step before bringing them into any interior space. Sanding and resealing older salvaged wood also helps neutralize old finishes before installation.
This option works particularly well in a room already leaning eclectic or vintage, where the visible history in the wood adds to rather than detracts from the intended style.
9. Try a Color-Blocked Painted Plank Ceiling
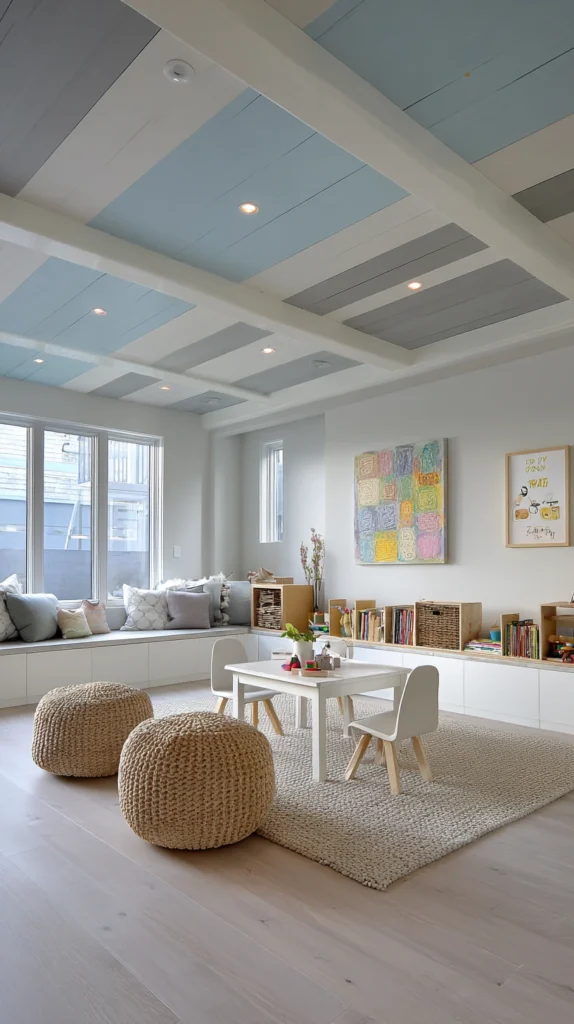
Standard inexpensive pine or common board planks, painted in two or three alternating colors rather than a single uniform tone, create visual interest without any additional material cost beyond paint. Standard boards run 3.5-5.5 inches wide, similar to typical tongue-and-groove sizing.
Budget: $150-300 for basic common board material for a 120 sq ft ceiling, plus $30-50 in paint for a multi-color scheme. This uses the same basic material cost as a standard plank ceiling, with the added visual value coming entirely from the paint pattern.
Alternating colors every 2-3 boards, rather than every single board, tends to look more intentional and less busy once installed. Choosing colors within the same tonal family (two shades of blue, for example) rather than high-contrast colors keeps the look sophisticated rather than juvenile.
This is a good option for a kid’s room, playroom, or casual space where a bit of extra color and personality overhead fits the room’s purpose.
10. Use Discounted or Discontinued Flooring Samples
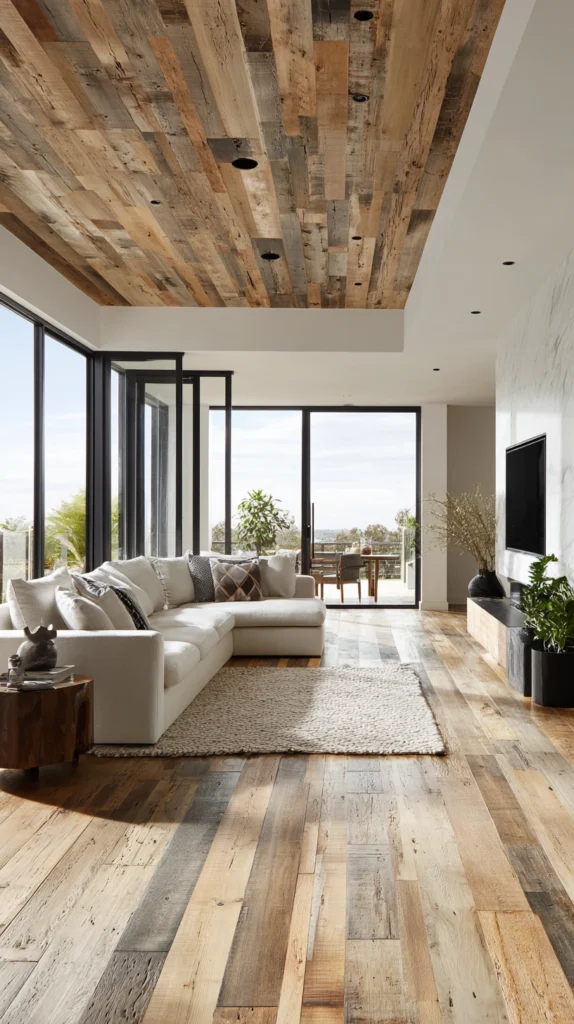
Wood flooring samples and discontinued stock, often sold at a steep discount by flooring retailers clearing old inventory, can be repurposed as ceiling planks at a fraction of the cost of new lumber. Sizing varies by source, but standard flooring planks run 3-7 inches wide.
Budget: often $0.50-2 per sq ft for discontinued or clearance flooring stock, or roughly $60-240 total for a 120 sq ft ceiling. This requires some flexibility on exact wood species or color, since you’re working with whatever discounted stock is available at the time.
Calling ahead to local flooring retailers and asking specifically about discontinued lines or damaged-box inventory often turns up significant savings that aren’t advertised on the sales floor. Because flooring is designed to handle foot traffic, it’s typically durable enough to install on a ceiling with no modification needed beyond standard fastening.
This is one of the more unpredictable options on this list in terms of available styles, but it’s also one of the biggest potential cost savings if your local market has good clearance stock.
11. Build a Simple 1×2 Slat Ceiling With Furring Strips
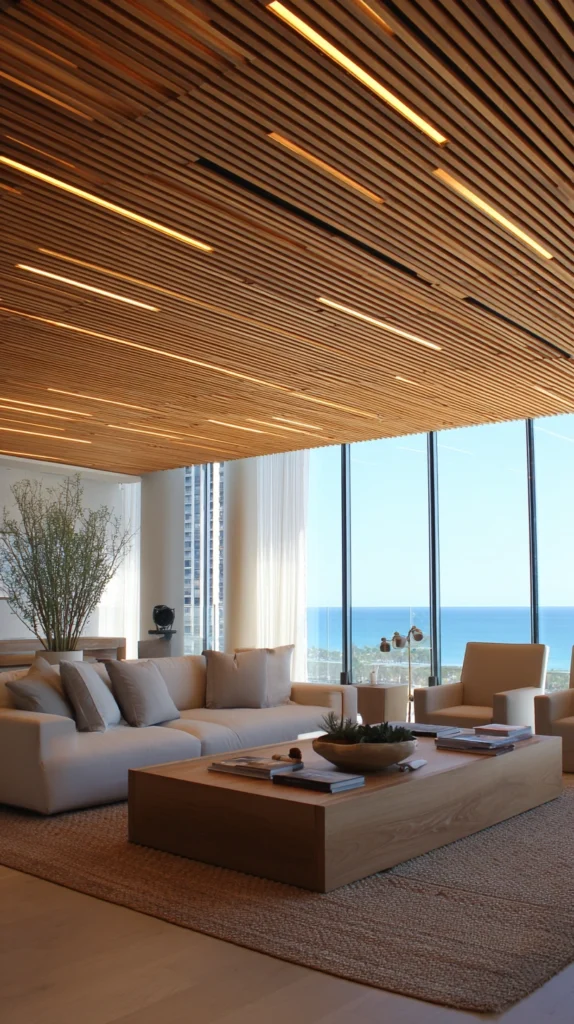
Thin 1×2 furring strips, spaced with consistent gaps, create the popular modern slat ceiling look for less than the cost of pre-made slat panel systems. Standard 1×2 strips run about $1-2 per 8-foot length.
Budget: $150-350 for enough 1×2 material to cover a 120 sq ft ceiling in a slat pattern with 1-2 inch gaps. This is noticeably cheaper than purchasing a pre-fabricated slat panel system for the same coverage.
A simple spacer block cut to your chosen gap width helps keep spacing consistent as you install each strip, which is what makes the difference between a professional-looking slat ceiling and an uneven one. Pre-staining or painting the strips before installation is easier than trying to finish them once they’re up and the gaps make brush access harder.
This approach can also conceal wiring for lighting behind the slats if planned before installation, adding function on top of the visual upgrade.
12. Use Leftover Paint Sticks or Craft Wood for a Small Accent
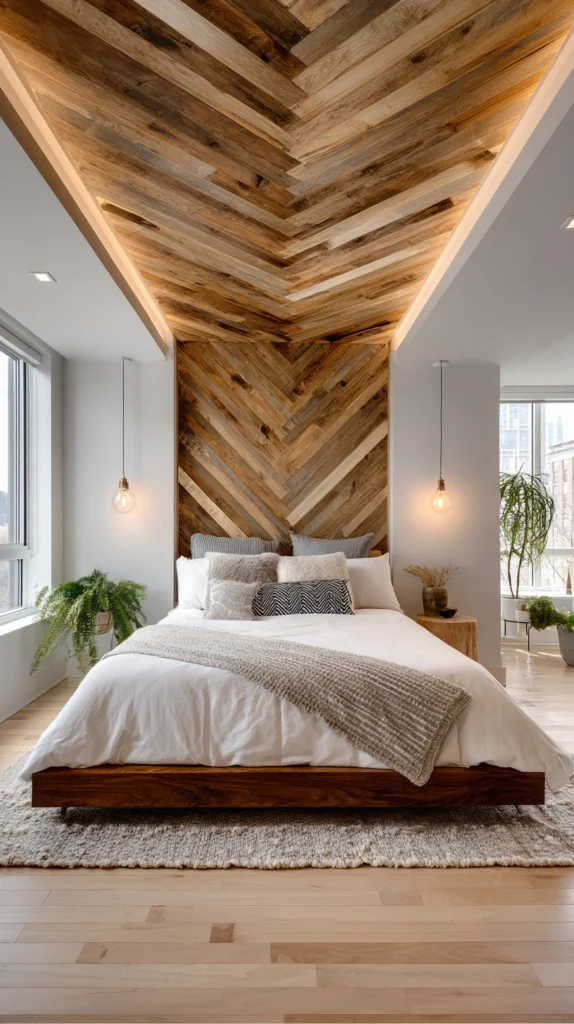
For a very small accent area — above a bed, in an alcove, or on a ceiling medallion — leftover paint sticks or thin craft wood strips from a hardware store create a wood ceiling look at almost no cost. This isn’t practical for a full room ceiling, but works well for a contained accent area of 10-20 sq ft.
Budget: often under $30 total for a small accent area, since paint sticks are typically free from hardware stores and craft wood strips cost just a few dollars per pack. This is by far the lowest-cost option on this list, limited mainly by the small scale it’s suited for.
Arranging paint sticks in a simple herringbone or straight-line pattern on a piece of plywood or directly onto the ceiling creates a textured focal point above a bed or reading nook. Sanding rough edges and adding a light stain or paint finishes the look.
This is a good starter project for testing whether you like a wood ceiling look before committing to a larger, more expensive room-wide installation.
Quick Start Tool List
Before starting any inexpensive wood ceiling project:
- Stud finder to locate ceiling joists
- Construction adhesive for vinyl or thin material options
- Miter saw or hand saw for basic cuts
- Sandpaper for rough-cut or salvaged material
- Level and spacer blocks for consistent spacing
Lowest-Cost Options Overall
If budget is the top priority:
- Scrap wood mosaic using existing offcuts
- Furring strip grid or slat ceiling
- Cedar fence pickets instead of specialty cedar boards
- Discontinued flooring sample stock
Success Indicators
- Ceiling reads as a deliberate design choice, not mismatched scraps
- No sagging or gaps appear after the first few weeks
- Material choice fits the room’s overall style and humidity level
- Total cost stayed within the planned inexpensive budget
- Installation feels secure and properly fastened to the structure above
Remember
Check local flooring and lumber retailers for clearance or discontinued stock before buying anything at full price, use a stud finder before fastening any material overhead regardless of how lightweight it seems, sand and finish rough-cut or salvaged wood before installation rather than after for better access and results, start with a small accent area if you’re unsure about committing to a full ceiling, and remember that some of the cheapest materials on this list aren’t sold as ceiling products at all, so it pays to look beyond the standard lumber aisle.