13 DIY Banquette Seating Ideas
Banquette seating packs more people into a smaller footprint than standalone chairs, and it usually adds built-in storage most kitchen tables can’t offer. A surprising number of banquette styles are approachable weekend or long-weekend DIY projects rather than requiring custom carpentry.
Below are 13 DIY banquette seating ideas, from simple platform builds to full storage benches, with real numbers on dimensions, material cost, and budget so the project fits your nook and your tool skill level.
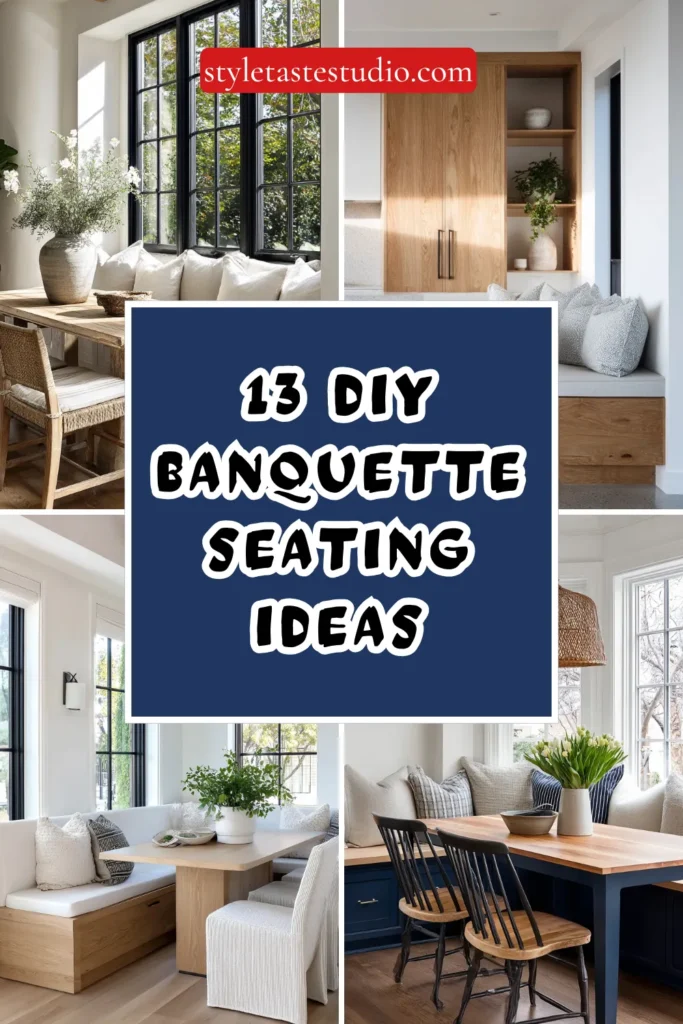
Banquette Sizing Basics
Seat height and depth:
- Standard seat height: 17-19 inches
- Standard seat depth: 18-22 inches
- Backrest height: 12-18 inches above the seat
- Table clearance: 24-26 inches from seat front to table edge
Space planning:
- Allow 24 inches of seat width per person
- Corner nooks work well in spaces as small as 6×6 feet
- Straight benches need at least the table’s full length
- Leave 36 inches of clearance for getting in and out comfortably
1. Build a Simple Platform Bench Base
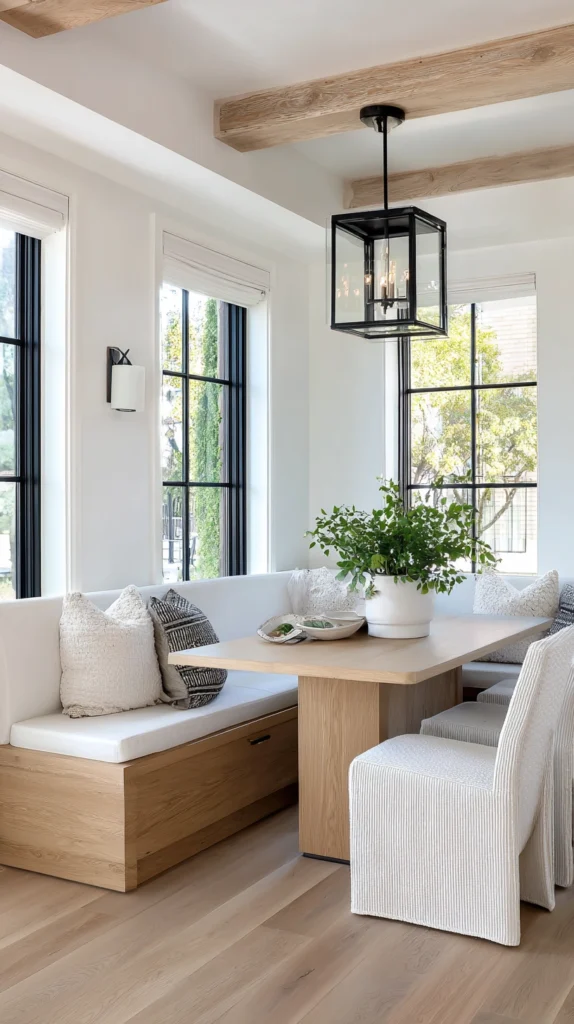
A basic platform bench built from plywood and 2×4 framing is the most straightforward banquette project on this list, requiring only basic tools and simple cuts. Standard platform benches run 18 inches deep and are built to your specific nook’s length.
Budget: $80-150 for a 6-foot bench using plywood, 2×4 lumber, and basic hardware. This is one of the cheapest banquette options available since it uses only standard, easy-to-source lumber.
Building the frame first, then topping it with a plywood platform cut to size, keeps the construction simple enough for a first-time DIYer with basic tools. Adding a 1-2 inch overhang on the plywood top gives the bench a more finished edge once cushioned.
This base works with almost any cushion or upholstery style added afterward, making it a flexible starting point regardless of your finish preferences.
2. Add Hidden Storage Under a Lift-Top Bench
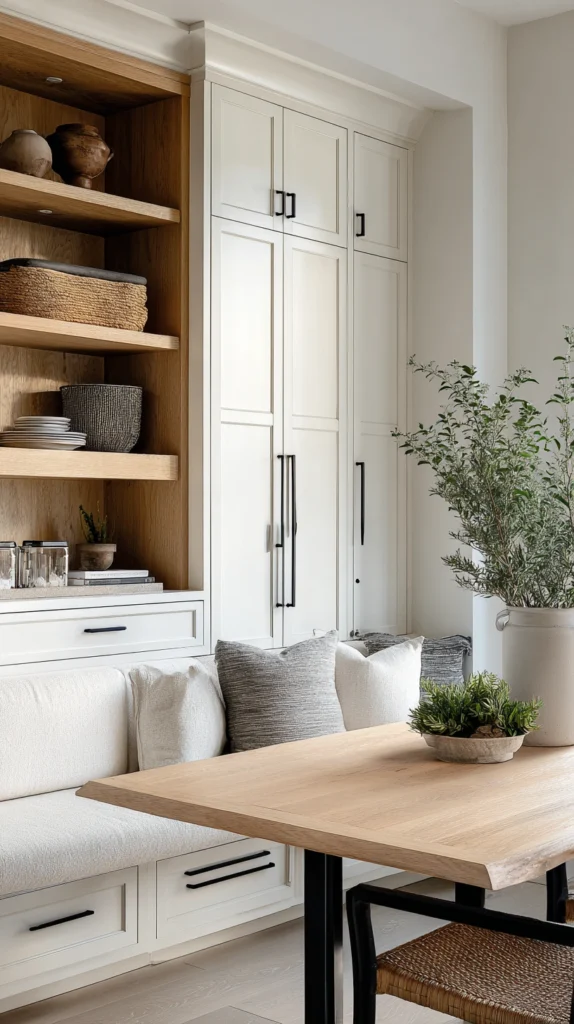
Building the bench seat as a hinged lift-top lid turns the entire bench interior into hidden storage, ideal for kitchens without a pantry or mudroom. Standard lift-top benches use the same 18-22 inch seat depth as a standard platform bench.
Budget: $120-220 for a 6-foot bench including piano hinges and support hardware for the lid. This adds modestly to the cost of a basic platform bench in exchange for significant storage capacity.
Piano hinges, which run the full length of the bench rather than using two or three separate small hinges, distribute weight more evenly and hold up better over years of daily use. A soft-close lid support or simple prop rod prevents the lid from slamming shut on fingers or stored items.
This is one of the most functional banquette styles on this list, particularly useful for storing seasonal items, table linens, or kids’ toys out of sight.
3. Build a Corner Nook Banquette
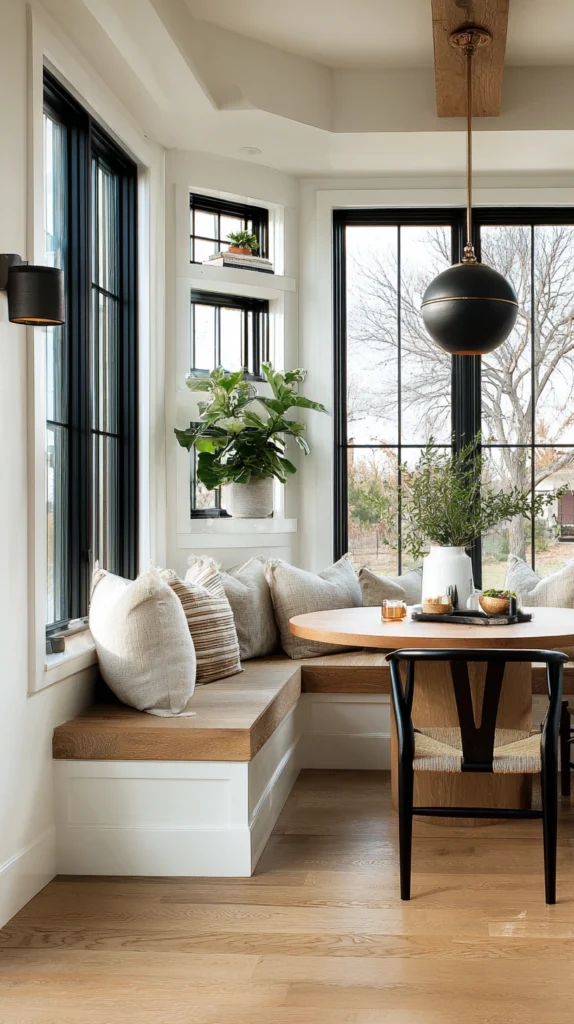
An L-shaped corner banquette maximizes seating in a small kitchen nook by using two walls rather than one, fitting significantly more people into the same floor footprint as a straight bench. Standard corner nooks work well in spaces as small as 6×6 feet.
Budget: $200-400 for a full corner build using plywood and 2×4 framing for both bench sections. This costs more than a single straight bench since it requires building two connected sections plus a corner joint.
The inside corner joint is the trickiest part of this build, and mitering the seat and backrest boards at a clean 45-degree angle where the two benches meet is worth taking extra time to get right. Building both bench sections as a single connected unit, rather than two separate pieces pushed together, creates a sturdier final result.
This is one of the most space-efficient banquette styles on this list, commonly used in breakfast nooks and smaller eat-in kitchens.
4. Convert IKEA Cabinets Into a Banquette Base
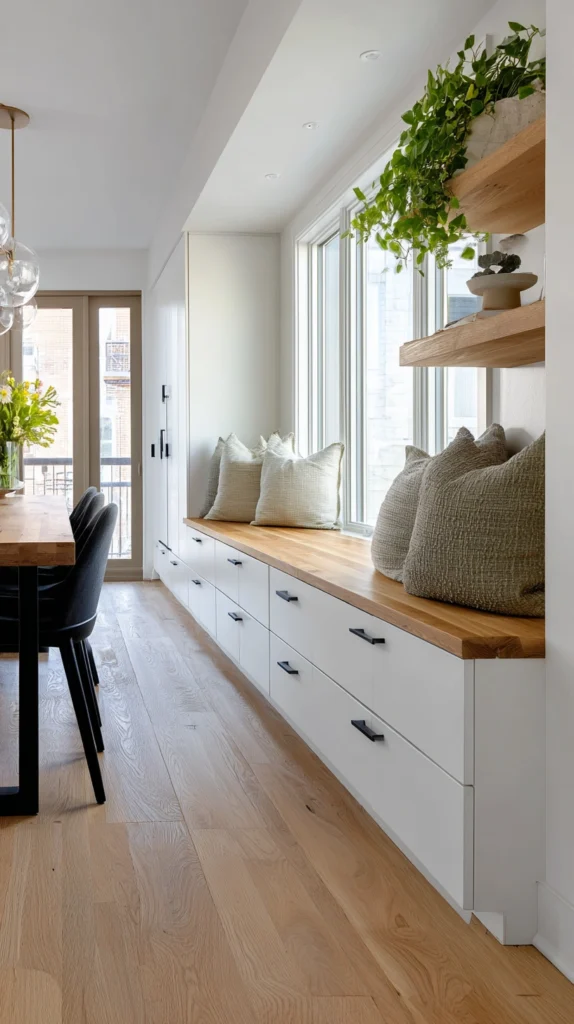
Using IKEA base cabinets (such as the SEKTION or METOD line) as the structural core of a banquette combines built-in storage with a much simpler build process than framing from scratch. Standard base cabinets run 24 inches deep and come in various widths to fit most nooks.
Budget: $300-600 for cabinets plus a plywood top and cushion, depending on how many cabinet units are needed. This is pricier than basic lumber framing but delivers finished drawers or doors without building them yourself.
Because the cabinets are already structurally sound and squared, this approach significantly reduces the carpentry skill needed compared to building a frame from raw lumber. Adding a simple plywood top across the cabinets, then trimming the front edge, completes the seat base before cushioning.
This is a strong option for anyone who wants real drawer or cabinet storage in the bench rather than a single large lift-top compartment.
5. Build a Floating Bench With No Visible Legs
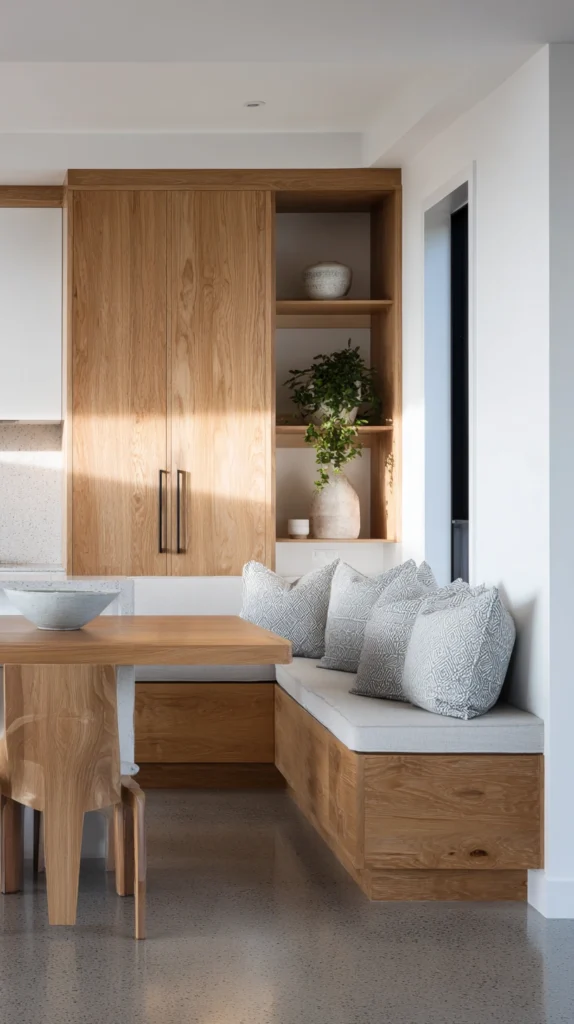
A floating bench, mounted directly to the wall with a hidden support bracket system rather than legs, creates a cleaner, more modern look and makes floor cleaning easier underneath. Standard floating benches use the same 18-22 inch depth as other banquette styles.
Budget: $150-300 for a 6-foot floating bench, including heavy-duty concealed mounting brackets. The bracket hardware costs more than simple bench legs, but the visual payoff is a distinctly more modern look.
Mounting brackets must be anchored into wall studs, not just drywall alone, since a floating bench carries significant weight once people are seated on it regularly. A french cleat mounting system is a popular choice here, since it distributes weight evenly along the wall and allows the bench to be removed later if needed.
This style works especially well in a modern or minimalist kitchen where visible bench legs would clutter the clean lines of the room.
6. Add a Bench With Built-In Drawers
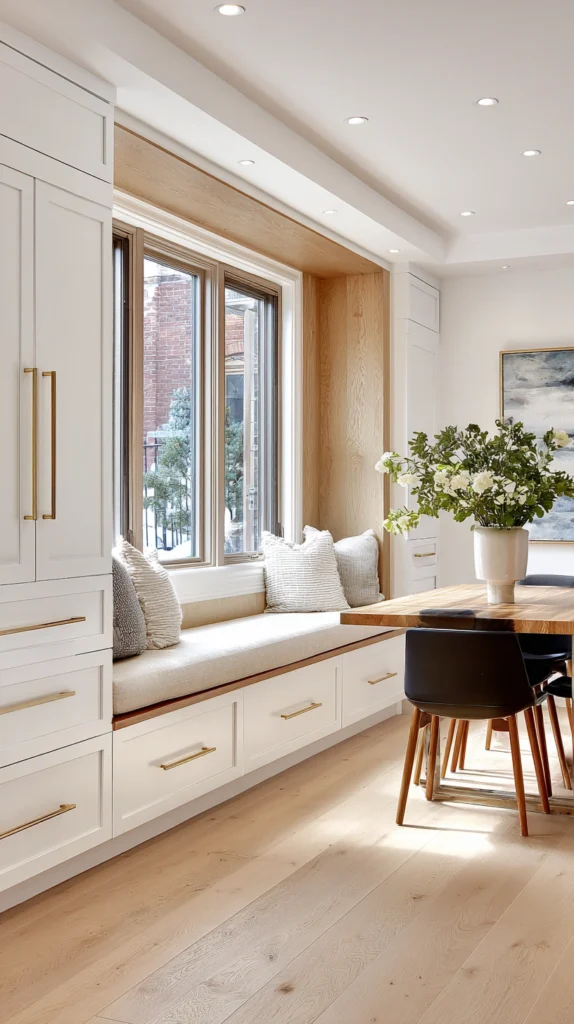
Rather than a single lift-top storage compartment, building the bench with 2-3 pull-out drawers underneath the seat creates more organized, easily accessible storage. Standard drawer-front benches use the same seat height and depth as other builds, with drawers sized to fit beneath.
Budget: $250-500 for a 6-foot bench with 2-3 drawers, including drawer slides and hardware. This costs more in both material and labor than a simple lift-top design, since each drawer requires its own box and slide mechanism.
Full-extension drawer slides are worth the extra cost over basic slides, since they allow each drawer to pull completely clear of the bench for full access rather than only opening partway. Building the drawer boxes slightly narrower than the full bench width leaves room for the face frame and slide hardware on each side.
This style takes noticeably longer to build than a simple platform or lift-top bench, but it delivers the most organized storage option on this list.
7. Build a Banquette From Repurposed Kitchen Cabinets
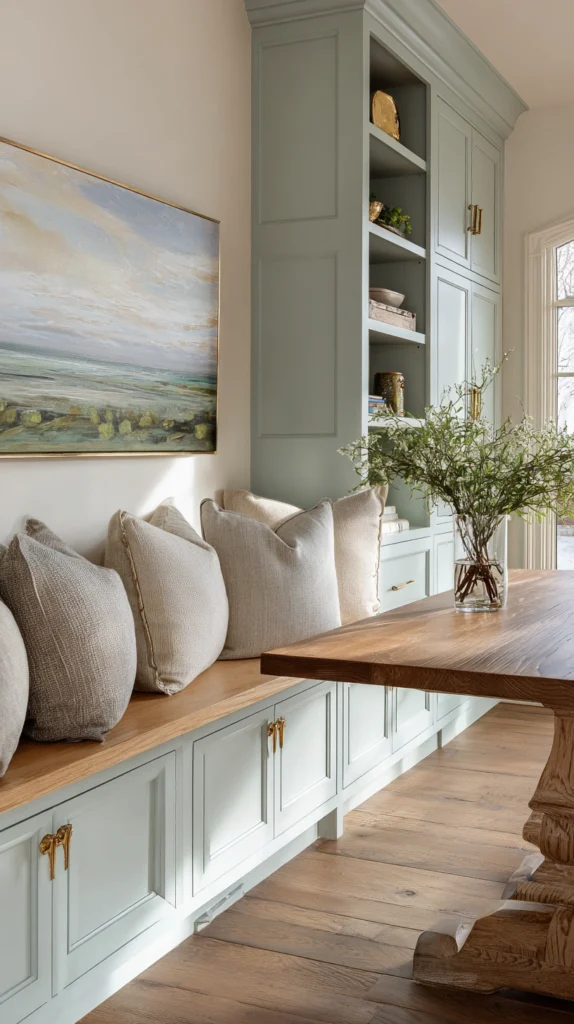
Older, secondhand kitchen cabinets — whether from a salvage yard, a friend’s renovation leftovers, or a garage sale — can be repurposed as a banquette base at a much lower cost than new cabinetry. Costs vary widely by source, but secondhand cabinets are frequently available for a small fraction of new pricing.
Budget: often $50-200 for a full set of secondhand cabinets, plus $50-100 for a plywood top and finishing materials. This is one of the more affordable ways to get real cabinet storage in a banquette build.
Since secondhand cabinets often come in mismatched sizes or finishes, planning the layout around the specific cabinets you’ve sourced (rather than the other way around) makes the project far more manageable. A fresh coat of paint across all the mismatched cabinet faces ties the whole assembly together visually.
This is one of the more resourceful, budget-conscious options on this list, particularly appealing for anyone comfortable with a bit of extra planning and finish work.
8. Add a Window Seat Style Banquette
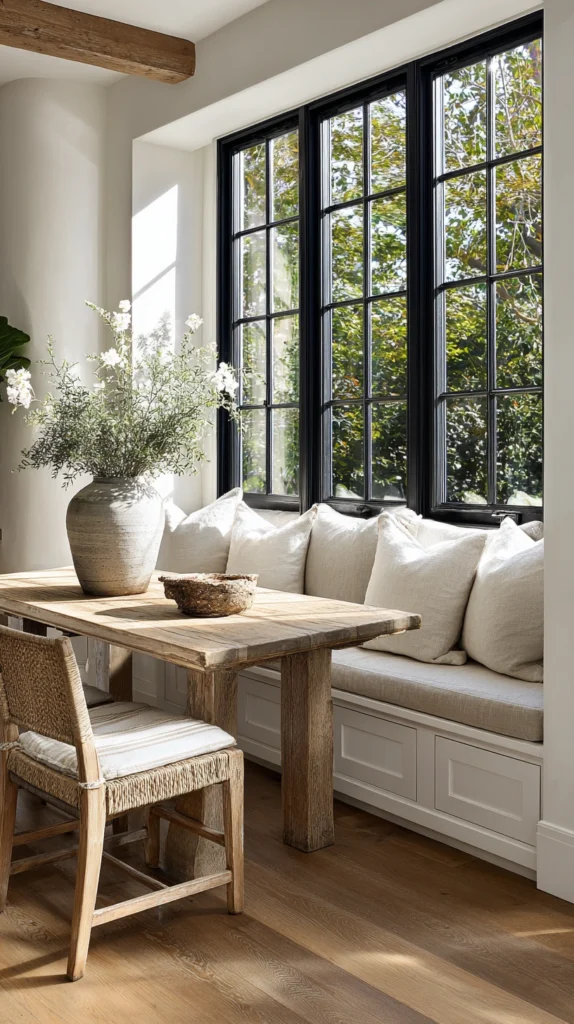
Positioning the banquette directly under a window, with a bench sized to the window’s width, creates a bright, sought-after seating spot in addition to functioning as regular dining seating. Standard window seat banquettes match the sizing of a standard platform bench, typically 18-22 inches deep.
Budget: $100-250 for a basic window seat bench, similar in cost to a standard platform build. The main added consideration here is fitting the bench precisely to the window’s dimensions rather than an arbitrary length.
Building the bench height so the windowsill sits at a comfortable backrest height (roughly 12-18 inches above the seat) makes the space usable as a lounging spot, not just dining seating. Adding a hinged lift-top lid to a window seat bench is a particularly popular combination, since the naturally bright spot also becomes valuable hidden storage.
This style works well whether used for a full dining banquette or a smaller reading nook off to the side of a kitchen or living space.
9. Build a Rounded or Curved Banquette
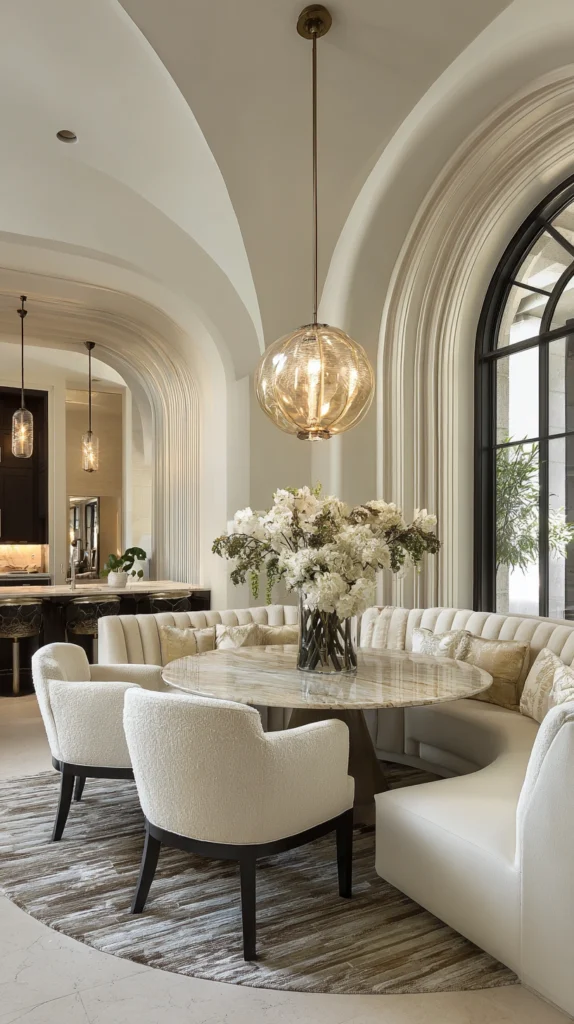
A curved banquette, built using flexible plywood (sometimes called bending plywood) or a series of short angled segments, creates a softer, more social seating arrangement around a round or oval table. This is one of the more advanced builds on this list due to the curved cutting and assembly involved.
Budget: $300-600 for a curved bench using bending plywood and appropriate framing, more than a straight bench due to the specialty material and extra labor. Bending plywood costs more per sheet than standard plywood but is significantly easier to work with for a curved shape than trying to steam-bend solid wood.
Building the curve from several straight segments set at slight angles to each other is a lower-skill alternative to true bent plywood, and it’s often difficult to tell the difference once upholstered. Working from a full-scale paper template of the desired curve before cutting any material prevents costly mistakes on the more expensive bending plywood.
This style creates a distinctly different, more architectural look than the standard straight or L-shaped benches most people default to.
10. Build a Mudroom-Style Bench With Cubbies
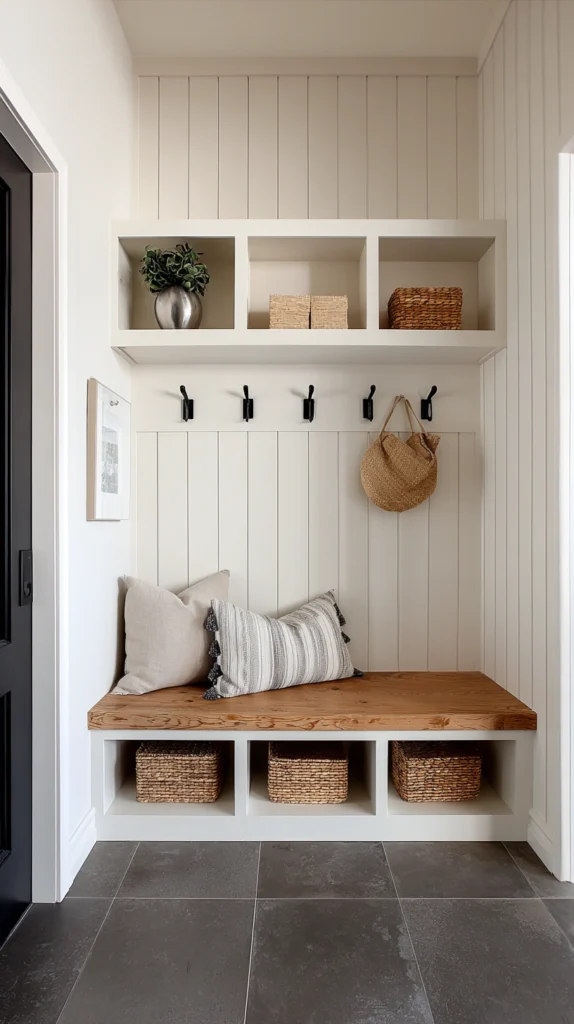
Adapting the banquette concept for an entryway or mudroom, with open cubbies beneath the seat rather than closed storage, creates a functional drop zone for shoes, bags, and outerwear. Standard mudroom benches run similar dimensions to a dining banquette, though seat height can run slightly higher (18-20 inches) to accommodate boot storage below.
Budget: $150-350 for a 6-foot mudroom bench with open cubby sections, including basic lumber and hooks if adding them above. This is comparable in cost to a standard platform bench with some additional framing for the divided cubby sections.
Dividing the under-seat storage into individual cubbies, rather than one large open space, keeps the area more organized and prevents shoes and bags from becoming a single jumbled pile. Adding hooks on the wall above the bench, spaced for coats and bags, extends the functionality of the build beyond seating alone.
This isn’t strictly a dining banquette, but it uses the same basic building techniques and is worth considering for anyone tackling their first bench-building project.
11. Add a Bench With a Fold-Down or Removable Table
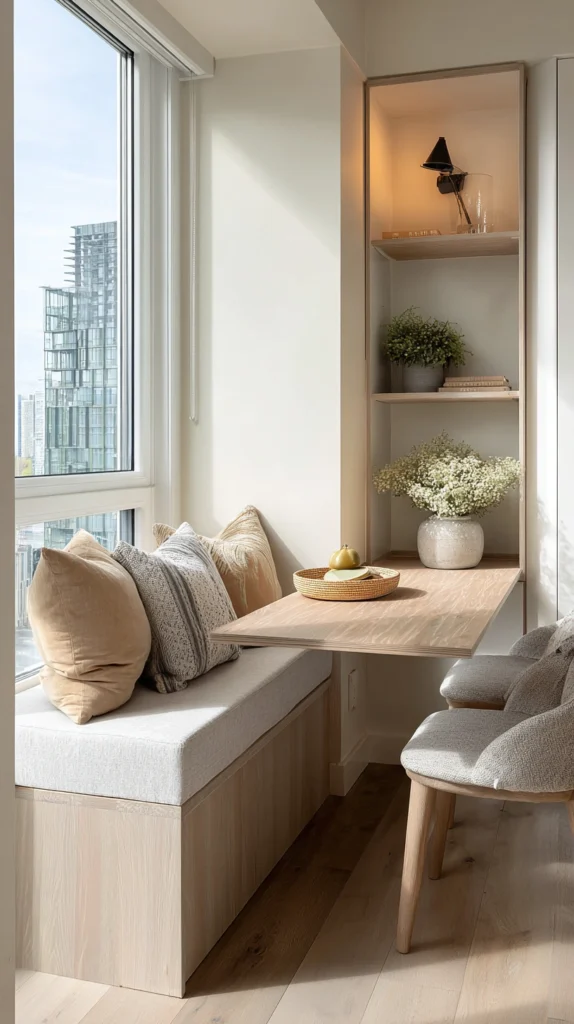
For very small kitchens or apartments, building the banquette with a fold-down or fully removable table attached lets the space convert between dining and open floor space as needed. Standard fold-down tables attach to the wall and range from 24-36 inches deep when extended.
Budget: $200-400 for a bench plus a fold-down table mechanism, including the hinged brackets needed to support the table when extended. This costs more than a standard fixed banquette due to the added table hardware.
Heavy-duty folding table brackets, rated for the actual weight of dishes and food being served, are worth the extra cost over lighter-duty hardware meant for occasional use. This style works particularly well in a studio apartment or small kitchen where floor space needs to serve multiple purposes throughout the day.
This is one of the more space-efficient combinations on this list, solving both the seating and the table footprint problem at once.
12. Build a Two-Toned or Painted Banquette for Style
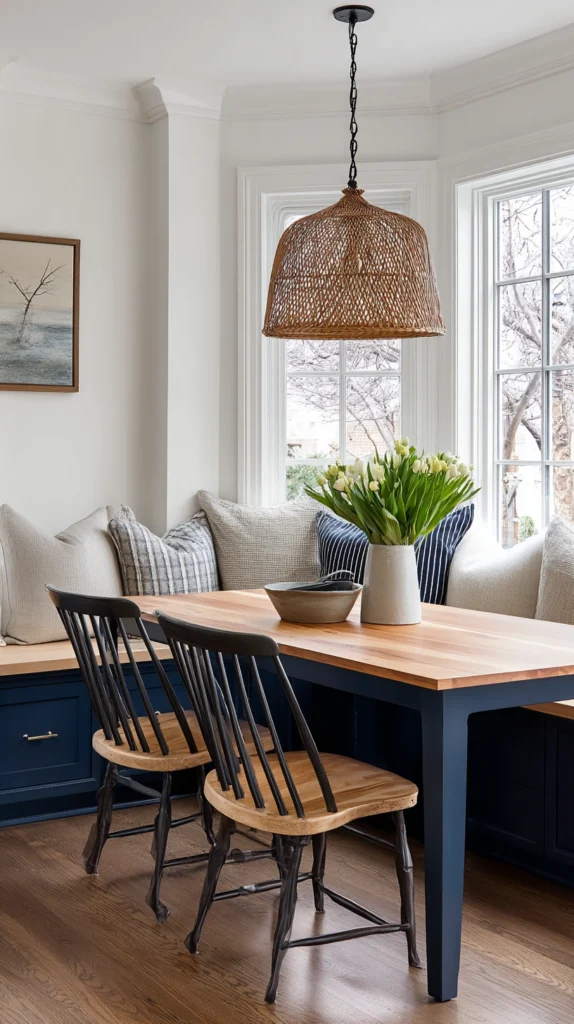
Rather than a purely functional build, adding a painted or two-toned finish to any of the banquette styles above elevates the look without changing the underlying construction. This works with virtually any base style described elsewhere on this list.
Budget: $30-60 in additional paint supplies on top of whichever base bench style you choose. This is one of the lowest-cost ways to make a DIY banquette look more custom and less like a basic wood box.
Painting the base cabinet color and the seat cushion or upholstery in coordinating but distinct tones creates visual interest without needing a complex build. A durable enamel or cabinet-grade paint holds up significantly better than standard wall paint on a surface that gets regular contact from people sitting and sliding in and out.
This is worth planning from the start of any build, since finishing details like trim and molding are far easier to add before the final paint stage than after.
13. Add Tufted or Channel-Stitched Upholstery for a High-End Look
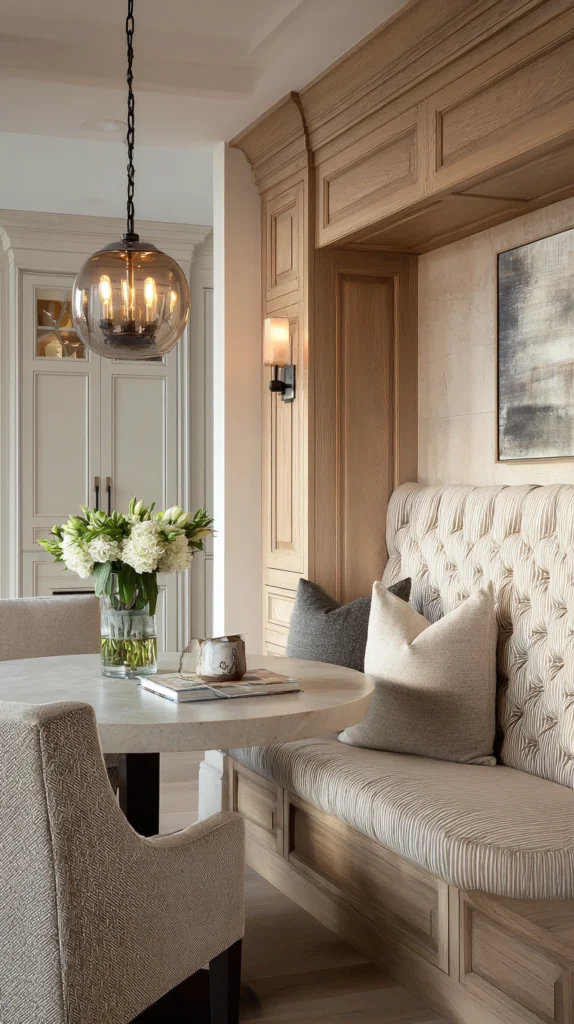
The seat back and cushions are what most people actually notice and touch, so investing extra effort in tufted or channel-stitched upholstery elevates a basic DIY bench frame into something that looks custom-made. This upgrade works with any of the structural bench styles described above.
Budget: $100-250 in foam, batting, and fabric for a 6-foot bench with a tufted or channel-stitched back cushion, compared to $40-80 for a simple flat cushion. The higher cost comes from the additional foam depth and stitching detail required.
Channel stitching (straight vertical lines) is generally easier for a first-time upholstery project than diamond tufting, which requires more precise button placement and fabric pulling to avoid uneven puckering. A high-density foam, rather than a softer cushioning foam, holds its shape and channel definition much better over years of daily seating use.
This is the finishing touch most likely to make a DIY banquette look like a custom, built-in piece rather than a simple wood bench with a cushion on top.
Quick Start Tool List
Before starting any DIY banquette build:
- Circular saw or table saw for cutting plywood and lumber
- Drill and pocket hole jig for strong, hidden joints
- Staple gun for attaching upholstery
- Stud finder if building a floating or wall-mounted bench
- Level and tape measure for accurate framing
Budget-Friendly Version
Lowest-cost banquette options:
- Basic platform bench with a simple flat cushion
- Secondhand or repurposed cabinets as the base
- Simple channel-stitched cushion instead of full tufting
- Skip drawers in favor of a single lift-top lid
Success Indicators
- Bench feels sturdy with no wobble once seated
- Storage underneath gets used regularly, not ignored
- Cushion height and table clearance feel comfortable during meals
- The finished piece looks intentional, not like a raw wood box
- The bench fits the specific nook without gaps or overhang
Remember
Measure your specific nook carefully before cutting any lumber, since banquette dimensions have far less room for error than furniture bought off the shelf, anchor any wall-mounted or floating bench directly into studs given the weight it needs to support, start with a simple platform build before attempting a curved or fully custom design if this is your first bench project, and treat the cushion and upholstery as just as important to the finished look as the structural build itself.