How to Get Groundhogs Out From Under a Shed
A groundhog denning under a shed can seem harmless at first, but the burrowing damages foundations, creates tripping hazards in the yard, and often leads to more groundhogs moving in over time. The good news is there are several humane, effective ways to encourage a groundhog to relocate without resorting to harmful methods.
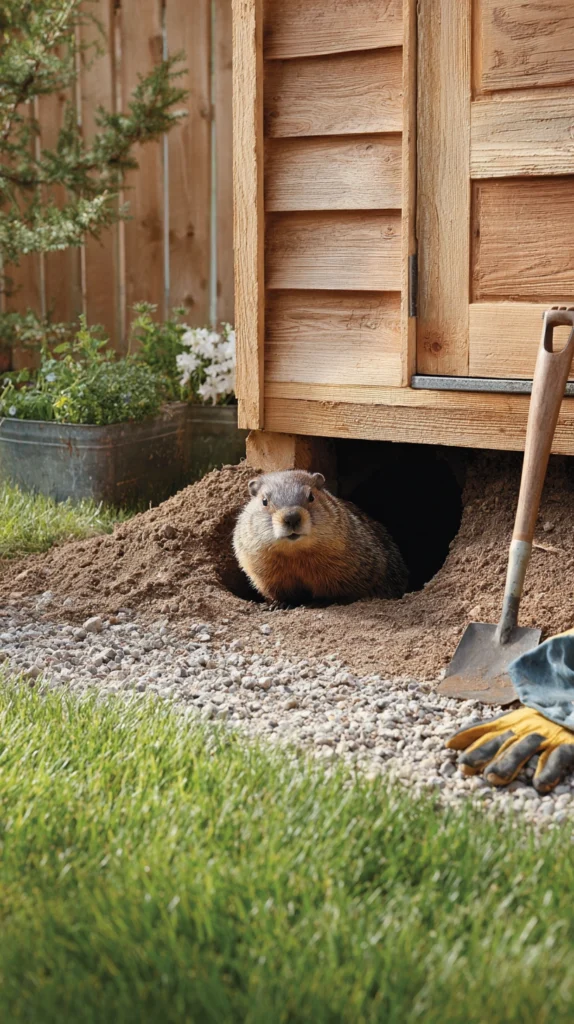
Below is a complete guide to removing groundhogs from under a shed, covering identification, humane deterrents, exclusion methods, and prevention, with real specifics so the problem gets solved and stays solved.
Confirming You Actually Have a Groundhog
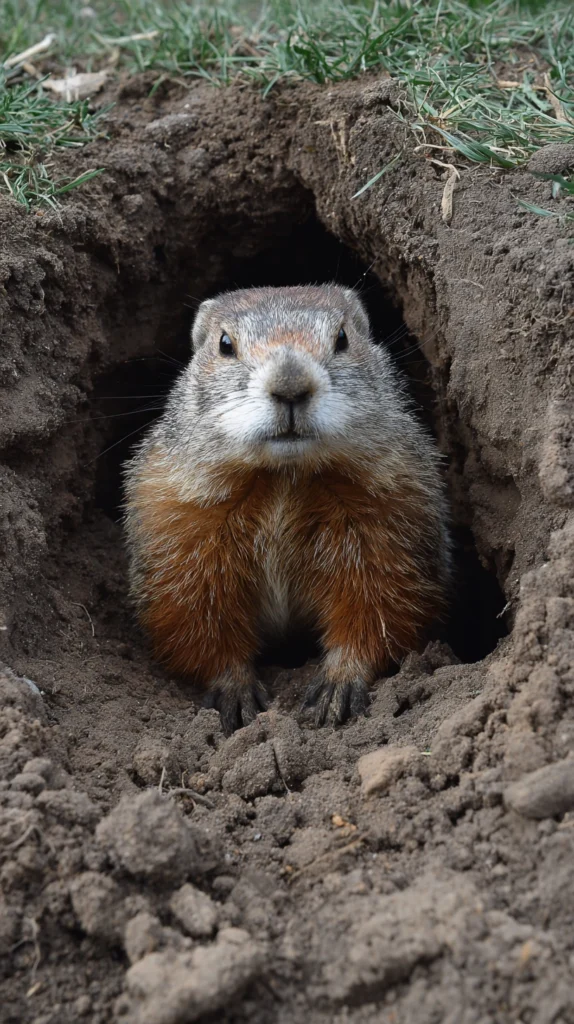
Before starting any removal process, it’s worth confirming the burrow actually belongs to a groundhog rather than a different animal, since removal methods differ significantly between species. Groundhog burrow entrances are usually 10-12 inches in diameter with a distinctive mound of freshly dug dirt at the main entrance.
Look for a large, obvious dirt mound at one entrance, plus one or more smaller, cleaner “plunge holes” nearby without dirt mounds, since groundhogs typically dig secondary escape entrances that lack the visible excavated soil of the main burrow.
Groundhogs are most active during early morning and early evening, so watching the burrow area quietly during these times is one of the most reliable ways to visually confirm the animal living there. A groundhog is a stocky, brown-gray animal roughly 16-20 inches long, distinct from the slimmer build of a skunk or the smaller size of a chipmunk.
Skunk burrows tend to have a single entrance without the large dirt mound, and skunks are far more likely to spray if startled, so confirming which animal you’re actually dealing with matters both for choosing the right approach and for your own safety during the process.
Check Local Laws Before Starting
Groundhog removal regulations vary significantly by state and municipality, with some areas requiring a permit for trapping and relocation, and others prohibiting relocation altogether due to wildlife disease concerns. This is worth checking before investing time or money in any removal method.
Contact your state wildlife agency or a local wildlife control office to confirm the specific rules in your area before trapping or relocating a groundhog yourself. Many areas require trapped groundhogs to be released on the same property or euthanized rather than transported elsewhere.
Hiring a licensed wildlife removal professional is often the simplest way to navigate these regulations correctly, particularly in areas with stricter rules around trapping and relocation.
Step 1: Confirm the Burrow Is Currently Occupied
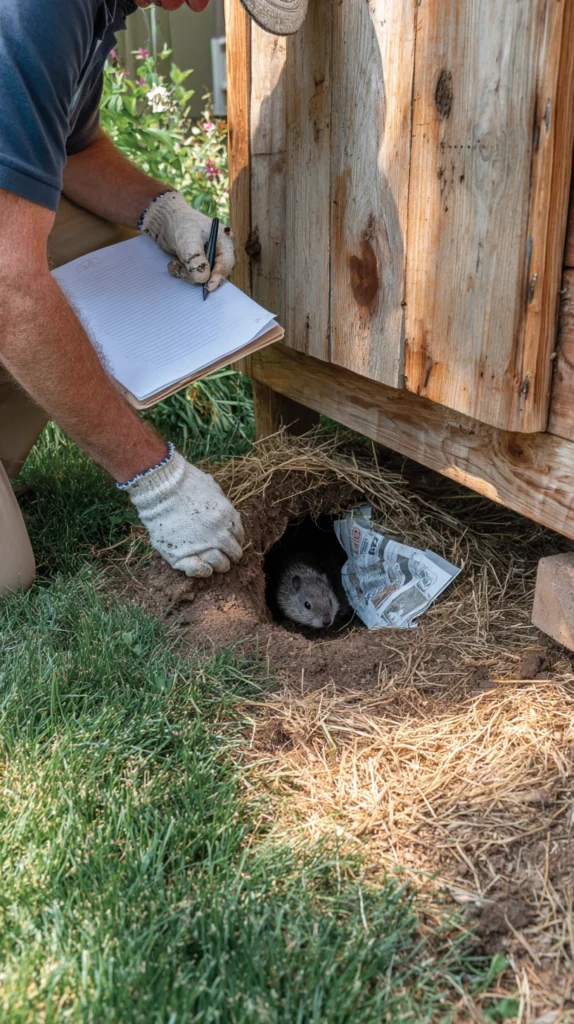
Before sealing any burrow entrance or using deterrents, confirming whether the burrow is actively in use prevents accidentally trapping an animal inside, which can lead to a dead animal decomposing under the shed. This step is essential and shouldn’t be skipped.
Loosely stuff the main burrow entrance with newspaper, straw, or a small amount of soil, then check back in 2-3 days. If the material has been pushed out or disturbed, the burrow is actively occupied. If it remains undisturbed after several days, the burrow is likely abandoned.
This same technique is worth repeating at each entrance and exit hole you find, since a groundhog burrow system often includes multiple connected tunnels with separate openings.
Step 2: Try Humane Deterrents First
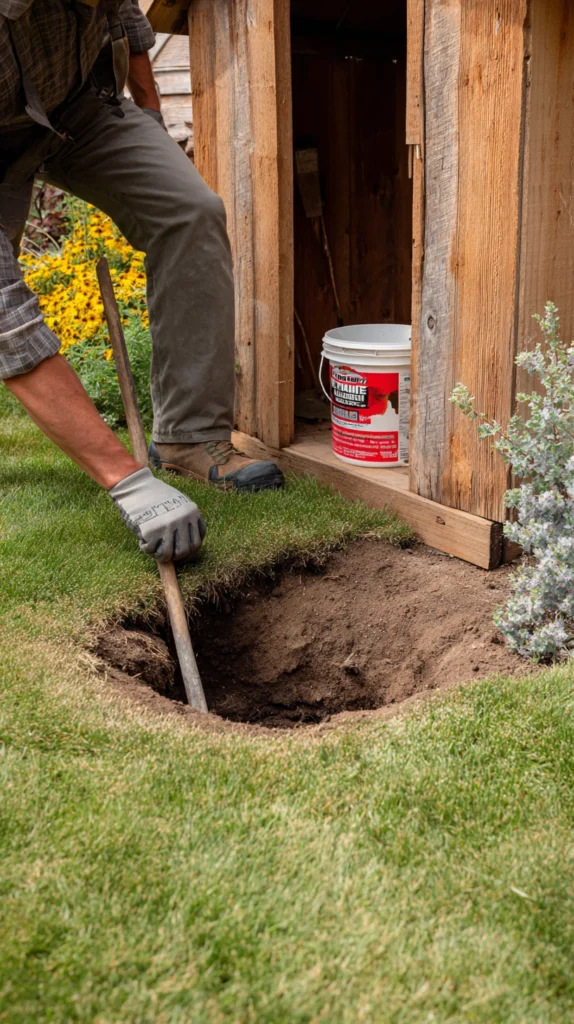
Several natural deterrents can encourage a groundhog to abandon a burrow voluntarily, without trapping or direct contact, making this the best starting point for most homeowners. These methods work by making the burrow environment unpleasant rather than physically removing the animal.
Ammonia-soaked rags placed just inside the burrow entrance mimic the scent of a predator’s urine, which can prompt a groundhog to relocate on its own within a few days. Reapply every 2-3 days for the first week, and always confirm the burrow is unoccupied first using the newspaper test above.
Predator urine granules, sold at most garden and hardware stores, work on a similar principle and are specifically formulated for groundhog and other burrowing pest deterrence. These are applied around the burrow entrance and reapplied after rain according to the product’s instructions.
Castor oil-based repellents are another commonly used option, applied around the burrow entrance and throughout the yard area the groundhog has been using, since the smell and taste are unpleasant to groundhogs without causing them harm.
Combining more than one deterrent method at once often produces faster results than relying on a single approach, since groundhogs vary somewhat in which specific scents they find most aversive.
Step 3: Use Sound and Vibration Deterrents
Groundhogs are sensitive to vibration and unfamiliar noise near their burrow, making sound-based deterrents another effective, non-harmful option to try alongside scent-based methods.
Battery-operated vibrating stakes, designed specifically for burrowing pest deterrence, can be inserted into the ground near the burrow entrance and left running continuously for the most effective results. These typically run $20-40 per stake and cover a limited radius, so multiple stakes may be needed for larger burrow systems.
A portable radio, left playing near the burrow entrance for several days, is a low-cost alternative that uses the same basic principle of introducing unfamiliar, ongoing disturbance to the den site.
These methods work best as part of a layered approach combined with scent deterrents, rather than relied upon entirely on their own.
Step 4: Flood or Water the Burrow (With Caution)
Running a hose into the main burrow entrance for an extended period can sometimes encourage a groundhog to flee due to the flooding, though this method carries some risk and works better as a secondary approach after other deterrents.
Run water into the burrow for 20-30 minutes at a time, watching carefully for the animal to emerge from any entrance so it can safely leave the area. Never plug the burrow entrances beforehand when using this method, since this could trap and drown the animal inside.
This method is less reliable than scent or sound deterrents on its own, and it’s worth checking whether your local water usage restrictions or drought conditions make this an impractical option before attempting it.
Step 5: Confirm the Burrow Is Empty, Then Seal It
Once you’ve confirmed through the newspaper test that the burrow is no longer occupied, sealing all entrances prevents the same groundhog, or a new one, from moving back in. This step should only happen after multiple days of confirmed vacancy.
Fill the burrow entrances with dirt, then cover with hardware cloth (heavy wire mesh) buried at least 12 inches deep around the perimeter of the shed. Groundhogs are capable diggers, so a shallow barrier alone is unlikely to be effective long term.
Extending the hardware cloth outward at a 90-degree angle from the base of the shed, rather than straight down, creates an additional barrier that’s more difficult for a determined groundhog to dig underneath, since the animal would need to dig down and then back toward the shed to get past it.
Step 6: Install a Physical Exclusion Barrier
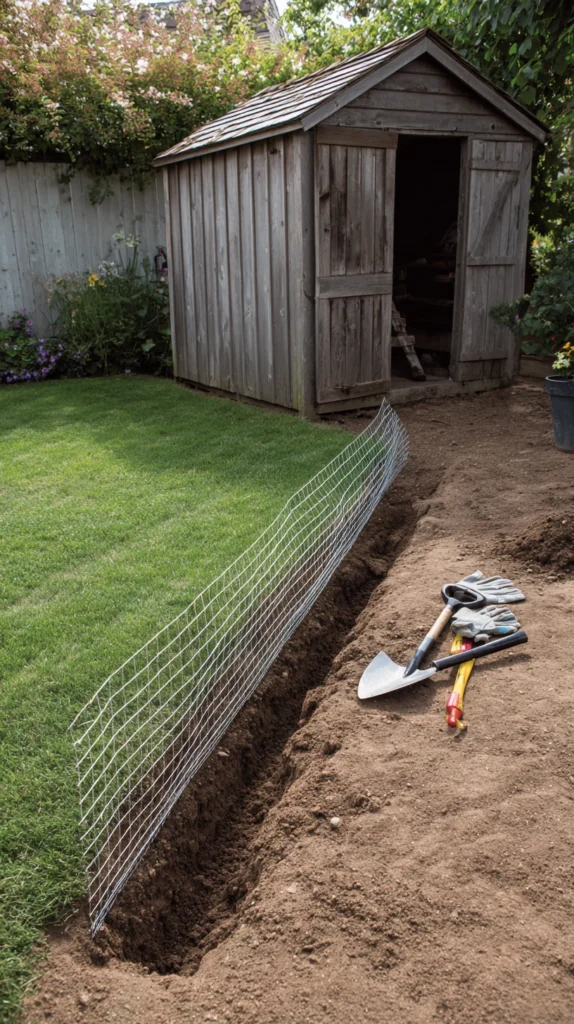
For longer-term prevention, installing a permanent barrier around the shed’s perimeter is the most reliable way to prevent future burrowing, especially in yards with a known ongoing groundhog population nearby.
Bury galvanized hardware cloth or heavy wire mesh at least 12-18 inches deep and extend it outward 12 inches at an L-shaped angle away from the shed’s foundation. This L-shaped configuration is significantly more effective than a straight vertical barrier alone.
Budget: $60-150 in materials for a small to medium shed, depending on the shed’s perimeter length, plus digging labor if installing yourself, or more if hiring a contractor for the installation.
This barrier method is also one of the more effective long-term solutions for other burrowing pests, including skunks and rabbits, making it a worthwhile investment even beyond addressing the current groundhog problem specifically.
Step 7: Consider Professional Trapping if DIY Methods Fail
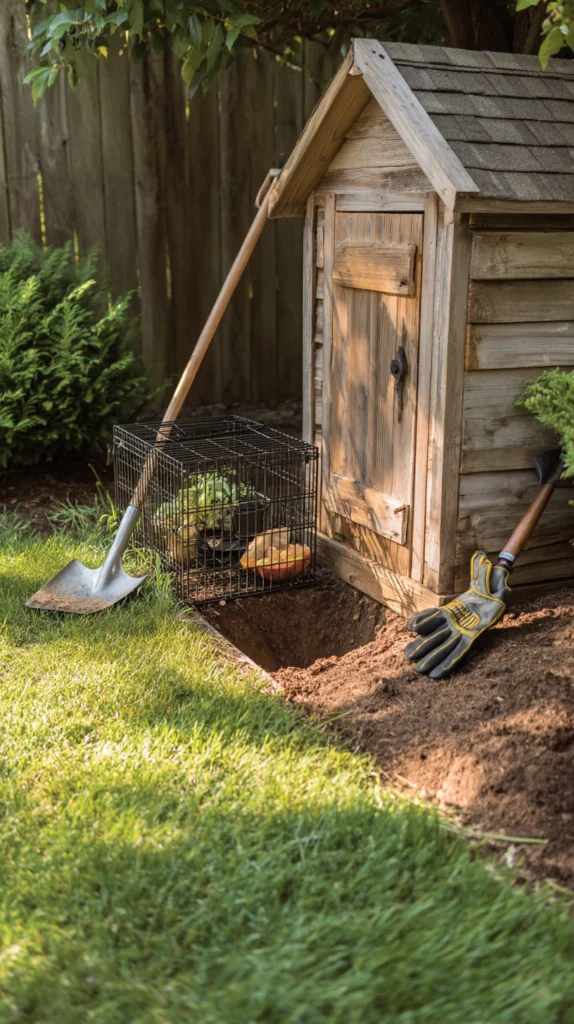
If humane deterrents and exclusion methods don’t resolve the issue after a few weeks, live trapping (either DIY or through a licensed wildlife control company) may be necessary, particularly for a persistent or repeat groundhog.
Live traps for groundhogs typically run $40-90 for a quality cage trap sized appropriately for the animal (roughly 10x12x32 inches). Baiting with cantaloupe, sweet corn, or fresh greens tends to be more effective than typical rodent bait, since groundhogs are primarily herbivorous.
Because relocation regulations vary so significantly by location, confirming your local rules before trapping is essential, and many homeowners find that hiring a licensed wildlife removal service is the more straightforward path once DIY methods haven’t resolved the situation.
Preventing Groundhogs From Returning
Remove food sources near the shed, including garden vegetables, fallen fruit, and clover, all of which are attractive food sources that can draw groundhogs back to the same area even after a successful removal.
Maintain a clear, mowed area around the shed’s perimeter, since groundhogs prefer areas with some cover nearby for a quick retreat, and open, well-maintained space is less appealing as a den site.
Regularly inspect the shed’s foundation for new digging activity, particularly in spring when groundhogs are most active in establishing new burrows, since catching a new burrow attempt early is far easier to address than an established, deep tunnel system.
Understanding Why Groundhogs Choose Sheds
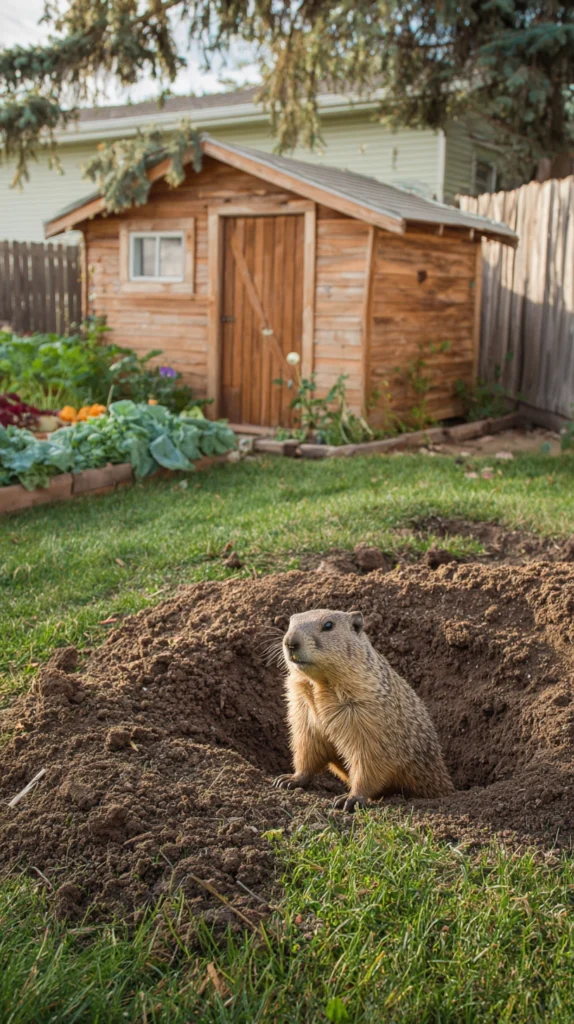
Sheds provide nearly ideal denning conditions for groundhogs, since the structure offers overhead protection from predators and weather while the surrounding soil is usually undisturbed and easy to excavate. Understanding this preference helps explain why the same spot often attracts repeat burrowing even after one groundhog is successfully removed.
Groundhogs are drawn to areas with soft, well-draining soil, nearby food sources, and minimal foot traffic, all of which describe the space under and around a typical garden shed. A shed positioned near a garden, lawn edge, or wooded area is especially likely to attract denning activity compared to one in a more exposed, high-traffic part of the yard.
Groundhogs also dig extensive burrow systems, often with multiple chambers for sleeping, nesting, and waste, along with several entrance and exit points connected by tunnels that can extend 20-30 feet or more underground. This is part of why a single visible entrance hole often underrepresents the true size and complexity of the burrow system beneath a shed.
Seasonal behavior also plays a role in timing any removal effort, since groundhogs are most actively digging and expanding burrows in early spring after emerging from winter hibernation, and again in late summer as they prepare new dens for winter. Addressing a burrow problem outside of these peak digging periods, when possible, can make deterrent methods somewhat more effective since the animal is under less urgent pressure to establish a new den immediately.
When to Call a Professional
If the burrow system appears extensive (multiple entrances, significant excavation, or signs of more than one animal), a professional wildlife control service is often more efficient than continuing with DIY methods alone.
If local regulations require licensed handling for trapping or relocation in your area, a professional service ensures the process is handled legally and appropriately.
If you’re uncertain about the species involved, particularly if there’s a chance the animal could be a skunk rather than a groundhog, professional identification and removal avoids the risk of an unpleasant surprise.
Quick Reference Cheat Sheet
Before removal:
- Confirm it’s actually a groundhog, not a skunk or other animal
- Check local wildlife regulations
- Test whether the burrow is currently occupied
Removal process:
- Try scent deterrents (ammonia, predator urine, castor oil) first
- Add sound or vibration deterrents for a layered approach
- Confirm vacancy before sealing any entrance
After removal:
- Bury an L-shaped hardware cloth barrier around the shed
- Remove nearby food sources and garden access
- Keep the surrounding area mowed and clear of debris
Remember
Always confirm a burrow is unoccupied before sealing any entrance, since trapping an animal inside can create a much bigger problem than the one you started with, try humane scent and sound deterrents before considering trapping, since most groundhogs will relocate on their own once the area becomes sufficiently unpleasant, install a proper L-shaped underground barrier for the most reliable long-term prevention, check local regulations before trapping or relocating any wildlife yourself, and address the situation as soon as you notice it, since an established burrow system becomes progressively harder to resolve the longer it’s left alone.