14 Kitchen Herb Garden Windowsill Ideas
A windowsill herb garden either gets used constantly or turns into a sad row of leggy, half-dead plants nobody remembers to water.
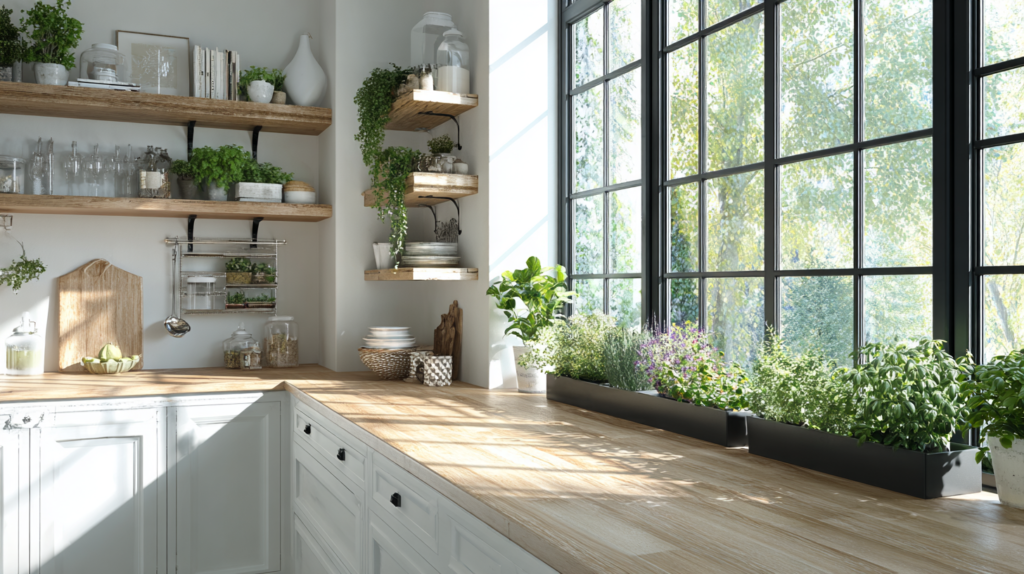
The difference almost never comes down to whether someone has a green thumb. It comes down to whether the setup actually makes sense for the window it’s sitting in, how much light that spot really gets, how the pots drain, and whether reaching for basil mid-recipe takes two seconds or feels like a small project.
Get those basics right and a windowsill herb garden becomes one of the lowest-effort, highest-payoff things in a kitchen. Skip them, and even the prettiest setup ends up as compost within a month.
Here are 14 ways to build a windowsill herb garden that actually survives past the first few weeks.
Every one of these can be adapted to whatever window your kitchen actually has, rather than the perfect south-facing spot most inspiration photos assume you own.
1. A Row of Matching Terracotta Pots on a Simple Tray
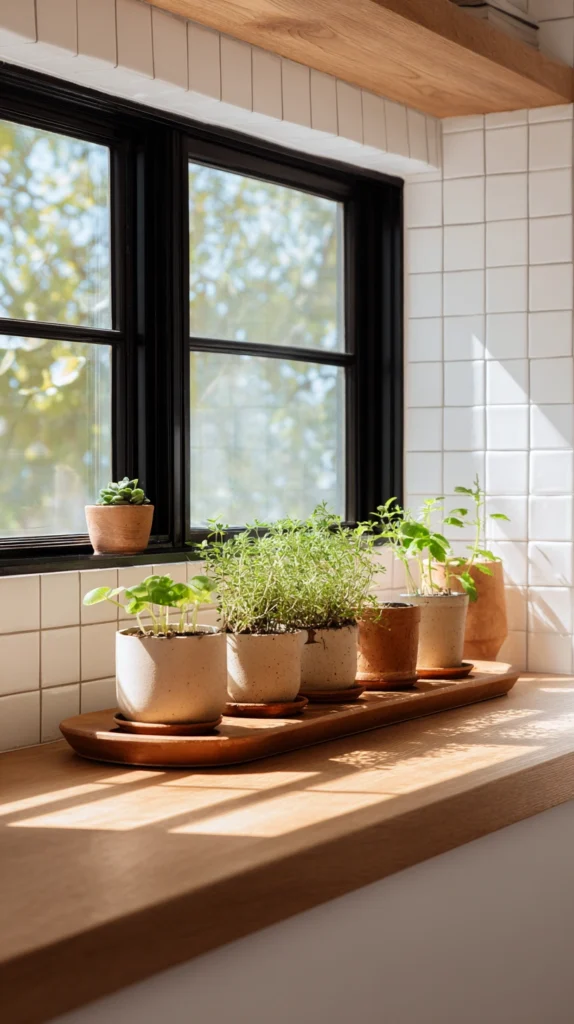
Individual terracotta pots lined up along the sill, each holding a single herb variety, unified by a matching drip tray beneath the whole row.
Terracotta’s porous material genuinely helps herbs like rosemary and thyme, which prefer their roots to dry out somewhat between waterings, since the clay wicks excess moisture away rather than trapping it the way glazed or plastic pots do.
I lined up five unglazed terracotta pots along my kitchen window, planting basil, thyme, chives, oregano, and parsley, with a single galvanized metal tray running the full length underneath to catch drips and protect the sill.
Budget tip: Basic unglazed terracotta pots are among the least expensive planting containers available, and buying a matching set in bulk from a garden center typically costs less per pot than mixing different styles individually.
A few things worth getting right:
- Choose pots with an actual drainage hole rather than a purely decorative option, since herbs left sitting in trapped water develop root rot quickly
- Size pots appropriately for each herb’s mature root system, since basil and mint need considerably more room than compact thyme or chives
- Use a tray with a slight lip or rim, since even careful watering eventually results in some overflow onto the sill
This is one of the simplest setups on this entire list, and it remains one of the most reliable specifically because terracotta’s natural drainage properties do a lot of the hard work automatically.
2. Mason Jar Herbs With a Water Propagation Start
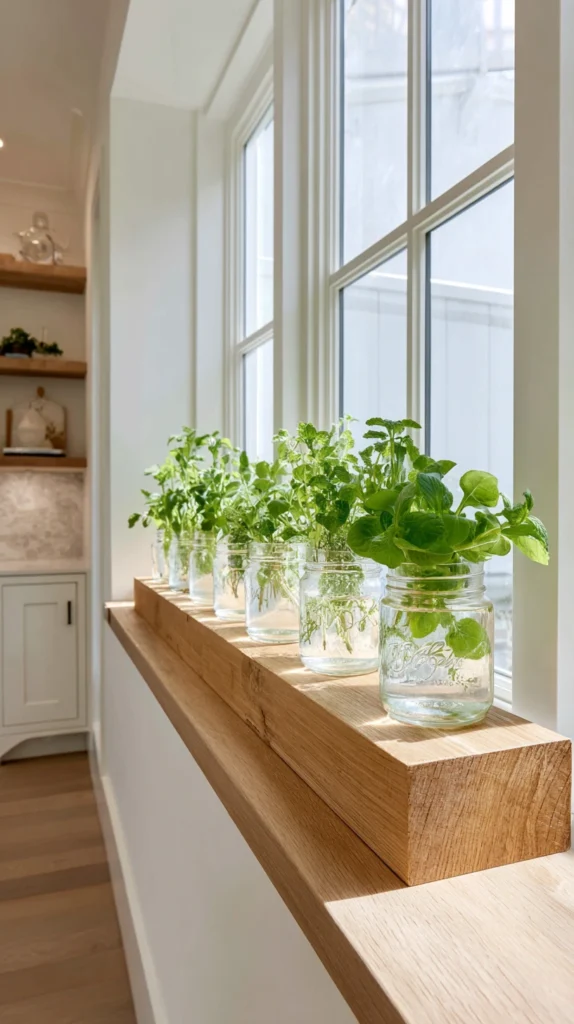
Herbs started from cuttings in water-filled mason jars, either left to grow hydroponically long-term or eventually transferred to soil once roots develop.
Starting from a cutting rather than seed gets a windowsill garden producing usable herbs considerably faster, and certain herbs, mint and basil especially, root so readily in plain water that this method barely requires any gardening skill at all.
I keep a row of mason jars on my sill holding rooted mint and basil cuttings taken from a friend’s established plants, refreshing the water every few days rather than ever transferring them into soil.
Budget tip: Cuttings from a friend’s existing herb plant, or even a bunch of grocery store basil with intact stems, cost nothing beyond the mason jars themselves, which most kitchens already have on hand.
A few things worth knowing:
- Not every herb roots reliably in water, mint, basil, and oregano generally do well, while rosemary and thyme root far more reliably in soil instead
- Change the water every three to four days, since stagnant water encourages rot at the cut stem rather than healthy root growth
- Expect water-grown herbs to eventually need more nutrients than plain water provides if you’re keeping them going long-term rather than transferring to soil
This is one of the fastest ways to get a windowsill garden started, often producing visible roots within a week or two and usable growth not long after that.
3. A Tiered Wire Rack for Vertical Windowsill Space
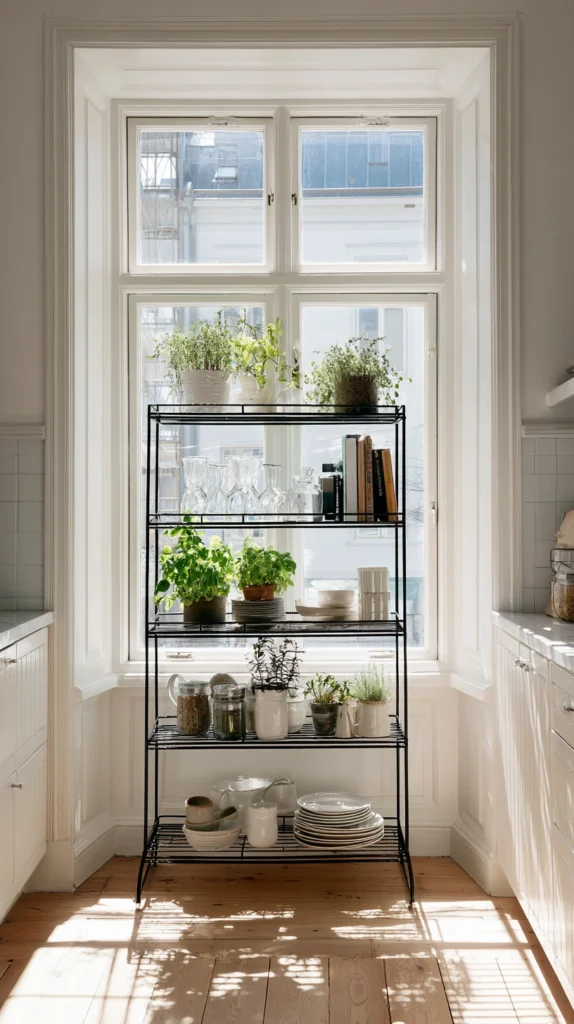
A small tiered wire or wooden shelf unit positioned directly in front of a window, stacking multiple pots vertically rather than spreading them across a single sill.
Not every kitchen window has a deep or wide enough sill to hold more than one or two pots, and a tiered rack solves that by using the window’s vertical space instead of relying entirely on horizontal sill depth.
I placed a simple three-tier wire rack directly in front of my kitchen window, positioning taller herbs like rosemary on the top tier closest to the glass and shorter, shade-tolerant herbs like mint on the lower tiers.
Budget tip: A basic wire tiered shelf, the kind sold for bathroom or pantry storage, works just as well for this application as a plant-specific rack, often at a lower cost.
A few things worth knowing:
- Position taller or more light-hungry herbs on the tier closest to the window, since light intensity drops off considerably with each tier further back
- Rotate pots occasionally, since plants on a fixed shelf tend to lean and grow unevenly toward the strongest light source over time
- Choose a rack with a water-resistant finish or add individual saucers under each pot, since a multi-tier system multiplies the number of potential drip points
This approach fits considerably more herb variety into a narrow window than a single-row setup ever could, without requiring any actual counter or sill space beyond the rack’s footprint.
4. Self-Watering Pots for a Low-Maintenance Setup
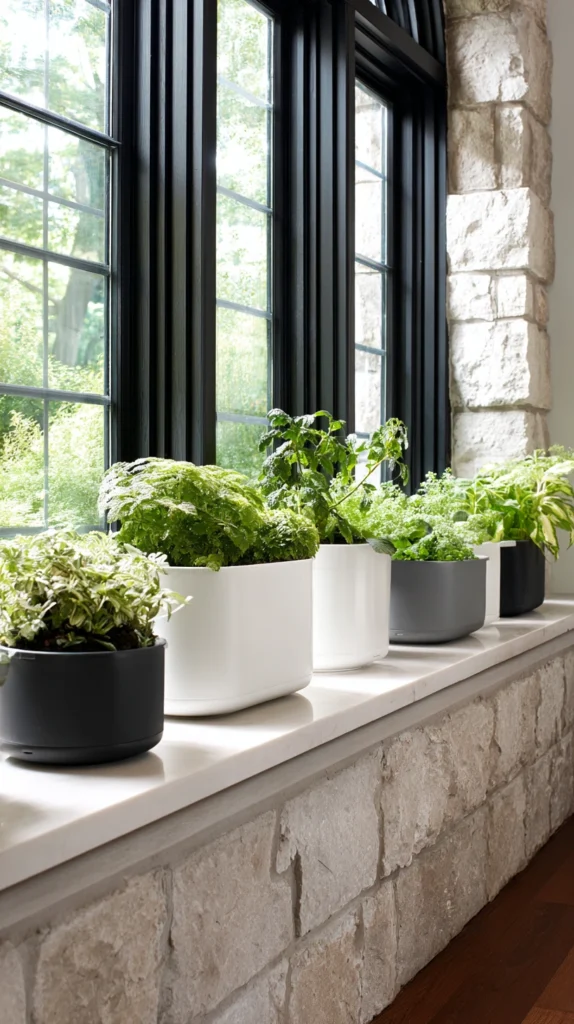
Herb pots with a built-in water reservoir in the base, wicking moisture up to the roots as needed rather than requiring manual watering on a strict schedule.
Windowsill herbs fail more often from inconsistent watering than almost any other single cause, and a self-watering system removes much of that risk by keeping a steady moisture supply available without demanding daily attention.
I switched my basil and parsley, both of which prefer consistently moist soil, into simple self-watering pots with a reservoir I only need to refill once every week or so rather than watering by hand every couple of days.
Budget tip: Basic self-watering pots cost more upfront than plain terracotta, but the reduced water waste and considerably lower plant loss rate from inconsistent watering often make up the difference within a single growing season.
A few things worth knowing:
- Choose this system specifically for herbs that prefer consistent moisture, like basil and parsley, rather than drought-tolerant varieties like rosemary or thyme that actually prefer to dry out between waterings
- Check the reservoir level regularly at first until you get a feel for how quickly it depletes in your specific kitchen’s light and temperature conditions
- Flush the reservoir with plain water occasionally to prevent mineral buildup, which can accumulate over repeated refills
This setup suits anyone who’s killed a windowsill herb garden before through forgetfulness, since it genuinely reduces how much the plants depend on a perfect memory for watering.
5. A Hanging Planter Trio for a Window With No Sill
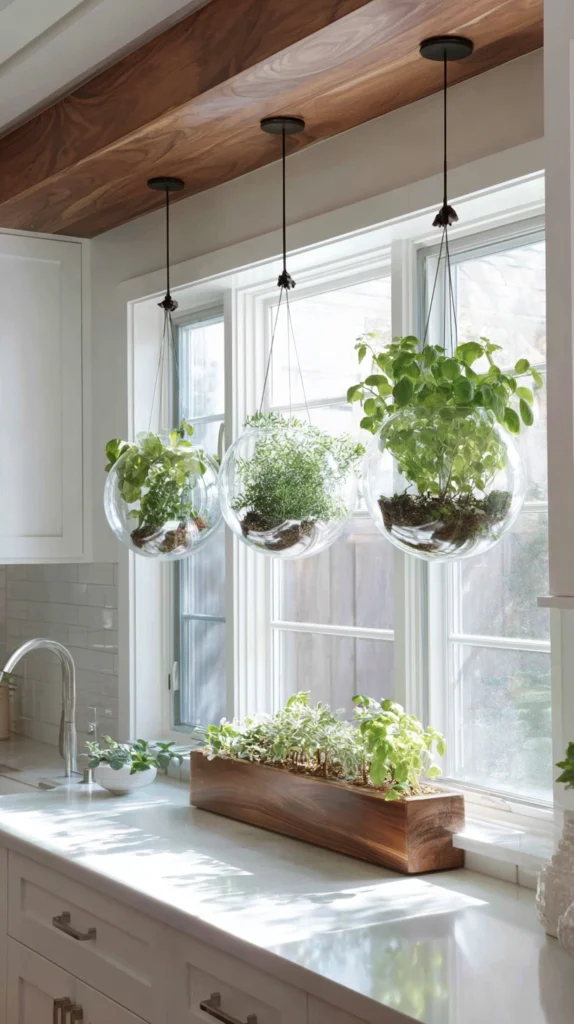
Small hanging planters suspended from a tension rod or ceiling hooks positioned directly in front of a window that lacks a usable sill entirely.
Plenty of kitchen windows, especially older ones or those positioned above a sink, offer little to no actual sill depth, and hanging planters solve that by using the open window space instead of requiring a horizontal surface at all.
I installed a simple tension rod inside my kitchen window frame and hung three small woven planters holding thyme, oregano, and chives, positioned to swing clear of the window when it needs to open.
Budget tip: A spring-tension curtain rod, already inexpensive and widely available, works perfectly for this application without requiring any actual drilling or permanent installation.
A few things worth knowing:
- Choose lightweight herbs and pots specifically, since a tension rod has weight limits that a full row of large, soil-heavy pots could exceed
- Confirm hanging planters clear the window’s actual swing path if it’s an operable window rather than a fixed pane
- Water carefully and slightly less than you might with a sill-based setup, since hanging planters drain more visibly onto whatever’s below them
This is one of the more clever solutions on this list for a genuinely awkward window, turning a spot most people would otherwise skip entirely into usable growing space.
6. A Built-In Sill Extension for Extra Depth
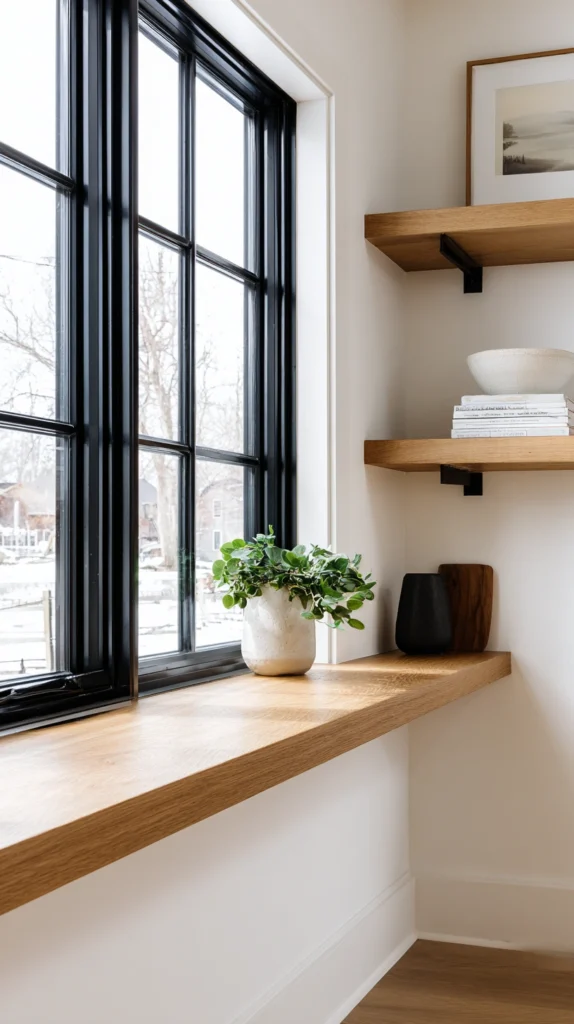
A custom or simple DIY wooden shelf extension, mounted just below or in front of an existing windowsill, adding several extra inches of usable depth for pots.
Many kitchen sills are simply too narrow to comfortably hold a standard 4 or 6-inch pot without it feeling like it’s about to tip forward, and a small extension shelf solves that structural limitation directly.
I built a simple cedar shelf extension, about 6 inches deep, mounted on brackets just below my existing sill, giving me enough surface area to comfortably fit four pots side by side where only two fit precariously before.
Budget tip: A basic wooden shelf extension can be built from a single board and two inexpensive brackets, costing considerably less than replacing an entire window or countertop configuration to gain the same usable space.
A few things worth knowing:
- Choose a moisture-resistant wood or finish, since this shelf will be in regular contact with water from pots and occasional spills
- Mount brackets securely into wall studs where possible, since a fully loaded shelf with wet soil carries real weight
- Size the shelf to actually fit your specific pots with a bit of room to spare, rather than cutting it exactly to the width of pots you own now
This solution turns a marginal, barely-usable windowsill into genuinely comfortable growing space without requiring any renovation beyond a simple weekend project.
7. Grow Light Supplementation for a Dim Window
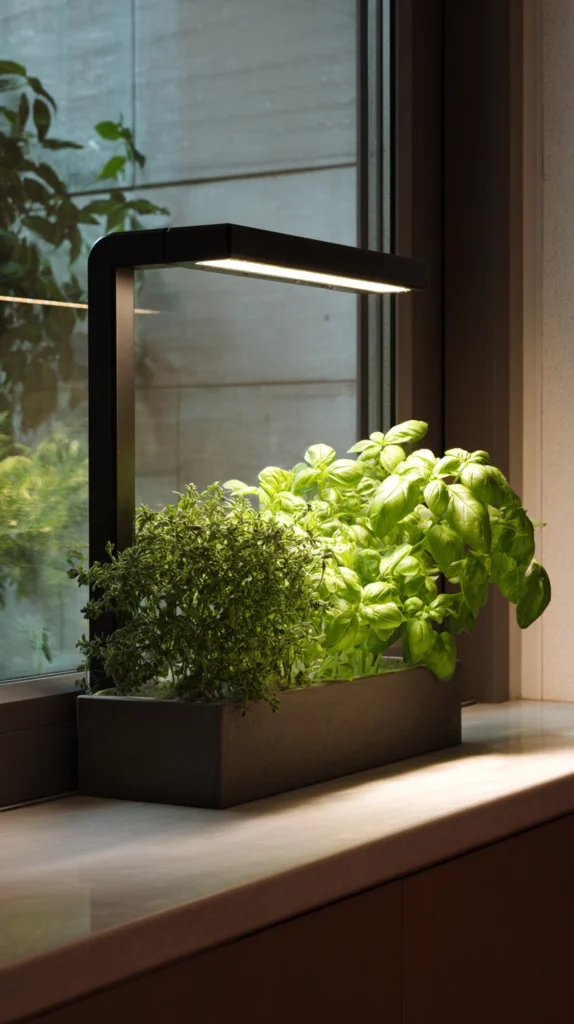
A small clip-on or freestanding grow light positioned near the windowsill herbs, supplementing natural light on windows that don’t get quite enough sun on their own.
Many kitchen windows face north or get partially blocked by a neighboring building or tree, and herbs in these conditions often survive but never really thrive, staying leggy and sparse no matter how well they’re watered.
I added a simple clip-on LED grow light to my north-facing kitchen window, running it for a few hours each evening to supplement the limited natural light my basil and parsley were otherwise struggling to get enough of.
Budget tip: A basic clip-on LED grow light designed for houseplants costs relatively little and uses minimal electricity, making it a considerably cheaper fix than relocating an entire herb garden to a different, sunnier window.
A few things worth knowing:
- Choose a full-spectrum LED grow light specifically, rather than a standard household bulb, since herbs need specific light wavelengths that ordinary bulbs don’t reliably provide
- Position the light close enough to actually make a difference, generally within a foot or so of the plants, since light intensity drops off quickly with distance
- Run supplemental lighting for a few hours in the early evening or on particularly overcast days, rather than assuming it needs to replace all natural light entirely
This addition can genuinely rescue a windowsill garden in a kitchen where the available window simply doesn’t get enough natural light on its own, regardless of how well everything else is set up.
8. A Repurposed Wine Crate Herb Box
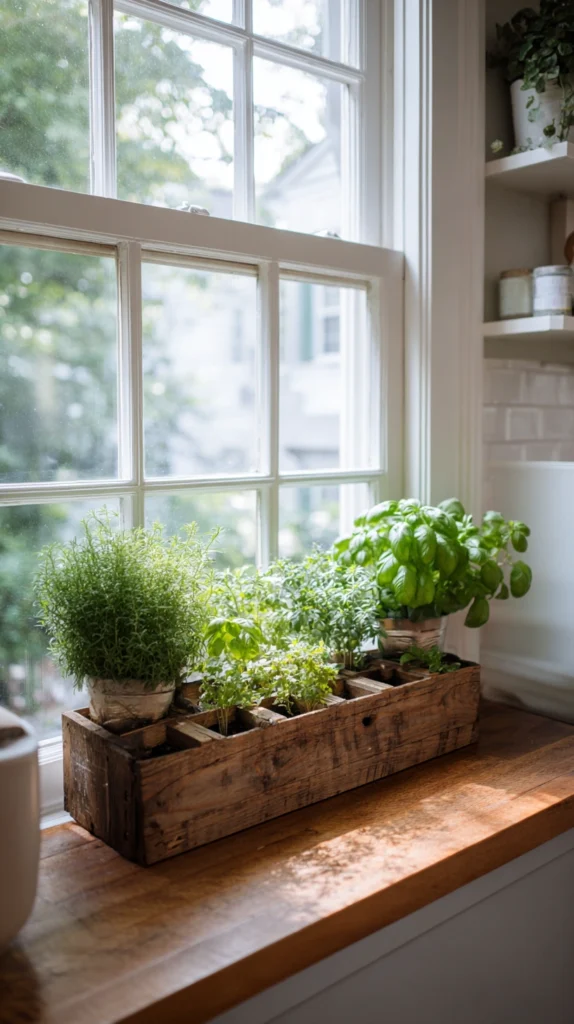
A wooden wine or fruit crate, lined and filled with soil, used as a single wide planter holding several herb varieties together rather than in individual pots.
A single wide container simplifies watering compared to managing several individual pots separately, and a wine crate’s naturally rustic look tends to suit a kitchen window better than a plain plastic planter box.
I lined a reclaimed wine crate with landscape fabric, filled it with potting soil, and planted a mix of basil, chives, and dill together in the same container along my kitchen windowsill.
Budget tip: Wine shops and specialty grocers often give away used wooden crates for free once they’ve served their original shipping purpose, making this one of the more affordable container options on this entire list.
A few things worth knowing:
- Line the crate thoroughly with landscape fabric before adding soil, since raw wood degrades considerably faster with direct soil and moisture contact
- Drill drainage holes in the crate’s bottom if it doesn’t already have natural gaps between the wood slats
- Group herbs with similar water needs together in the same crate, since a single shared container can’t accommodate wildly different watering schedules within it
The crate’s naturally weathered look gives this setup a considerably more collected, intentional feel than a uniform row of matching plastic pots.
9. Copper Pipe Fitting Planters for an Industrial Look
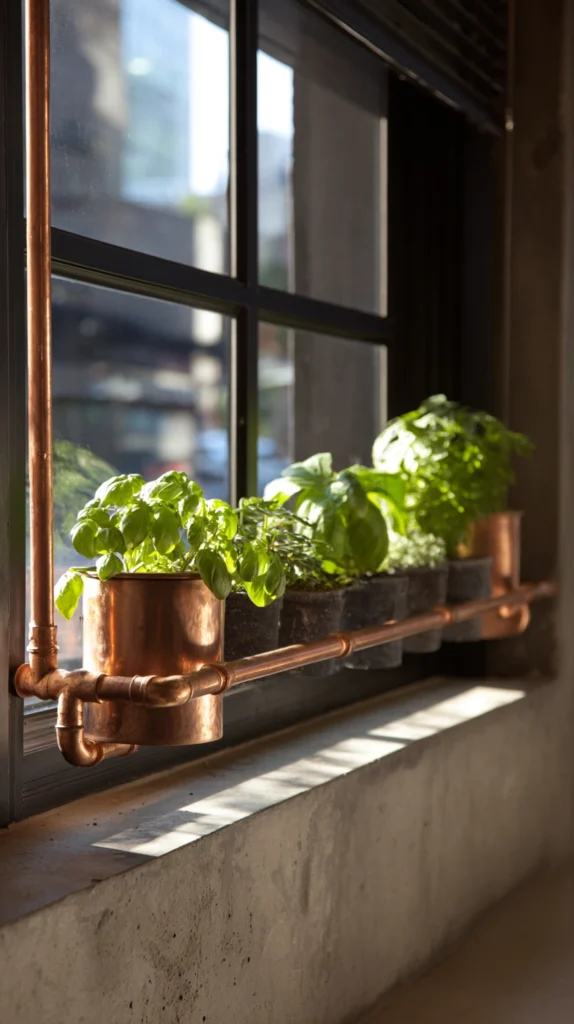
Short sections of copper pipe, fitted with end caps and drilled for drainage, used as small individual planters with a distinctly modern, industrial aesthetic.
Copper brings a material quality that plastic or even terracotta doesn’t offer, and it develops a natural patina over time that gives a windowsill garden an evolving, increasingly characterful look the longer it’s in place.
I cut copper pipe into short sections, capped the bottoms, drilled drainage holes, and planted a row of compact herbs like thyme and chives, letting the copper begin developing a soft patina after just a few months near the sink’s occasional splash.
Budget tip: Copper pipe and end caps from a hardware store’s plumbing section cost less than decorative copper planters marketed specifically for gardening use, and the material performs identically either way.
A few things worth knowing:
- Drill drainage holes before adding soil, since retrofitting them into a filled container is considerably more difficult
- Expect the copper’s bright, new shine to dull and develop a patina naturally over time, which is part of the material’s appeal rather than something to prevent
- Choose compact herb varieties specifically, since pipe diameter limits how much root space each individual planter can actually offer
This is one of the more distinctive material choices on this list, particularly suited to a kitchen already leaning toward an industrial or modern aesthetic elsewhere.
10. A Magnetic Planter Strip for a Steel Window Frame or Fridge-Adjacent Sill
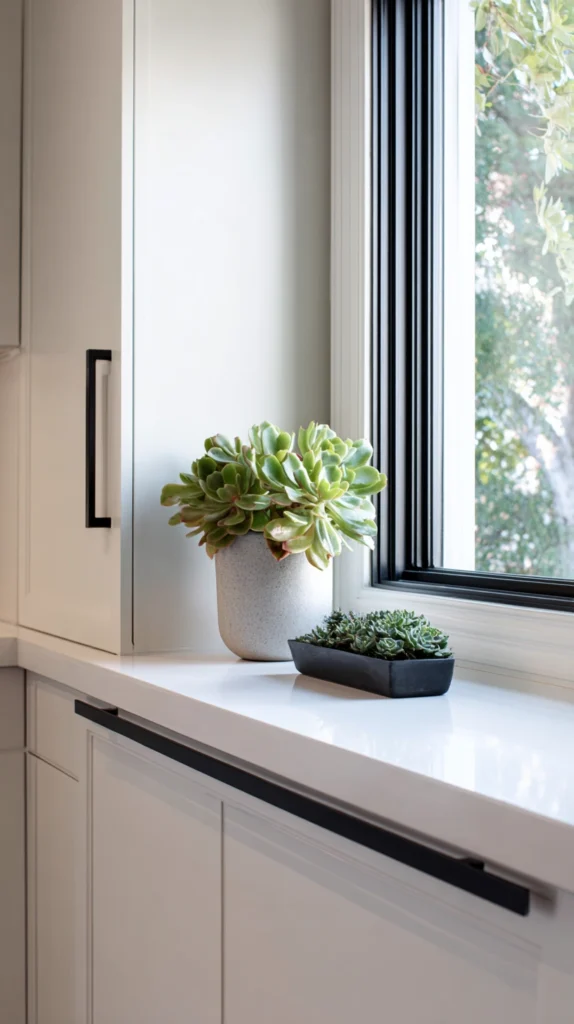
Small magnetic planters or a magnetic strip system, attached directly to a steel window frame or nearby appliance, holding a compact herb collection without requiring any actual counter or sill space.
Magnetic systems solve the specific problem of a window with genuinely no usable surface nearby at all, using a steel frame or an adjacent appliance’s side panel as the mounting surface instead.
I attached a magnetic planter strip to the steel side panel of my refrigerator, positioned close enough to a nearby window to get decent indirect light, holding several small pots of chives, thyme, and mint.
Budget tip: Magnetic planter systems are a relatively niche product and cost more than basic terracotta pots, but they solve a specific space problem that few other options on this list can address as directly.
A few things worth knowing:
- Confirm the surface is genuinely magnetic and can support the weight of a filled, watered pot before committing to this system
- Position the strip close enough to a light source to actually support plant growth, since proximity to an appliance alone doesn’t guarantee adequate light
- Choose small, lightweight pots specifically, since magnetic strength has real limits compared to a shelf or sill actually supporting the weight structurally
This is a niche solution, but it solves a genuinely awkward kitchen layout problem that few of the other ideas on this list are built to address.
11. A Repotted Grocery Store Herb Plant Collection
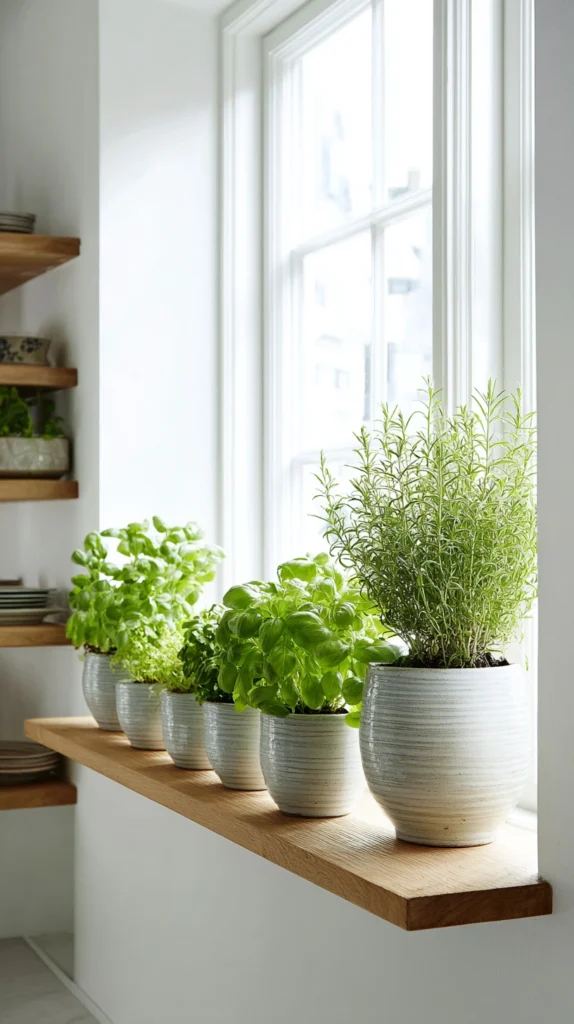
Living herb plants purchased from a grocery store’s produce section, repotted into proper containers rather than left in their original thin plastic nursery sleeves.
Grocery store herb plants are often sold in crowded, undersized containers meant for short-term display rather than long-term growth, and simply repotting them properly can turn a plant that would otherwise die within a couple of weeks into a genuinely long-lasting windowsill herb.
I’ve repotted several grocery store basil and mint plants over the years, gently separating the crowded seedlings inside each container into individual pots with fresh soil, which considerably extends their lifespan compared to leaving them in the original packaging.
Budget tip: A grocery store herb plant costs roughly the same as a bunch of cut herbs but, once properly repotted, can continue producing for months rather than being used up within a single recipe.
A few things worth knowing:
- Gently separate the multiple seedlings typically packed into a single grocery store pot, giving each one its own container with adequate room to grow
- Use fresh potting soil rather than keeping the plant in its original growing medium, which is often depleted or too dense for long-term growth
- Water thoroughly after repotting, since the transplanting process itself stresses the plant and benefits from a deep initial watering
This is one of the most accessible starting points on this entire list, since it requires no seed starting or specialized cuttings, just a trip to a regular grocery store and a few minutes of repotting.
12. A Windowsill Succession Planting Rotation
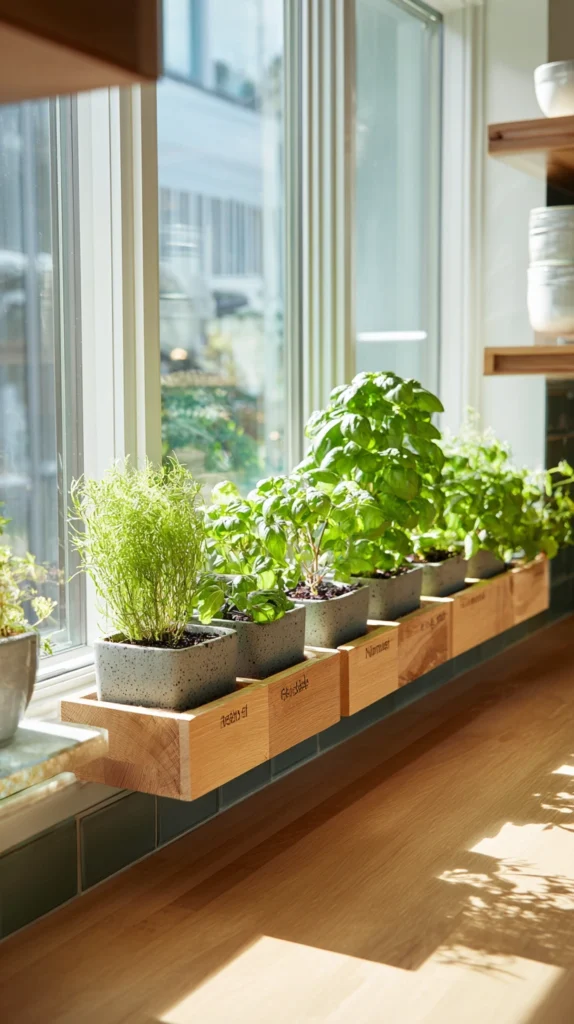
A planting schedule specifically designed to stagger new herb starts every few weeks, ensuring a continuous supply rather than planting everything at once and running out simultaneously.
Herbs like cilantro and basil in particular tend to bolt or get harvested down all at once if planted as a single batch, and a staggered succession approach keeps a steady, overlapping supply coming rather than feast-or-famine cycles.
I keep a simple rotation going, starting new basil and cilantro seedlings roughly every three weeks, so as one batch gets harvested down, a younger one is already coming along to take its place.
Budget tip: Starting herbs from seed rather than buying new plants each rotation cycle costs considerably less over a full season, even though it requires slightly more patience than buying an established plant each time.
A few things worth knowing:
- Choose fast-bolting herbs specifically for this rotation approach, since slower-growing perennial herbs like rosemary don’t benefit from the same staggered planting strategy
- Keep a simple written schedule or calendar reminder, since it’s easy to lose track of when the next round of seeds needs starting
- Reserve a small dedicated section of your windowsill specifically for seedlings just getting started, separate from the more mature plants currently being harvested
This approach suits anyone who cooks with herbs frequently enough that a single planting simply can’t keep pace with how much is actually being used week to week.
13. A Ceramic Trough Planter Styled as a Single Design Feature
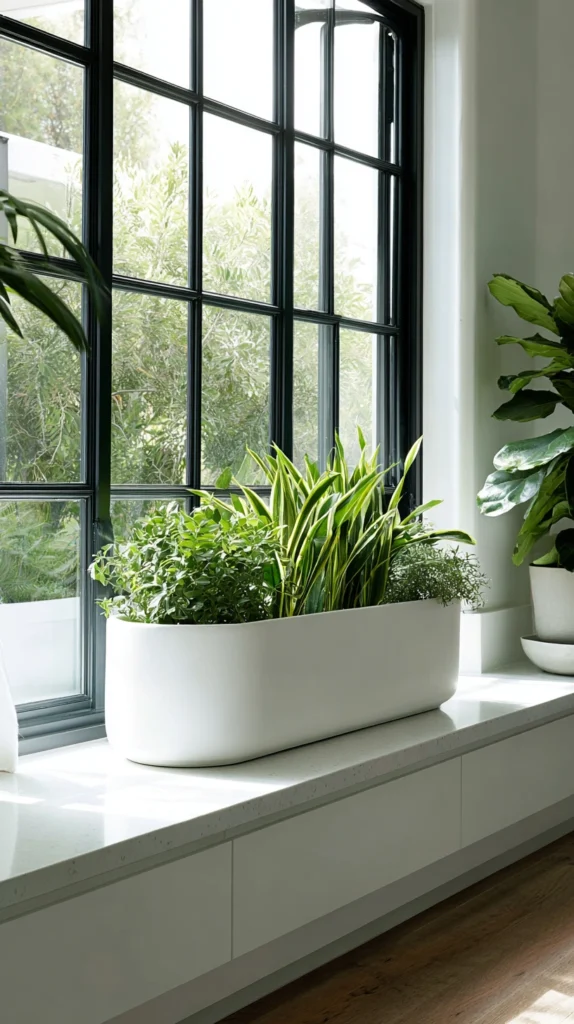
One long, unified ceramic trough spanning the entire windowsill, planted with a coordinated mix of herbs rather than several individual mismatched pots.
A single trough reads as a more considered design choice than a scattered collection of individual containers, and it simplifies both watering and the overall visual impact of the window.
I replaced a mismatched collection of pots with a single glazed ceramic trough running the full width of my kitchen window, planting a coordinated mix of basil, thyme, and trailing oregano that spills gently over the trough’s edge.
Style tip: Choose a trough glaze color that complements your kitchen’s existing tile, cabinetry, or wall color, since this piece sits in a highly visible spot and functions as much as a design element as a growing container.
A few things worth knowing:
- Confirm the trough has adequate drainage holes along its length, since a single long container without proper drainage risks becoming waterlogged more easily than several smaller pots
- Choose herbs with generally similar water and light needs, since a shared container doesn’t allow for the kind of individual customization separate pots do
- Measure your sill’s exact length and depth before purchasing, since a trough that’s even slightly too long or wide won’t fit properly
This approach delivers a noticeably more polished, intentional look than a mismatched pot collection, at the cost of some flexibility in customizing each individual herb’s care.
14. A Rotating Turntable Base for Even Light Exposure
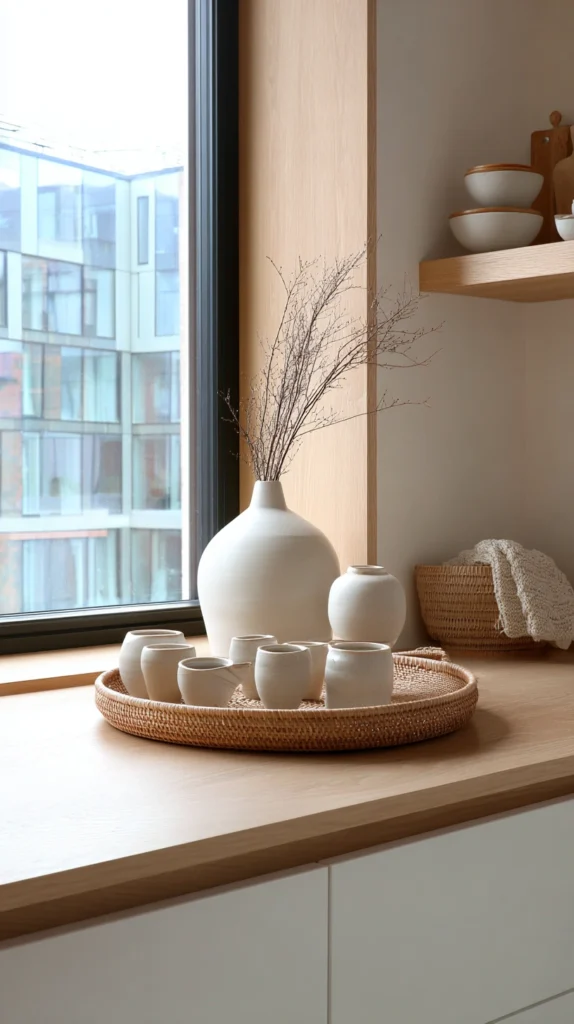
A simple lazy susan or turntable base positioned beneath a cluster of pots, allowing the entire collection to be rotated periodically for even light exposure on all sides.
Herbs positioned in a fixed spot near a window tend to lean and grow unevenly toward the strongest light source over time, and a rotating base solves this without requiring you to manually reposition individual pots.
I placed a simple wooden lazy susan on my windowsill, clustering several small herb pots on top, and give it a quarter turn every few days to keep growth even rather than lopsided toward the window.
Budget tip: A basic lazy susan, the kind sold for pantry or cabinet organization, works just as well for this purpose as anything marketed specifically for gardening, often at a considerably lower price.
A few things worth knowing:
- Choose a turntable base rated to hold the combined weight of several filled, watered pots without struggling to rotate smoothly
- Build rotating the base into an existing routine, like watering day, rather than relying on remembering to do it separately
- Group pots with similar light needs on the same turntable, since this solution addresses even exposure but doesn’t change how much total light the whole cluster receives
This is a small, low-cost addition that solves the specific, common problem of herbs leaning and growing unevenly toward a single light source over time.
The Easiest Setup If You’re Starting From Nothing
The repotted grocery store herb collection remains the simplest entry point for anyone starting completely from scratch, since it requires no seed starting, no cuttings, and no specialized containers beyond a few basic pots and some fresh soil.
A Few Things Worth Getting Right Regardless of Setup
- Confirm your window’s actual light exposure before choosing herbs, since rosemary and basil have very different sun requirements
- Prioritize drainage in whatever container you choose, since standing water kills more windowsill herbs than underwatering ever does
- Group herbs by water needs rather than purely by appearance, especially in any shared container setup
Why Windowsill Herb Gardens Often Fail Within a Month
Most windowsill herb gardens don’t fail from bad luck or a lack of gardening skill, they fail from a mismatch between the herb chosen and the actual light and water conditions available in that specific spot. A basil plant in a dim, north-facing window, or a rosemary plant kept constantly damp, is fighting its own basic needs regardless of how nice the pot looks, so matching the plant to the window honestly is worth more than any container choice on this entire list.