10 Accent Rug Layering Ideas for Hardwood Floors
Hardwood floors look beautiful, right up until a room feels cold and echoey the moment you actually stand in it. That hollow, underdressed feeling is common in homes that recently refinished original floors or added new engineered wood throughout.
A single flat rug helps, but layering two rugs together does something a single one never quite achieves.

It adds depth, softens hard edges, and gives a room a sense of being collected rather than furnished all at once.
Wood floors also come with their own set of layering considerations that carpet never has to deal with, finish protection, UV fading, vents, and expansion gaps among them.
Here are 10 ways to layer rugs specifically with hardwood’s actual quirks in mind, not just generic styling advice borrowed from a carpeted room.
Every one of these works with rugs you may already own, no full replacement required.
Quick Reference: Matching a Layering Approach to Your Hardwood Situation
| Floor Situation | Best Layering Approach | Why It Works |
| Recently refinished floor | Protective layer over the curing section | Prevents scuffs while the finish fully hardens |
| Sun-exposed room | Rotating rug layers | Prevents an uneven fade line forming on the wood |
| Floor vents in the walking path | Bridge layering around the vent | Keeps airflow clear without an awkward gap |
| Older floor with patched boards | Distraction layering over mismatched wood | Draws the eye away from repaired sections |
1. A Natural Fiber Base With a Patterned Rug on Top
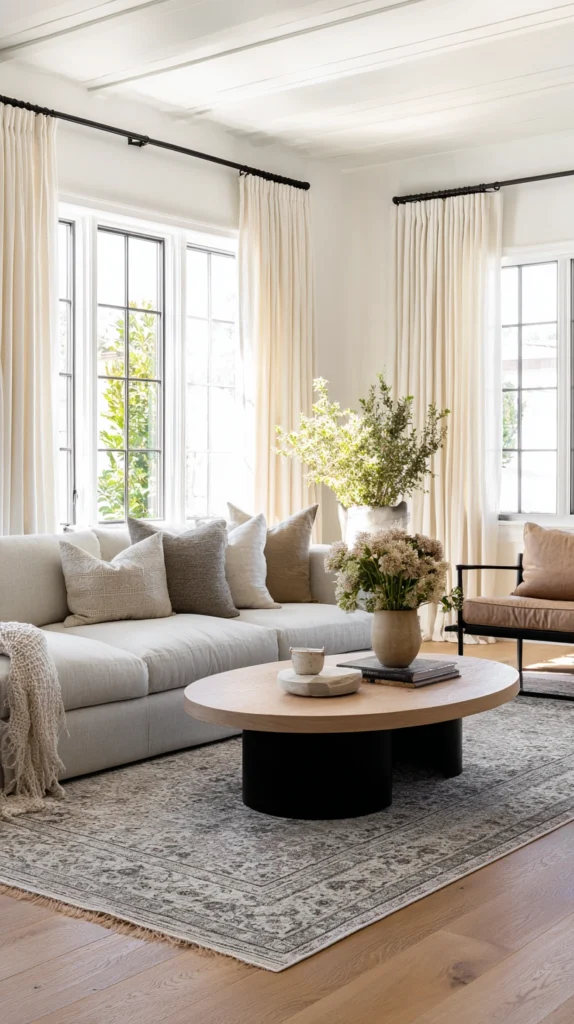
A large jute or sisal rug covering most of the floor, topped with a smaller, more colorful rug centered above it.
The natural fiber grounds the room in warm texture, while the smaller rug adds color and pattern on top.
I laid a large jute rug under my living room seating, then centered a faded vintage-style rug beneath the coffee table.
Budget tip: A large jute rug costs considerably less per square foot than an equivalent patterned rug, keeping the overall cost down.
A few things worth knowing:
- Leave an even jute border showing on all sides of the smaller top rug
- Use a thin non-slip pad between the two layers, since jute alone can still shift on a smooth wood surface
- Choose a top rug with some visible wear, since a pristine one looks oddly formal against natural fiber
Hardwood specifically benefits from this pairing more than carpet does. The jute base grips a slick wood surface in a way a single smaller rug alone often can’t manage.
2. A Protective Layer Over a Freshly Refinished Section
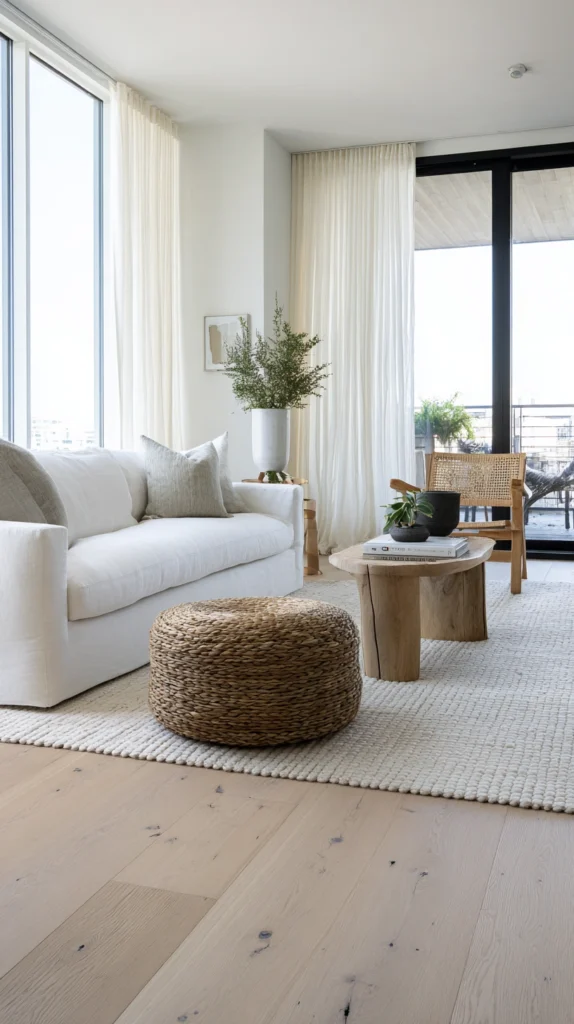
A temporary rug layer placed over a section of floor that’s been recently sanded and refinished, protecting the new coat while it fully cures.
Fresh polyurethane and oil-based finishes stay genuinely soft for longer than most people expect, often several weeks past when they look and feel dry.
I laid a breathable cotton rug over my newly refinished living room floor, leaving it in place for a full month before switching to my regular decorative layering.
Budget tip: A simple, inexpensive rug used purely for this temporary protective phase costs far less than repairing scuff marks pressed into a still-curing finish.
A few things worth knowing:
- Avoid rubber-backed or vinyl-backed rugs during this curing window specifically, since these can trap solvents and cause the finish to cure unevenly or discolor
- Choose a breathable natural fiber rug instead, allowing the finish underneath to continue off-gassing properly
- Wait at least the manufacturer’s recommended full cure time, often two to four weeks, before placing any permanent rug pad down
This step is easy to skip in the excitement of a finished refinishing project, but it’s one of the more important hardwood-specific precautions on this entire list.
3. Two Runners Layered Down a Hallway
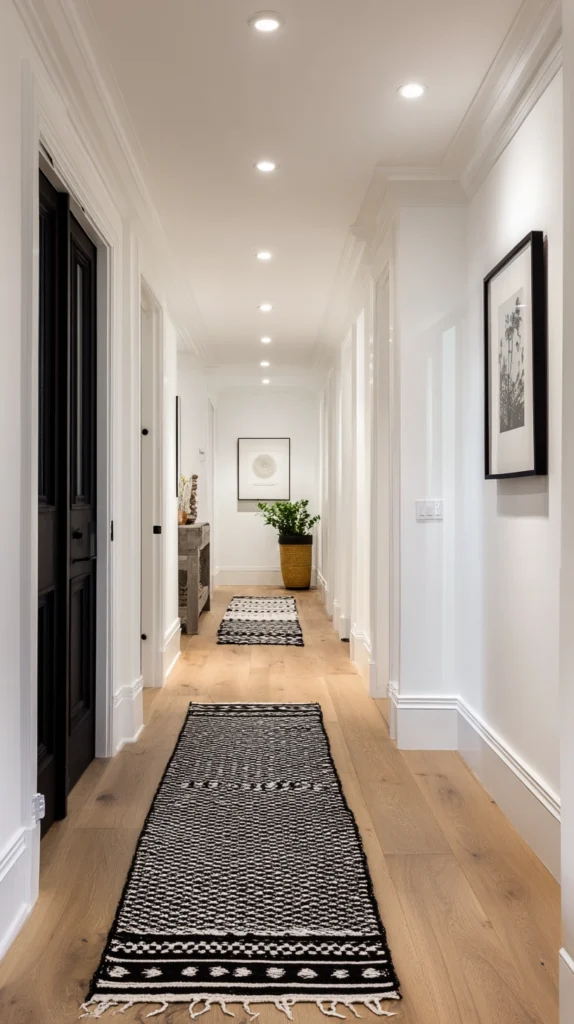
A solid-colored runner spanning the hallway’s full length, topped with a narrower patterned runner centered down the middle.
Hardwood hallways often get skipped when it comes to rugs, but layering here brings the same depth living rooms get.
I laid a solid charcoal runner the length of my hallway, then centered a striped kilim runner directly on top.
Budget tip: A solid runner typically costs less per linear foot than a patterned one, keeping material costs down while the eye-catching layer stays smaller.
A few things worth knowing:
- Choose a low-pile top runner specifically, since plush layers create an uneven walking surface in a hallway
- Secure both layers with rug tape, since hallways see more shifting than a rug under stationary furniture
- Keep the color palette between both runners in the same general family
Hardwood hallways in particular tend to echo more than carpeted ones. A layered runner setup helps dampen that sound alongside the visual benefit.
4. Rotating a Layered Rug to Prevent UV Fading Patterns
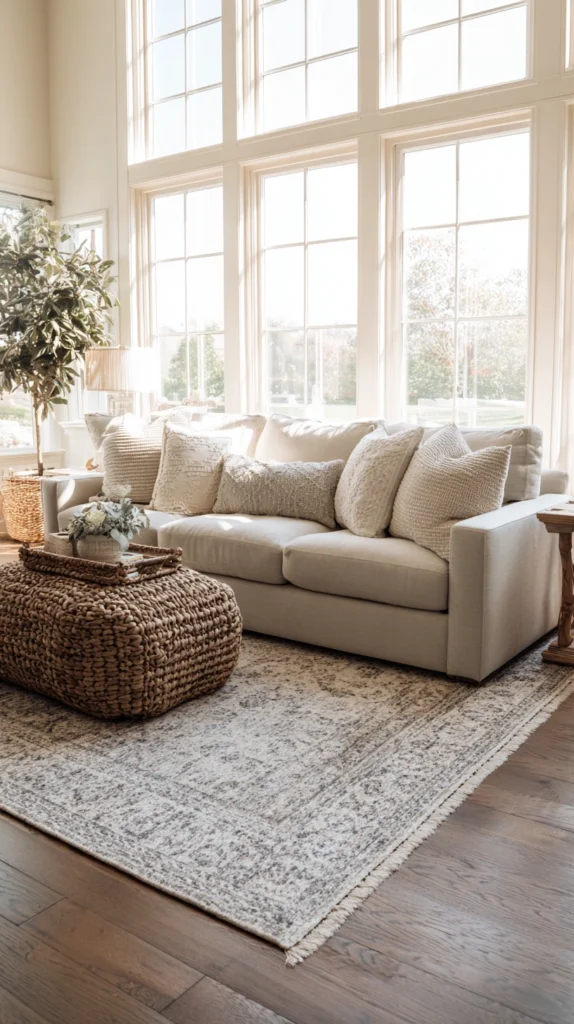
A layered rug arrangement that gets shifted or rotated periodically specifically to prevent an uneven sun-fade line from forming on the exposed wood around its edges.
Direct sunlight fades hardwood considerably faster than it fades most rugs, which means a rug left in exactly the same spot for years can leave a visible outline once it’s ever moved.
I rotate my layered rug setup a few inches in a different direction every season, and shift the whole arrangement entirely once a year in my sunniest west-facing room.
Style tip: Mark the rug’s original position with painter’s tape on the floor before moving it, making it easy to return to the same spot later if you decide you preferred the original placement.
A few things worth knowing:
- Rooms with large, unfiltered south or west-facing windows fade fastest and need the most frequent rotation
- Sheer curtains or UV-filtering window film reduce fading considerably if you’d rather not move rugs often
- Check under the rug’s edge every few months, since a fade line is far easier to prevent than to correct later
This is one of the more overlooked long-term maintenance issues specific to layering rugs on wood rather than carpet, where fading simply isn’t a comparable concern.
5. Bridging a Floor Vent Without Blocking Airflow
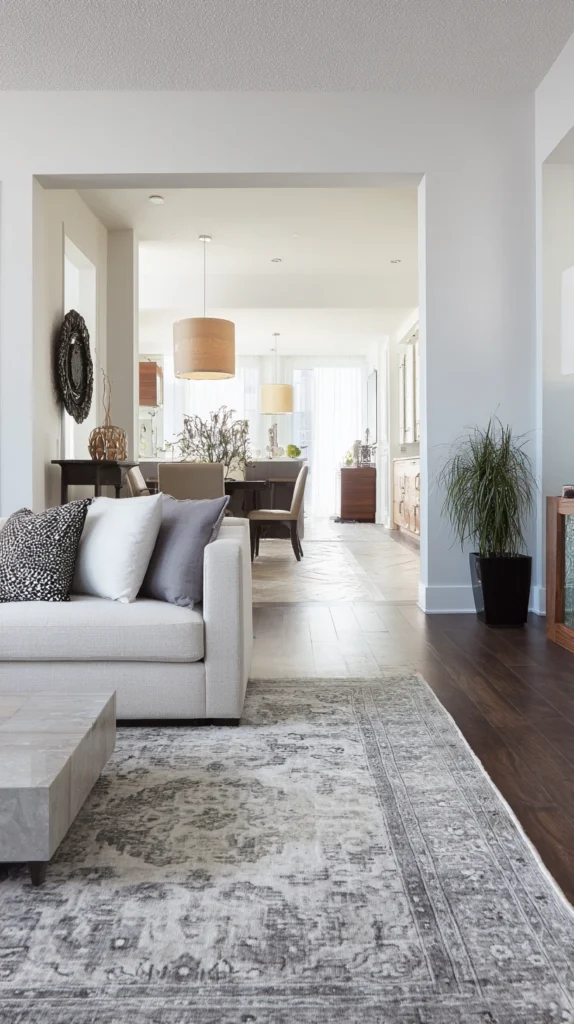
A rug layering arrangement specifically planned around a floor vent or register, using a raised or gapped layer so airflow isn’t blocked.
Placing a heavy rug directly over a floor vent restricts heating and cooling efficiency, and can trigger a furnace or HVAC system to work harder than it needs to.
I positioned my base layer to stop just short of the vent opening, then used a smaller, more breathable top rug angled so it never fully covers the register itself.
Budget tip: A vent-safe metal floor grille extension, which raises the vent opening slightly above rug height, costs relatively little and solves this problem permanently.
A few things worth knowing:
- Never place a rug pad with a solid, non-breathable backing directly over or near a vent opening
- Choose natural fiber or looser-weave rugs specifically for any section of floor near a register
- Consider a vent extension if the register’s location makes rug placement around it genuinely awkward otherwise
This is a distinctly hardwood-and-HVAC-specific issue, since carpet installers typically cut carpet around vents permanently, while a movable rug layering plan has to account for this every time.
6. Layering to Camouflage Patched or Mismatched Boards
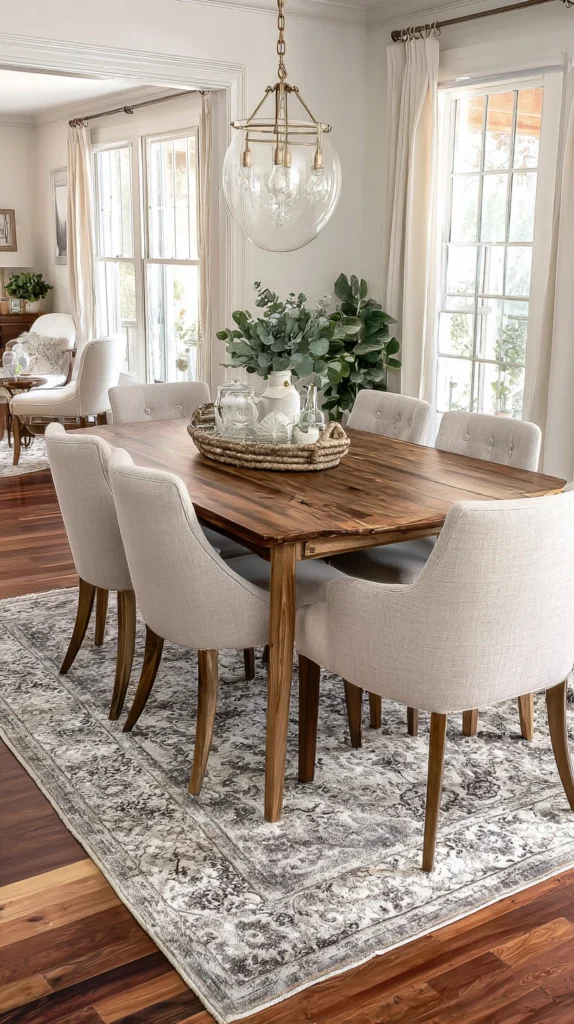
A rug layering arrangement deliberately positioned to draw attention away from a section of hardwood with visible repairs, patches, or color mismatch from a partial refinishing job.
Older homes in particular often have a section of flooring replaced or patched at some point, and the new boards rarely match the surrounding wood’s aged patina exactly.
I positioned my patterned top rug directly over the most visibly mismatched section of my dining room floor, using the pattern’s busier design to draw the eye away from the boards underneath.
Style tip: Choose a top layer with genuine pattern complexity rather than a solid color specifically for this purpose, since busier patterns do more to distract the eye than a plain rug would.
A few things worth knowing:
- Measure the mismatched section carefully before choosing rug sizing, ensuring the problem area stays fully covered
- Choose a rug you’re comfortable leaving in place semi-permanently, since moving it will expose the same issue again
- Consider this an interim solution while saving for a full refinish, rather than a permanent fix for significant board damage
This is one of the more practical, problem-solving uses of rug layering, treating the technique as genuine repair camouflage rather than purely decorative choice.
7. A Vintage Runner Under a Dining Table
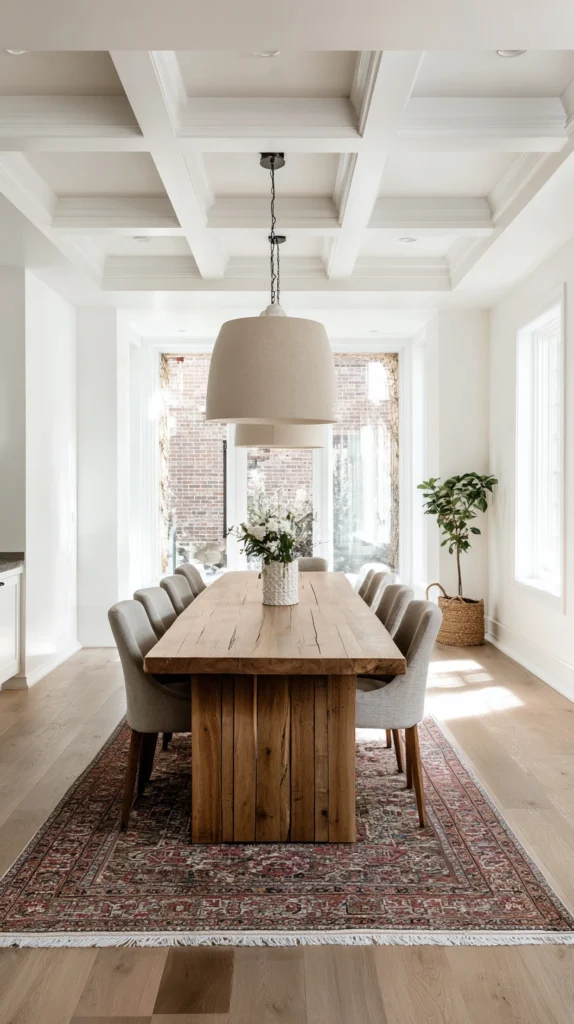
A faded, patterned runner-style rug placed beneath a dining table instead of the standard square or round area rug.
This shape works particularly well under a long farmhouse-style table, following its actual proportions.
I placed a vintage runner beneath my long dining table, extending well beyond the chairs on both ends.
Budget tip: A runner is often less expensive than an equivalently sized standard area rug, since the narrower width uses less material overall.
A few things worth knowing:
- Size the runner so chairs stay fully on it even when pulled back from the table
- Choose a durable, easily cleaned rug specifically given the dining table’s spill risk
- Use a felt-based rug pad, both for safety and to protect the wood finish from dragged chair legs
Hardwood beneath a dining table specifically benefits from this kind of padding. Chair legs dragged across bare wood scratch the finish more easily than they would across carpet.
8. A Kilim Layered Beneath the Coffee Table Only
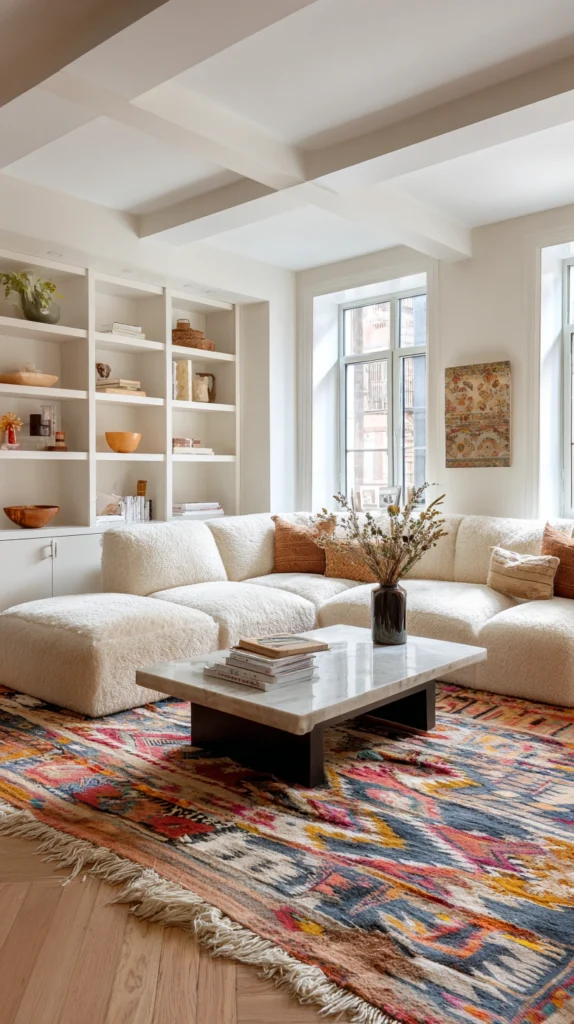
A large plush rug covering the full seating area, with a smaller flatweave kilim centered specifically under the coffee table.
This protects the softer rug from a coffee table’s daily wear while adding a second layer of pattern.
I laid a plush wool rug under my whole seating arrangement, then added a smaller kilim just beneath the coffee table itself.
Budget tip: A smaller kilim sized only for the coffee table area costs less than covering the whole room in a second patterned rug.
A few things worth knowing:
- Size the kilim so all coffee table legs sit fully on it
- Choose a kilim thin enough that furniture doesn’t wobble across the height difference
- Vacuum the plush rug’s edges regularly, since debris tends to collect along the transition and shows clearly against exposed wood
This combination solves a genuine wear problem while still adding real visual depth to the room.
9. Keeping Rug Edges Clear of Board Expansion Gaps
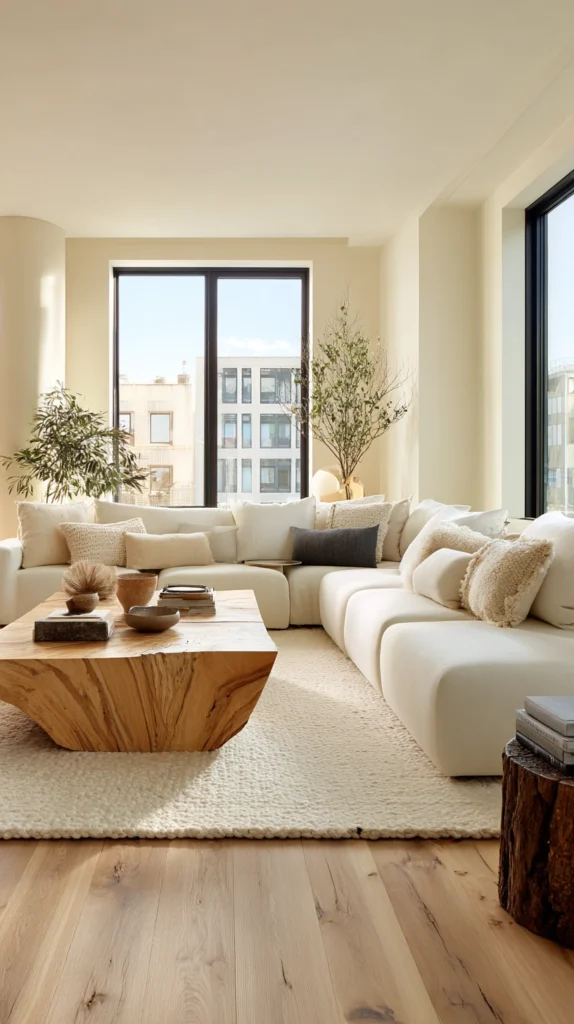
A layering plan that deliberately positions rug edges away from the narrow expansion gaps between hardwood boards, particularly along exterior walls or near windows.
Wood floors expand and contract seasonally with humidity changes, and a rug pad or heavy rug edge sitting directly across an expansion gap can interfere with that natural movement over time.
I keep my base rug layer pulled a few inches back from the wall where my floor’s expansion gap runs, rather than pushing the rug edge flush against the baseboard.
Style tip: A small gap of visible bare wood between a rug’s edge and the wall often looks more intentional than most people expect, rather than reading as a mistake.
A few things worth knowing:
- This matters most in climates with significant seasonal humidity swings, where wood movement is more pronounced
- Avoid heavy furniture legs or rug pad edges sitting directly in a visible expansion gap for extended periods
- Ask your flooring installer or a local flooring specialist where your specific expansion gaps run if they aren’t obvious
This is a genuinely wood-specific consideration that simply doesn’t exist with carpet, tile, or other flooring types that don’t expand and contract the same way.
10. A Rug Layered Near a Hearth With Ember Safety in Mind
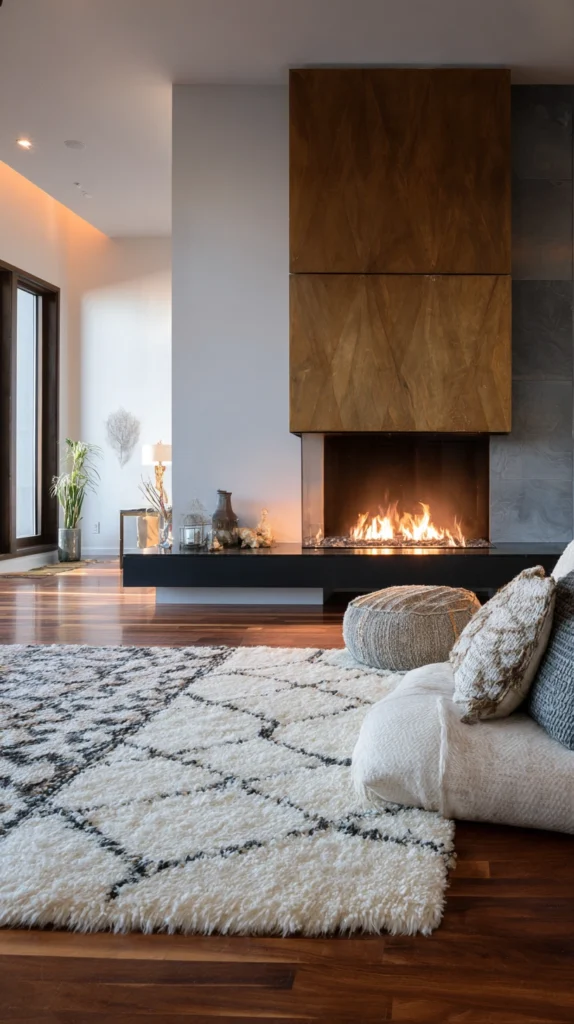
A layered rug arrangement positioned near a fireplace hearth, chosen specifically with spark and ember safety in mind rather than pattern alone.
Hardwood floors near a working fireplace face a genuine risk from stray embers or sparks that a rug in the wrong material can make considerably worse.
I keep a fire-resistant wool rug as my base layer directly in front of my hearth, reserving more delicate or synthetic decorative layers for areas further from the fireplace itself.
Budget tip: Wool is naturally more fire-resistant than most synthetic rug materials, and a wool base layer often costs less than a specialty fire-rated rug marketed specifically for hearth use.
A few things worth knowing:
- Keep synthetic fiber rugs, which can melt or ignite more readily, at a safe distance from the hearth specifically
- Leave a reasonable buffer zone of bare hardwood or tile directly at the fireplace opening before any rug layering begins
- Check local building code or your fireplace manufacturer’s guidance for minimum clearance recommendations
This is one of the more safety-driven considerations on this list, and it matters specifically because hardwood, unlike tile or stone, can scorch or burn if an ember goes unnoticed.
The Simplest Combination to Start With
A jute base with a smaller vintage rug on top remains the most forgiving pairing for a first attempt, since the neutral base does most of the visual work and grips a wood floor better than a single rug alone.
A Few Details Easy to Overlook
- Felt-based pads generally protect a wood finish better than rubber or vinyl-backed alternatives
- A freshly refinished floor needs its full cure time before any rug pad goes down permanently
- Rug edges near a wall’s expansion gap or a floor vent deserve a second look before finalizing placement
Where This Trend Tends to Go Wrong on Wood Specifically
Layering rugs on hardwood fails in different ways than it does on carpet. The mistakes that matter most here are rarely about color or pattern clashing, they’re about trapping moisture against a finish, blocking a vent’s airflow, or leaving a rug pad in the same spot long enough to create a visible fade line. Get those wood-specific details right first, and the more familiar rules about scale, texture, and color layering apply just as they would anywhere else.