13 Genius IKEA Hacks Worth Trying This Weekend
IKEA furniture is popular partly because it’s affordable, but the real value shows up once you start modifying it. A few tools, some paint, and an afternoon can turn basic flat-pack pieces into furniture that looks custom-built and costs a fraction of the price.
Below are 13 IKEA hacks worth trying, from simple paint swaps to full furniture transformations, with real numbers on cost, tools, and time so each project is easy to actually plan and finish.
Hack Difficulty Levels
Beginner (under 2 hours, basic tools):
- Paint or hardware swaps
- No cutting or major assembly changes
- Good first hacks for testing new skills
Intermediate (half a day, basic power tools):
- Adding trim or molding
- Simple structural modifications
- Requires a drill and basic measuring
Advanced (a full weekend, more tools required):
- Combining multiple pieces
- Custom cutting and fitting
- Best attempted after a few simpler hacks first
1. Turn a KALLAX Shelf Into a Window Seat
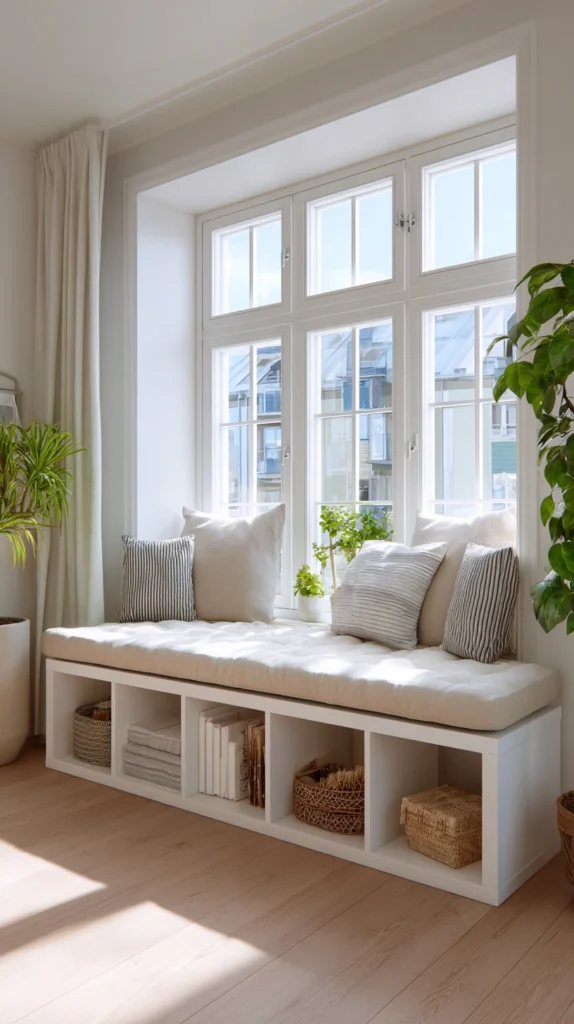
The KALLAX shelving unit is a popular hack base because its cube dimensions (roughly 13×13 inches per cube) work perfectly as bench seating when placed on its side under a window. A 2×4 KALLAX unit creates a bench about 58 inches wide.
Budget: $80-130 for the KALLAX unit, plus $40-80 for a cushion cut to fit. This is one of the most popular IKEA hacks because it also adds storage cubbies underneath the seat.
Lay the unit on its long side so the cubby openings face outward into the room, then add a upholstered cushion cut to the top dimensions for comfortable seating. Fabric storage bins in the cubbies keep the look tidy while hiding whatever’s stored inside.
This hack works especially well in a reading nook, entryway, or bay window where the depth of a standard KALLAX (about 15 inches) fits comfortably.
2. Build Custom Built-In Shelving From BILLY Bookcases
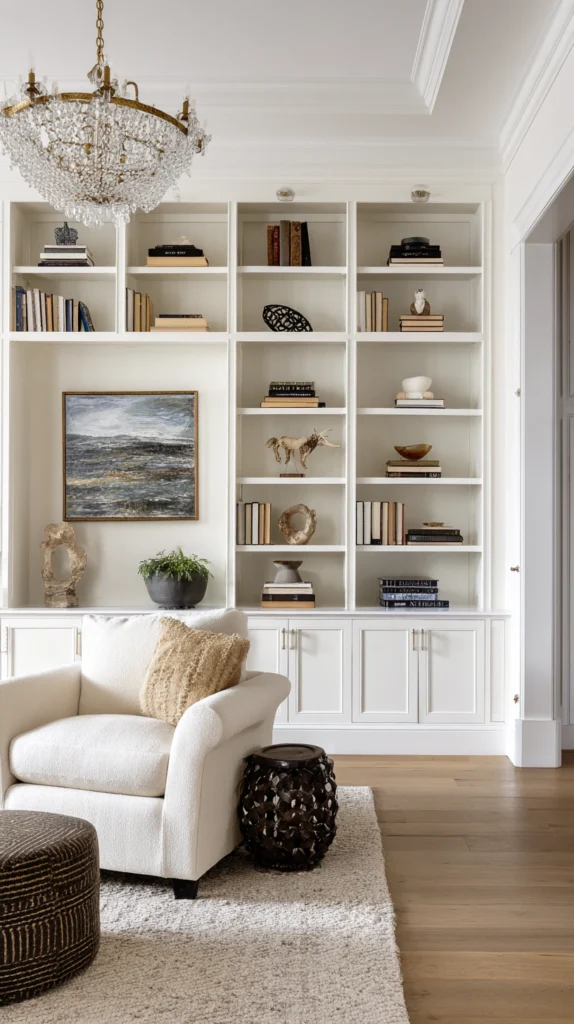
BILLY bookcases are inexpensive on their own, but lining several up side by side and adding trim around them creates the look of expensive custom built-ins. Standard BILLY units run 31.5 inches wide, so three units side by side span about 94 inches.
Budget: $200-400 for 3 BILLY units, plus $50-100 for trim and crown molding. This delivers a built-in look for roughly a quarter of the cost of custom carpentry.
Attach the bookcases to each other and to the wall for stability before adding any trim, since securing multiple tall units together is both a safety step and what keeps the finished look seamless. Adding a simple wood top spanning all the units and baseboard trim around the bottom is what sells the built-in illusion.
Painting the entire assembly, trim included, one uniform color removes the visual seams between the individual units.
3. Turn a LACK Side Table Into a Faux Marble Table
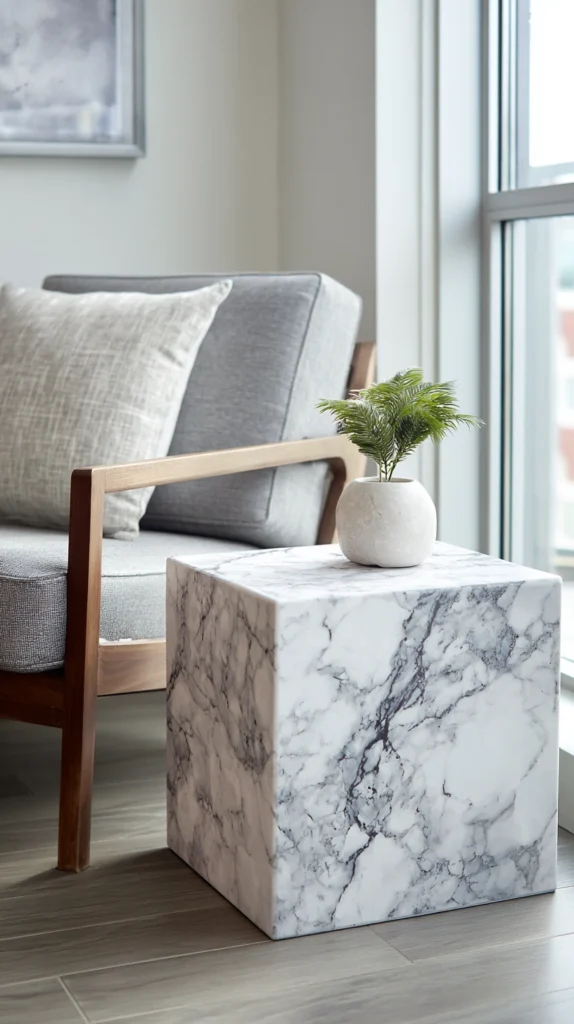
The LACK side table’s flat, simple surface makes it an easy candidate for a marble-look makeover using contact paper or a faux finish technique. A single LACK table runs about 21.75 inches square.
Budget: $15-25 for the LACK table, plus $15-30 for marble-look contact paper or paint supplies. This is one of the cheapest hacks on this list in total cost.
Clean and lightly sand the tabletop surface before applying contact paper, since any dust or texture underneath will show through the finish once applied. Smooth the paper outward from the center using a credit card or squeegee to avoid trapped air bubbles.
A clear polyurethane topcoat over the finished contact paper adds durability and a more realistic sheen if the table will see daily use.
4. Convert a RAST Dresser Into a Statement Piece
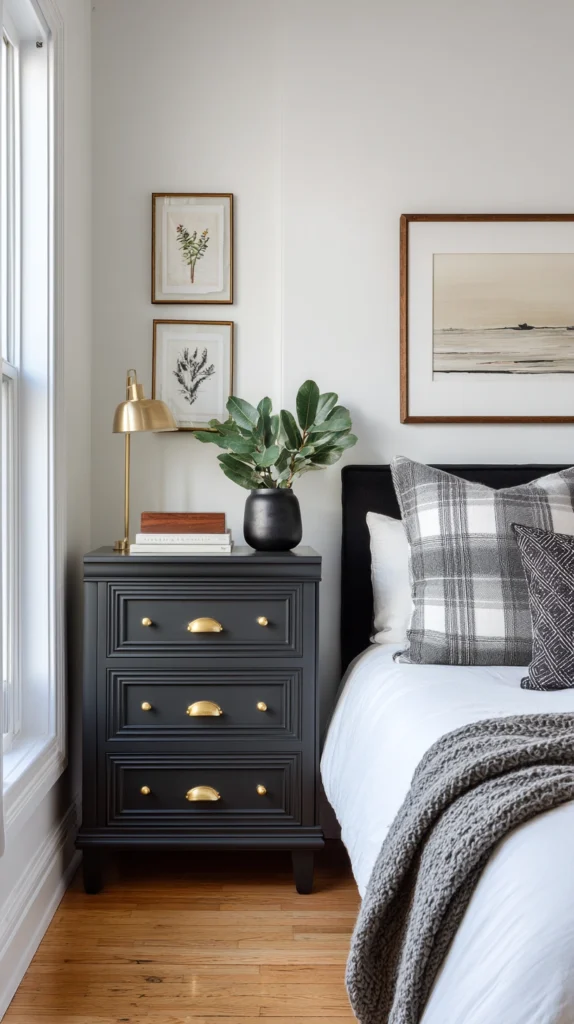
The RAST dresser is one of IKEA’s most affordable pieces specifically because it’s sold unfinished, which makes it an ideal canvas for paint, new hardware, or added trim. Standard RAST dressers run about 24 inches wide with 3 drawers.
Budget: $50-70 for the RAST dresser, plus $30-60 for paint and new hardware. This is one of the most dramatic before-and-after transformations possible on this list for the price.
Sand the raw wood lightly before priming, since factory-finished furniture typically skips this step but unfinished pieces like RAST benefit from it for better paint adhesion. Adding simple trim or beadboard to the drawer fronts before painting creates more visual texture than a flat paint job alone.
New brass or black hardware in place of the stock pulls is often what makes the biggest visible difference for the least additional cost.
5. Add Trim to MALM Dressers for a High-End Look
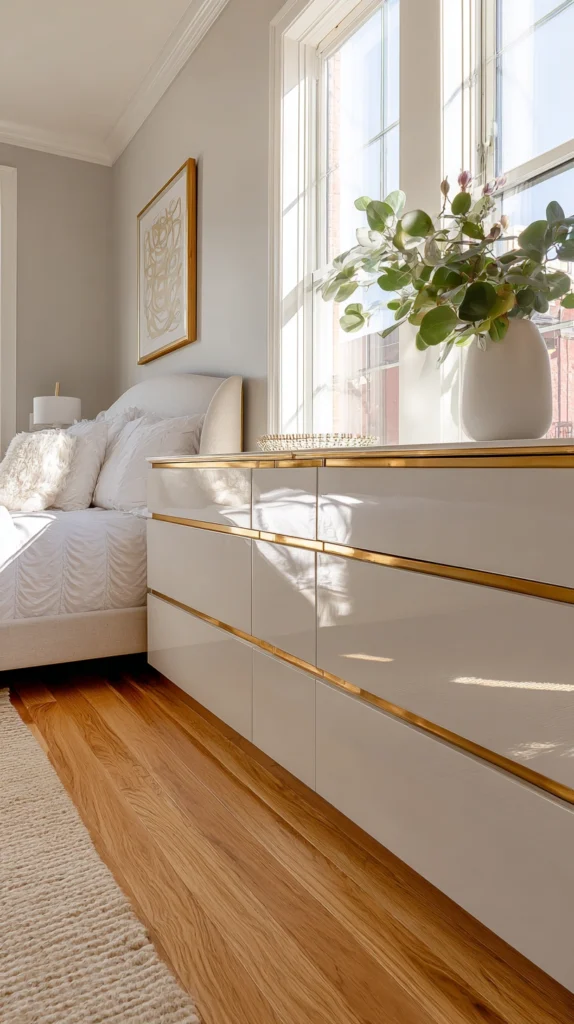
The MALM dresser’s clean, flat-front design is a popular base for adding picture-frame trim molding, which instantly makes budget furniture look more like a designer piece. Standard MALM dressers run about 31.5-63 inches wide depending on the model.
Budget: $150-300 for the MALM dresser, plus $30-60 for trim molding and paint. This hack works especially well because MALM’s flat drawer fronts have no existing detail to work around.
Measure and cut simple picture-frame style trim to fit within each drawer front, leaving an even border on all sides, then attach with wood glue and small finish nails. Caulk and sand any seams before painting so the trim reads as part of the original piece rather than an obvious addition.
Painting the whole dresser one color, trim included, is what ties the look together and removes any visible distinction between the original piece and the added detail.
6. Use IVAR Shelving as an Open Pantry
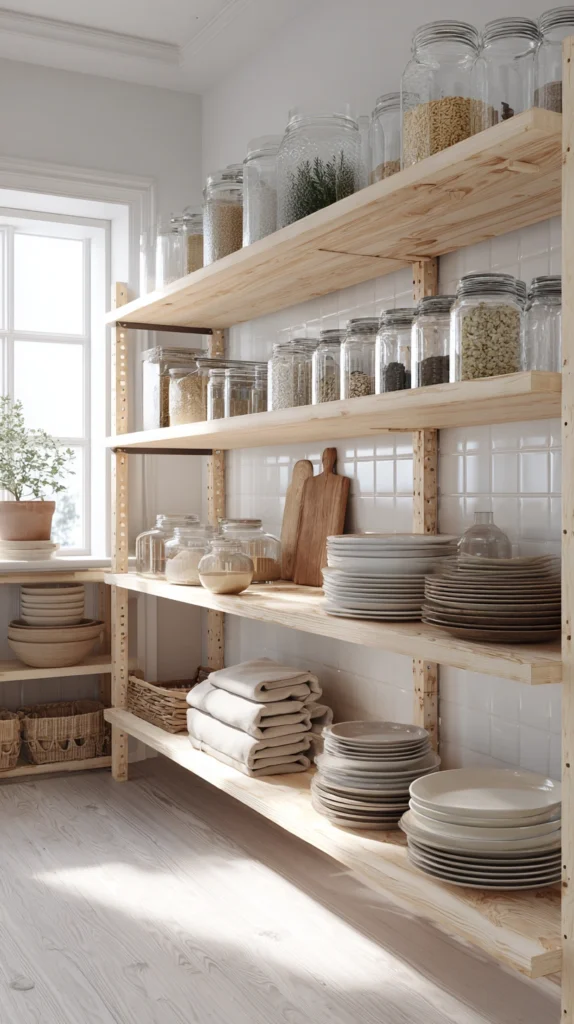
The IVAR shelving system’s raw, unfinished wood and modular design make it a popular choice for building a custom open pantry in a kitchen or laundry room. Standard IVAR sections run 30.75 inches wide and can be combined side by side for a full wall of storage.
Budget: $150-300 for 2-3 IVAR sections, plus $30-50 for stain or paint if finishing the wood. Leaving the wood in its natural raw finish, simply sealed with a clear coat, is a popular low-cost option that skips painting altogether.
Because IVAR is sold as raw pine, it can be stained, painted, or left natural depending on the kitchen’s existing finishes, which makes it one of the more flexible systems on this list. Adding matching wicker or wood storage bins keeps a fully open shelf system looking tidy rather than cluttered.
This hack works particularly well in a kitchen that already leans farmhouse or rustic, since the raw wood fits that aesthetic without any additional finishing.
7. Turn FROSTA Stools Into Side Tables or a Bench
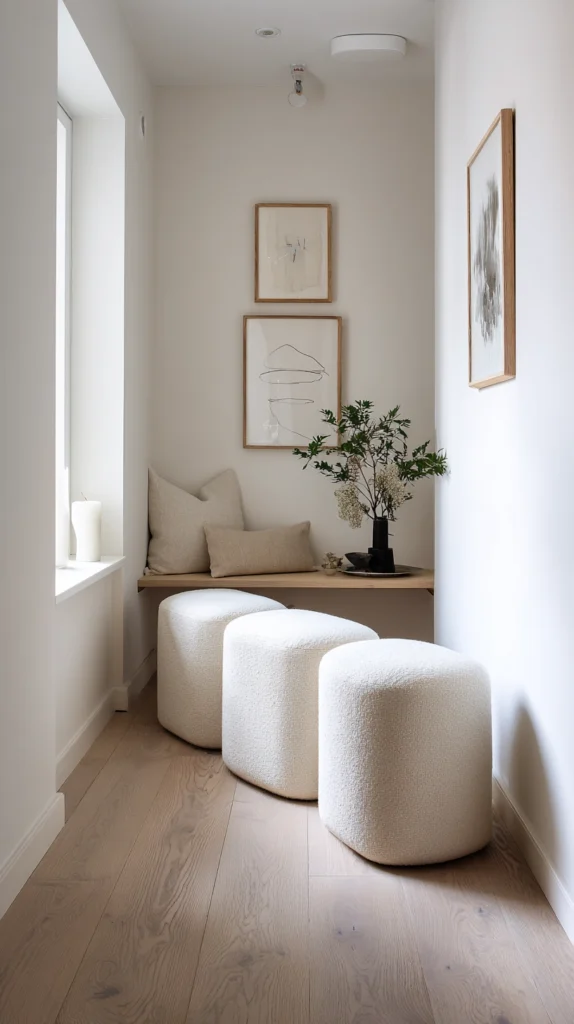
The FROSTA stool’s simple bent-plywood design makes it easy to modify into a side table, a small bench, or even an ottoman with an added cushion top. A single FROSTA stool runs about 14.5 inches in diameter.
Budget: $25-35 per stool, plus $10-30 for paint or a cushion depending on the modification. Painting or staining the plywood seat and legs is the simplest version of this hack.
For a bench, place two or three FROSTA stools side by side and add a long cushion across the top, secured with hook-and-loop tape to keep it from sliding. For a side table look, simply paint the stool a color that matches nearby furniture and add a small tray on top for styling.
This is one of the fastest hacks on this list to complete, often finished start to finish in under an hour.
8. Build a Daybed From a HEMNES Bed Frame
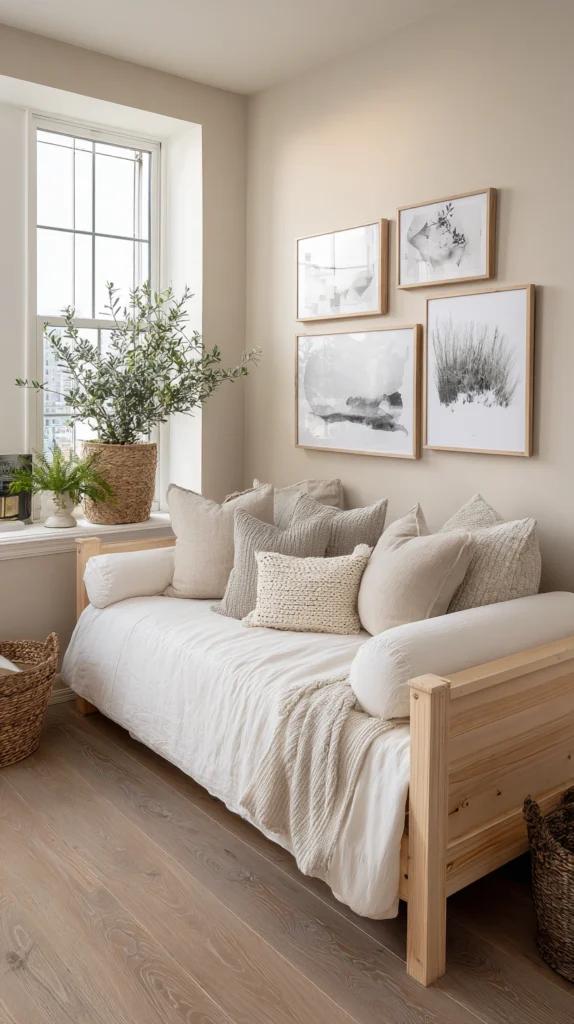
The HEMNES bed frame’s classic slatted headboard design translates well into a daybed setup when placed against a wall with bolster pillows added along the back. Standard HEMNES twin frames run about 41.75 inches wide.
Budget: $200-350 for the HEMNES twin frame, plus $60-120 for bolster pillows and a daybed-style cover. This hack turns a standard bed into flexible seating for a guest room or home office.
Positioning the frame lengthwise against a wall, rather than centered in the room, is what makes it read as a daybed rather than a simple bed pushed to one side. Adding 2-3 large bolster pillows along the back wall side, plus regular throw pillows in front, completes the daybed look during the day.
This hack is especially useful in a bonus room or office that needs to double as an occasional guest space.
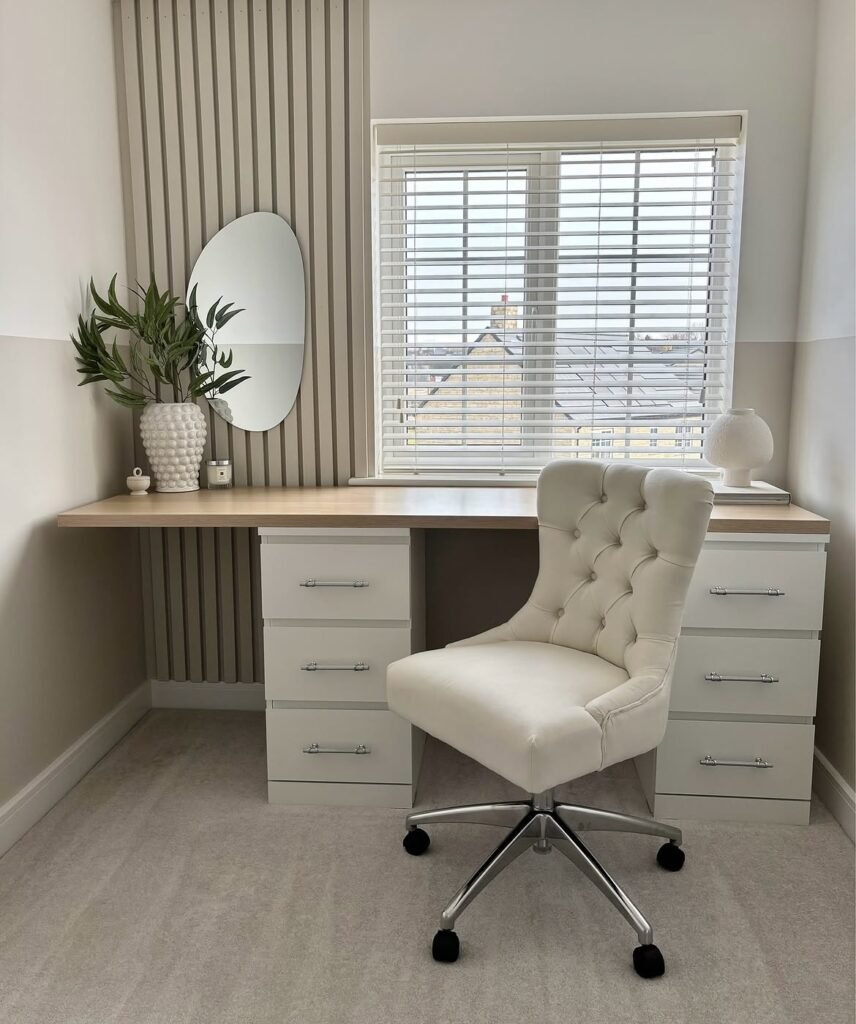
9. Add a Wood Countertop to a KALLAX for a Desk
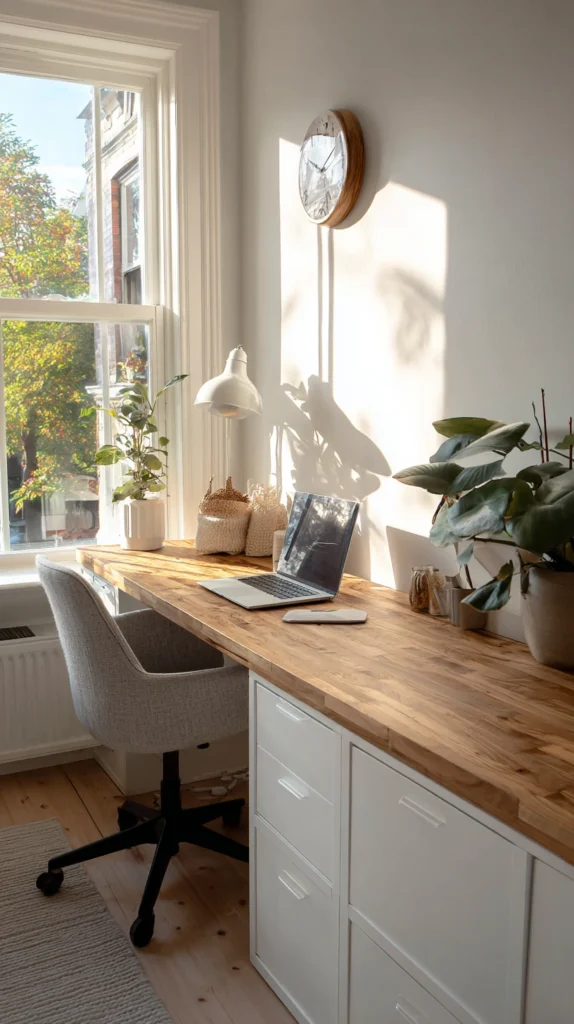
Placing a wood countertop or tabletop across two KALLAX units creates a simple desk with built-in storage cubbies on either side. Two 2×2 KALLAX units spaced about 42-48 inches apart, with a countertop spanning both, creates a standard desk width.
Budget: $80-140 for two small KALLAX units, plus $60-150 for a wood countertop or tabletop cut to size. This is one of the more functional hacks on this list, doubling as both a desk and a storage solution.
A butcher block countertop, sold separately at most hardware stores, is a popular choice for the desktop since it can be cut to the exact width needed and sanded or stained to match existing furniture. Securing the countertop to the KALLAX units with L-brackets keeps the whole assembly stable under regular desk use.
This hack works well in a shared home office or a kid’s room, since the cubbies below provide easy-access storage for books, supplies, or bins.
10. Use RIBBA Frames for an Oversized Art Look
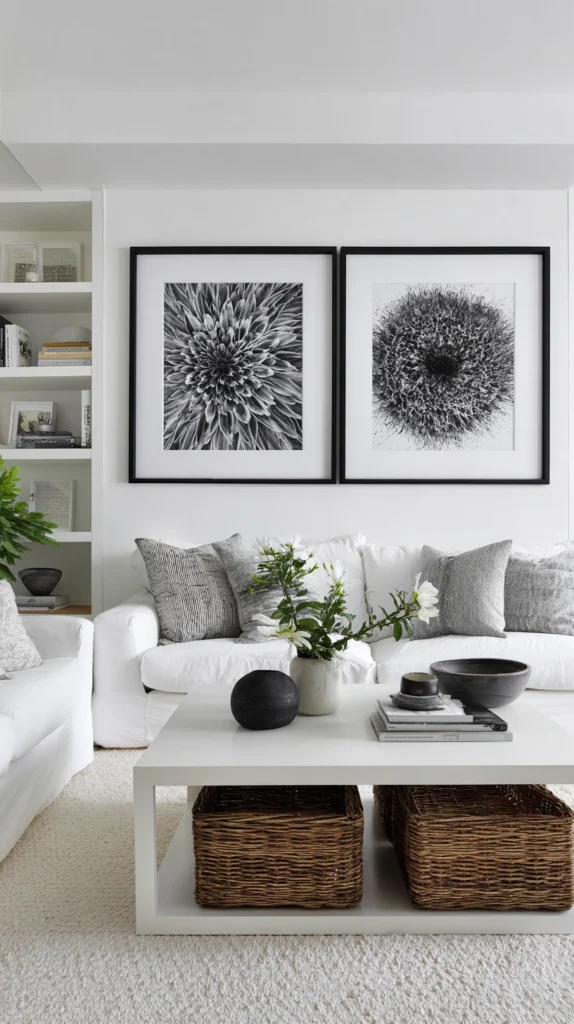
RIBBA picture frames are inexpensive individually, but grouping several together, or using an extra-large size, creates the look of expensive statement art for a fraction of the cost. Standard RIBBA frames run from 5×7 inches up to 24×35 inches.
Budget: $15-50 per frame depending on size, plus the cost of any print or fabric used inside. Filling a large RIBBA frame with fabric, wrapping paper, or a poster print costs far less than commissioning custom art at the same scale.
Stretching a piece of patterned fabric over cardboard or foam board cut to fit the frame’s opening is a popular budget alternative to framed art, and it can be swapped out seasonally for very little additional cost. Grouping several small RIBBA frames in a grid, rather than buying one oversized frame, is a similarly priced alternative that achieves a comparable visual impact.
This hack is worth trying in any room needing a large-scale focal point without a large-scale art budget.
11. Turn EKET Cabinets Into a Custom Media Wall
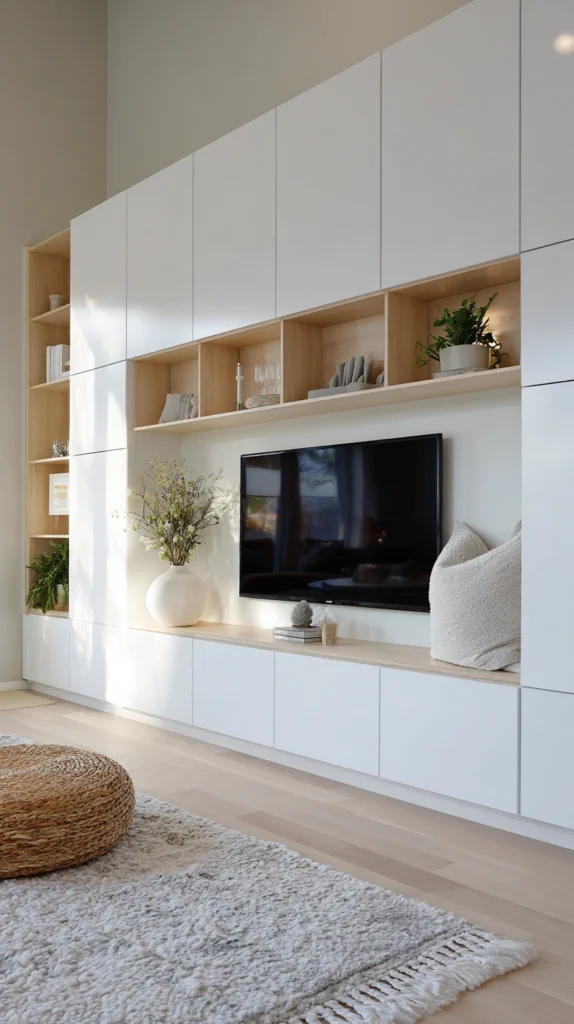
The EKET cabinet system’s modular cube-and-shelf design allows it to be configured into a custom-fit media wall around a television, something that typically requires expensive custom carpentry. Standard EKET cubes run about 13.75 inches square, mixed with wider rectangular units as needed.
Budget: $200-500 depending on how many cubes and shelves are used to fill the wall. This is significantly cheaper than a built-in entertainment center from a furniture store or custom cabinetry.
Planning the layout on paper first, accounting for the television’s width and any equipment needing ventilation space, prevents having to return or exchange pieces mid-project. Mounting the units directly to the wall (rather than just stacking them) is an important safety step given the combined weight of a full media wall configuration.
Mixing open cubes for display with closed-door units for hiding cables and equipment keeps the finished wall looking clean rather than cluttered.
12. Add Legs to a BESTÅ Cabinet for a Mid-Century Look
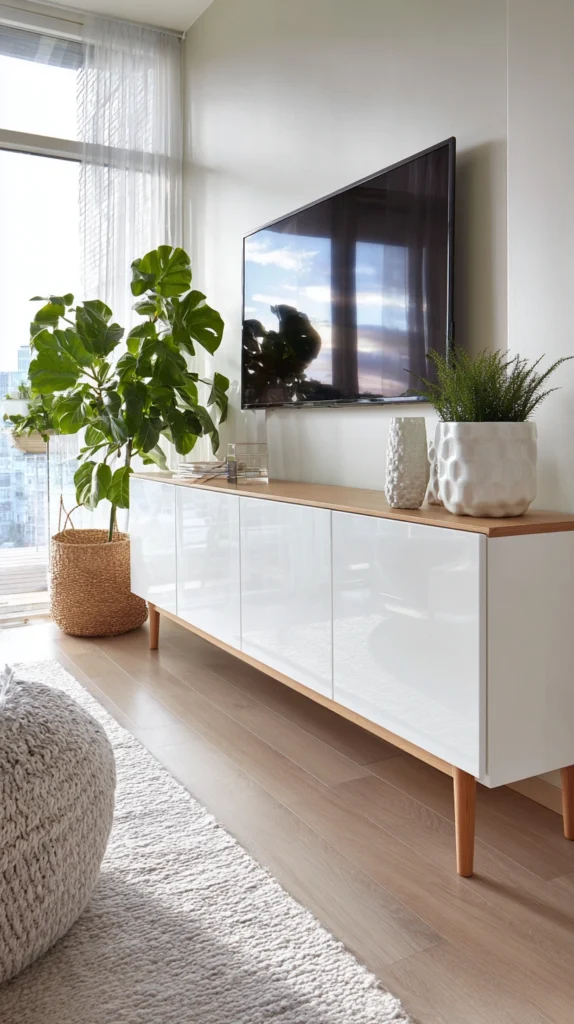
Swapping the standard low-profile BESTÅ cabinet base for tapered wood or brass hairpin legs instantly shifts the piece toward a mid-century modern aesthetic. Standard BESTÅ cabinets run 23.5-47.25 inches wide depending on configuration.
Budget: $150-350 for the BESTÅ cabinet, plus $30-80 for a set of 4 replacement legs. This is one of the simplest hacks on this list, often completed in under an hour once the legs arrive.
Tapered wood legs read more traditional mid-century, while brass or black metal hairpin legs read more modern industrial, so choose based on the room’s existing style. Pre-drilling pilot holes before attaching the new legs prevents the particleboard base from splitting during installation.
This hack is a good entry point for anyone new to furniture modification, since it requires no cutting, painting, or major tools beyond a drill.
13. Build a Custom Closet System From PAX Wardrobes
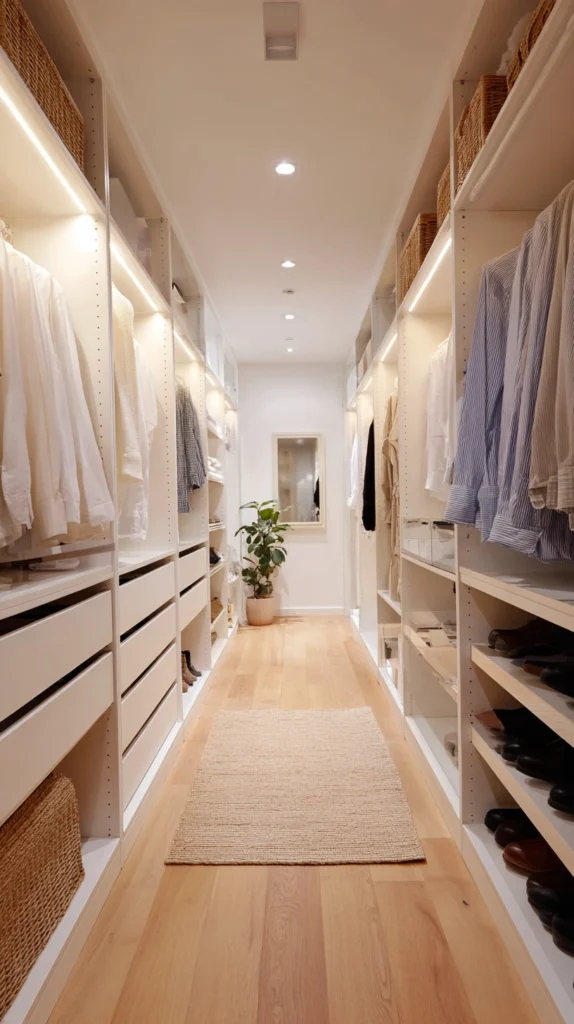
The PAX wardrobe system’s fully modular interior — shelves, drawers, hanging rods, and shoe organizers — makes it possible to design a closet system that rivals custom closet companies at a fraction of the price. Standard PAX frames run from 19.75 to 39.25 inches wide and can be combined for a full wall of closet storage.
Budget: $400-1,200 depending on the number of units and interior organizers chosen, compared to $2,000-5,000+ for a fully custom closet company install. IKEA’s online planning tool makes it possible to design the full layout before ordering anything.
Measuring the available wall space precisely, including any door swing or window interference, before finalizing the PAX configuration prevents costly reordering after the fact. Removing the standard doors entirely and leaving the wardrobe open, styled like a walk-in closet, is a popular variation that skips the cost of doors altogether.
This is the most involved hack on this list in terms of planning, but it also delivers the closest thing to a fully custom result for the price of flat-pack furniture.
Quick Start Tool List
Before starting any IKEA hack:
- Drill and assorted drill bits
- Wood filler and fine-grit sandpaper
- Level and tape measure
- L-brackets or wall anchors for securing pieces
- Paint or stain matched to your existing furniture
Budget-Friendly Version
Lowest-cost hacks to start with:
- LACK table faux marble finish
- FROSTA stool paint or cushion update
- BESTÅ cabinet leg swap
- RIBBA frame with fabric or paper insert
Success Indicators
- Finished piece no longer looks like standard flat-pack furniture
- Hardware and finish match the rest of the room
- Modified furniture is securely attached to walls where needed
- The hack solves a real storage or seating need, not just a look
- Guests ask where the piece is from rather than guessing IKEA
Remember
Start with a beginner-level hack before attempting a full furniture combination project, always secure taller or heavier modified pieces to the wall for safety, sand and prime raw or unfinished IKEA pieces before painting for the best result, measure twice before any cutting or trim work since IKEA pieces have limited room for error, and treat these hacks as a way to build furniture-modification skills gradually rather than starting with the most advanced project on the list.