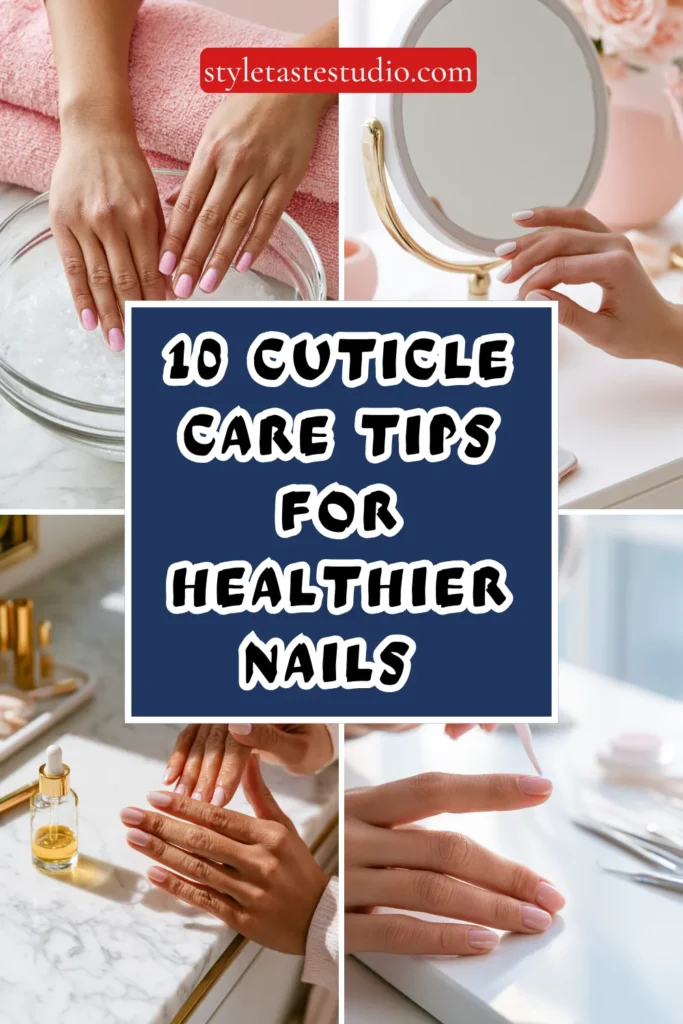
10 Cuticle Care Tips for Healthier Nails and Longer-Lasting Manicures
Cuticles are the most overlooked part of nail care and the most mishandled. Most people either ignore them entirely or cut them aggressively — and both approaches cause the exact problems they’re trying to avoid. Ignored cuticles become dry, overgrown, and lifted at the nail edge, which shortens the lifespan of any polish by creating a raised border for chips to start from.
Cut cuticles bleed, grow back thicker and faster than before, and remove the protective seal that guards the nail matrix from bacteria and infection.
The reason cuticle care is so widely misunderstood is that the terminology itself is confusing. What most people call “the cuticle” is actually two different structures with two different functions — and treating them the same way is where most routines go wrong. These ten tips break down exactly what to do, what to use, how often, and why each step produces the results it does.
If you’re building a complete nail routine alongside this, the at-home nail care guide on StyleTasteStudio covers the full sequence from filing to top coat that pairs directly with the cuticle work covered here.
1. Understand the Difference Between the Cuticle and the Eponychium
Before any technique makes sense, the anatomy needs to be clear. The true cuticle is the thin, transparent layer of dead skin that attaches to the nail plate and travels with the nail as it grows. It’s colorless, adheres directly to the nail surface, and should be gently dissolved and removed because it interferes with polish adhesion. The eponychium is the living skin at the base of the nail — the visible fold that you can see and feel at the very bottom of the nail. This should never be cut, trimmed, or damaged because it is the protective seal over the nail matrix.
In professional nail terminology, nail technicians remove the cuticle and push back the eponychium. In everyday language, both get lumped together as “the cuticle,” which is why so many guides recommend cutting something that should never be touched with scissors. When a cuticle remover gel dissolves tissue and a pusher moves it back, the gel targets the dead cuticle layer adhered to the nail plate, not the living eponychium fold.
Understanding this distinction changes everything about how you approach the base of the nail. The goal is clean removal of dead tissue from the nail plate surface combined with gentle backward pressure on the living skin — not aggressive trimming, not pulling, not pushing hard enough to cause blanching or discomfort. Soreness at the nail base after cuticle care is a sign that the living tissue was being manipulated rather than just the dead layer.
Tip: If you look at a nail in good light and see a faint transparent film traveling up from the base of the nail onto the plate itself — that’s the cuticle layer. It’s what makes the lower portion of the nail look slightly duller than the rest. That film is what you’re targeting with remover gel, not the skin fold at the very base.
Budget: $0 — this is knowledge, not a product
2. Use a Cuticle Remover Gel Instead of Scissors for the Dead Tissue Layer
The most effective way to remove the dead cuticle layer from the nail plate surface is chemical dissolution, not mechanical cutting. Cuticle remover gels contain either potassium hydroxide or sodium hydroxide — mild alkaline compounds that break down the keratin bonds in dead skin without affecting living tissue when used correctly and rinsed promptly.
Blue Cross Cuticle Remover ($4–$6) is one of the most widely recommended drugstore options and has remained a professional staple for decades. Sally Hansen Instant Cuticle Remover and CND SolarOil Cuticle Remover are both effective alternatives in the same price range. For a gentler formula, look for urea-based removers rather than hydroxide-based ones — urea works more slowly but is considerably less irritating for people with sensitive skin or damaged cuticle areas.
Application technique matters. Apply the gel only to the base of the nail plate — not onto the surrounding skin — using the applicator tip or a cotton swab. Set a timer for 60 seconds. Do not exceed 90 seconds under any circumstances. The alkaline chemistry that dissolves dead tissue will begin irritating living skin if left on too long, causing redness, peeling, and sensitivity that can take days to resolve. Rinse with cool water after the timer goes off, then proceed immediately to the pushing step while the tissue is still softened.
Frequency should be once per week for active maintenance and once every two weeks for nails that are already well-managed. Using remover more frequently than weekly doesn’t speed up results — it strips moisture from the nail base area and causes the surrounding skin to compensate by producing more dead tissue faster.
Tip: If the area around your nail base is red or irritated after using a hydroxide-based remover, switch to a urea-based formula. Ongoing irritation from cuticle remover causes chronic inflammation at the nail base that actually thickens the skin over time rather than keeping it receded — the opposite of what the routine is meant to achieve.
Budget: $4–$8 for cuticle remover
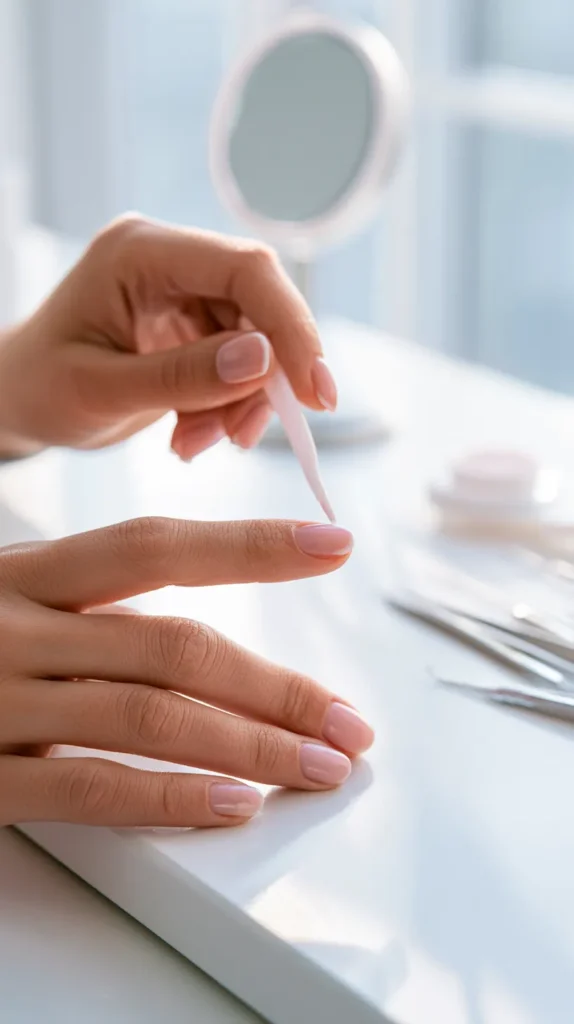
3. Choose the Right Pushing Tool and Use the Correct Motion
Once the cuticle remover has softened the dead tissue, how you push matters as much as what you push with. The wrong tool — or the right tool used with too much pressure — causes micro-abrasions on the nail plate surface that create ridging, dullness, and irregular texture that polish magnifies rather than hides.
The three main tool options each suit a different preference. A rubber-tipped pusher is the gentlest and the best choice for beginners — the soft tip distributes pressure evenly and it’s nearly impossible to scratch the nail plate surface. An orangewood stick (the disposable tapered wooden stick) is the traditional professional choice, cheap enough to replace after every use and effective when the tip is rounded slightly with fine sandpaper before use to prevent splintering. A stainless steel dual-ended pusher with a curved flat end and a pointed cleanup end is the most precise option but requires more controlled pressure — metal against nail plate with too much force leaves visible scratches.
The correct motion is not a single backward shove from the cuticle to the nail base. Work in small circular motions starting at one side of the nail and working across, using the pusher at an angle of approximately 30–40 degrees from the nail surface rather than perpendicular to it. The angled approach lets the tool slide along the nail plate rather than digging into it. You should feel light resistance from the softened tissue being moved, not the pressure of pushing against the living skin fold. Stop the moment you reach the skin — there should be no force applied against the eponychium itself.
After pushing, use the pointed end of a metal pusher or the tip of an orangewood stick to gently clean along the sidewall channels — the channels between the nail edge and the surrounding skin. Dead cuticle tissue accumulates here too and, left in place, it creates a visual roughness along the nail edges that makes manicures look uneven even when the polish application is perfect.
Tip: Rinse the cuticle area with cool water immediately after pushing to remove all loosened tissue. Then look at the nail in good light before moving on — you should see a clean, smooth nail plate surface all the way from the free edge back to the skin fold, with no remaining film or lifted tissue. If there is, repeat the remover step for 30 seconds rather than pushing again with dry force.
Budget: $3–$12 for a pusher depending on material
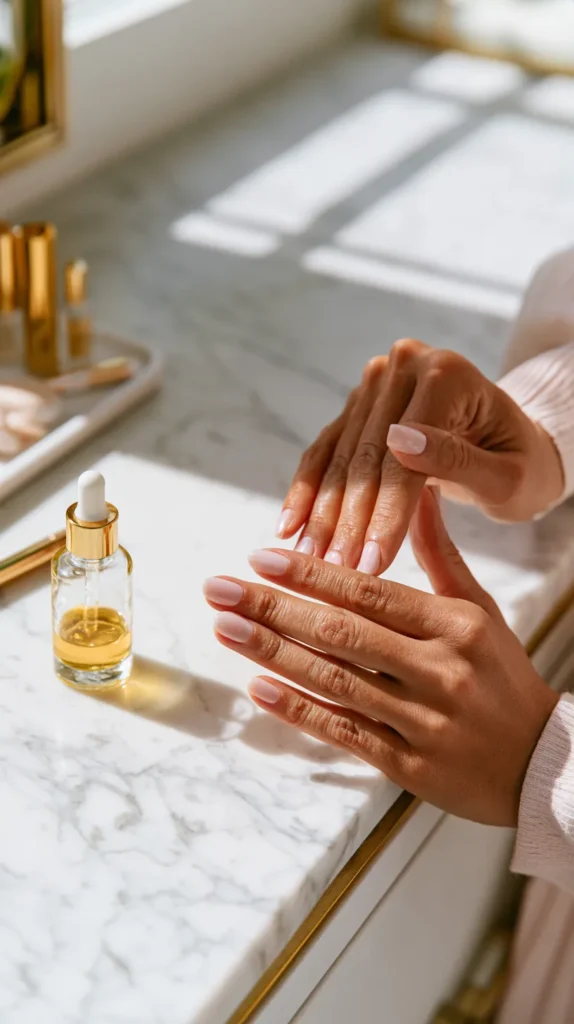
4. Apply Cuticle Oil Correctly and at the Right Frequency
Cuticle oil is the most consistently underused product in at-home nail care — and the one with the clearest return on investment in terms of visible results. Dry, cracked, overgrown cuticles are almost always a hydration and lipid-barrier problem rather than a structural one. Regular, correctly applied cuticle oil addresses both.
The most effective carrier oils for cuticle use are jojoba and sweet almond oil. Jojoba is technically a liquid wax rather than an oil and has a molecular structure remarkably close to the sebum that human skin naturally produces — it penetrates the skin barrier faster than most plant oils and doesn’t sit on the surface. Sweet almond oil is high in oleic acid, which has strong skin-barrier repair properties and works particularly well for cuticles that are cracked rather than just dry. Avoid pure coconut oil as a cuticle treatment — its large molecular structure sits on the surface rather than penetrating, and it can clog the follicles along the nail sidewall in some people.
Application frequency is where most people go wrong. Once a week at manicure time is not enough. The skin around the nail base is thinner and more exposed than most skin on the hand and loses moisture faster, particularly during cold weather, after handwashing, and after any use of acetone-based remover. The minimum effective frequency for maintaining soft, receded cuticles is twice daily — once in the morning and once before bed. Before bed is the most impactful application because extended overnight contact without water exposure or hand activity allows maximum penetration.
Apply one drop of oil per hand to the base of all ten nails and massage in using the pad of the opposite thumb in small circular motions for 30 seconds per hand. This massage component isn’t incidental — it stimulates blood circulation in the nail matrix area, which directly supports nail growth rate and plate density.
Tip: Keep a cuticle oil pen on your desk or in your bag for midday applications. Pens with a built-in brush tip (OPI ProSpa Nail and Cuticle Oil pen, $10–$12) make application fast enough that it actually gets done during the day rather than being skipped. The total volume of oil applied across three daily applications consistently outperforms even the best single weekly treatment.
Budget: $6–$15 for cuticle oil or oil pen
5. Build a Weekly Cuticle Softening Soak Into Your Routine
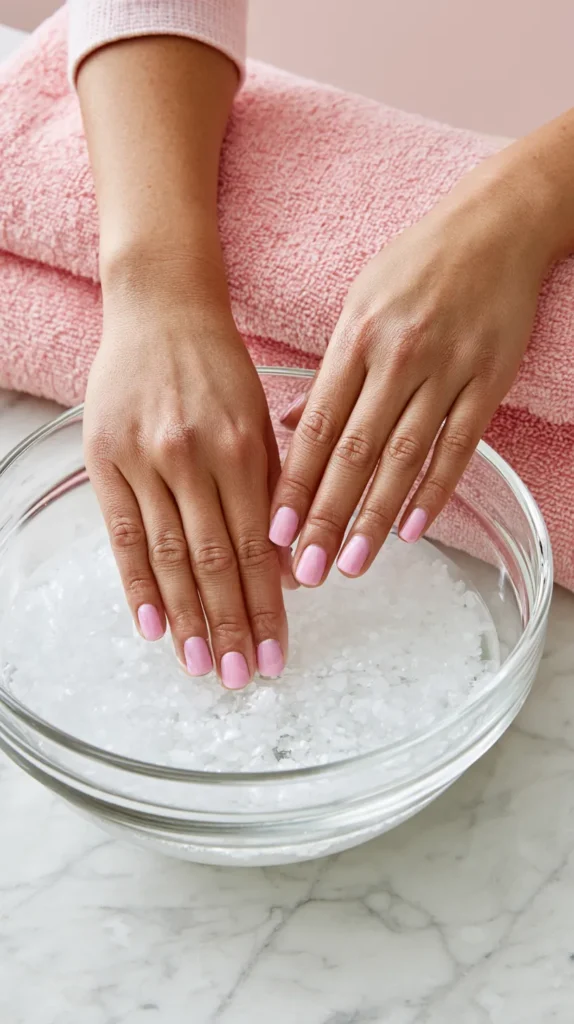
Beyond the daily oil application and weekly remover session, a dedicated softening soak once per week accelerates the progress of any cuticle care routine and is particularly valuable for cuticles that are severely overgrown or have significant buildup of hardened skin at the nail base.
The most effective at-home softening soak combines warm water with two additions that serve specific functions. Add one tablespoon of unscented liquid hand soap or a capful of gentle body wash to create a mild surfactant solution that lifts surface debris from the cuticle area. Then add one teaspoon of fine sea salt per cup of water. The mild osmotic effect of the salt draws moisture toward the skin surface from underneath, which softens the cuticle tissue from within rather than just from the water contact on the surface.
Soak fingertips only — not the full hand — for exactly 5 minutes. This is shorter than most soak guides recommend, and deliberately so. Extended soaking past 5–7 minutes softens the nail plate itself alongside the cuticle tissue, causing it to expand and become temporarily flexible. Polish applied to a water-saturated nail plate adheres poorly and chips within days as the plate returns to its normal dimensions. If you’re soaking before a manicure session, allow at least 30 minutes between the end of the soak and the start of any polish application.
After the soak, while skin is still softened, apply your cuticle remover and follow the standard push routine. The combination of soak plus remover takes considerably less effort than remover alone on unsoftened cuticles — the tissue moves with light pressure rather than needing repeated passes.
For a complete week-by-week reset approach that builds on this soak routine, the 7-Day At-Home Nail Reset Challenge on StyleTasteStudio structures each step across a full week in a way that’s easy to follow if you’re starting a new routine from scratch.
Tip: Add 3–5 drops of lavender essential oil to your soak water. Lavender has demonstrated mild anti-inflammatory and antimicrobial properties that reduce the low-level irritation that chronically dry cuticles develop over time, and it makes the soak a more deliberate, sensory experience rather than a rushed step.
Budget: $3–$8 for soak ingredients
6. Handle Hangnails Correctly to Avoid Making Them Worse
Hangnails are one of the most common cuticle complaints and one of the most commonly mismanaged. A hangnail is a torn or detached piece of skin along the nail sidewall — not actually part of the nail at all despite the name. The instinct when you feel one is to pull it, which always tears further into live skin than the original hangnail reached and causes bleeding, pain, and a wound that takes longer to heal than if the hangnail had been trimmed cleanly.
The only correct way to deal with a hangnail is to clip it at its base using sharp cuticle nippers — not scissors, not nail clippers, and absolutely not pulling. The critical word is sharp. Dull nippers crush and tear the skin rather than cutting cleanly, which creates a jagged edge that hooks and catches more easily than the original hangnail. Investin a dedicated pair of cuticle nippers and sharpen or replace them annually. Tweezerman and Harperton are two brands with consistently sharp factory edges in the $10–$20 range.
Before clipping, soften the hangnail briefly — 2–3 minutes of warm water contact or a small amount of cuticle oil massaged in for 30 seconds. Soft skin cuts cleanly; dry, rigid skin compresses before it cuts and the cut edge is ragged. Position the nipper at the absolute base of the hangnail where it meets live skin, and make one decisive clip rather than a tentative partial cut. After clipping, apply a small amount of cuticle oil or a healing balm containing vitamin E or shea butter to the area and leave it undisturbed.
Never use cuticle nippers on healthy, unbroken cuticle or eponychium skin. The nippers are a corrective tool for damaged, detached, or protruding skin only — not a regular part of the cuticle maintenance sequence. If you find yourself reaching for nippers weekly, the underlying problem is dehydration causing skin to crack and lift, not an excess of skin that needs regular cutting.
Tip: Apply a thick hand cream or healing ointment like Aquaphor to the entire cuticle area immediately after handling a hangnail and cover with a fabric bandage for 2–3 hours. The occlusive dressing significantly speeds healing by preventing moisture loss from the wound site — cut cuticle skin heals in 24–48 hours with this approach versus 4–5 days exposed to air and repeated handwashing.
Budget: $10–$20 for quality cuticle nippers
7. Protect Cuticles from the Habits That Damage Them Daily
Cuticle care routines produce better results when the habits that constantly undo them are addressed at the same time. For most people, the damage cycle is: dry cuticles from routine habits, pick or pull at them because they’re lifting and catching, which causes more damage, which produces more hangnails, which perpetuates the picking. Breaking that cycle requires identifying which specific habits are causing the initial dryness.
Frequent handwashing strips the natural lipid barrier from the skin around the nail base faster than anywhere else on the hand. After every handwash, the skin needs moisture to replace what the soap removed — applying a small amount of hand cream immediately after drying is the single highest-impact protective habit for cuticle health. Keep hand cream at every sink you use regularly and make application automatic rather than occasional.
Acetone-based nail polish remover is another significant contributor. Acetone dissolves the lipid barrier of the nail plate and surrounding skin on contact — necessary for removing polish but damaging in proportion to how often it’s used. Limit full acetone removal to once every 7–10 days maximum, which aligns with typical manicure replacement cycles. Between manicures, use an acetone-free remover for spot corrections and cleanup rather than full removal. For more context on how to remove product safely without damaging the surrounding skin, the guide on getting nail glue off nails covers acetone-free approaches that apply equally well to regular polish removal for people with particularly sensitive cuticles.
Cold, dry weather in autumn and winter accelerates cuticle drying significantly — in low-humidity environments the skin around the nail base can lose visible moisture within hours. During cold months, increase cuticle oil application to three times daily and apply a rich hand cream before bed and immediately after any outdoor exposure.
Tip: If you frequently pick at your cuticles as a nervous or unconscious habit, keeping a cuticle oil pen on your desk and using it whenever you notice the urge provides a replacement behavior that actively benefits the area you’d otherwise damage. The tactile satisfaction of the massage replaces the picking impulse for many people over a period of 2–3 weeks.
Budget: $5–$12 for hand cream
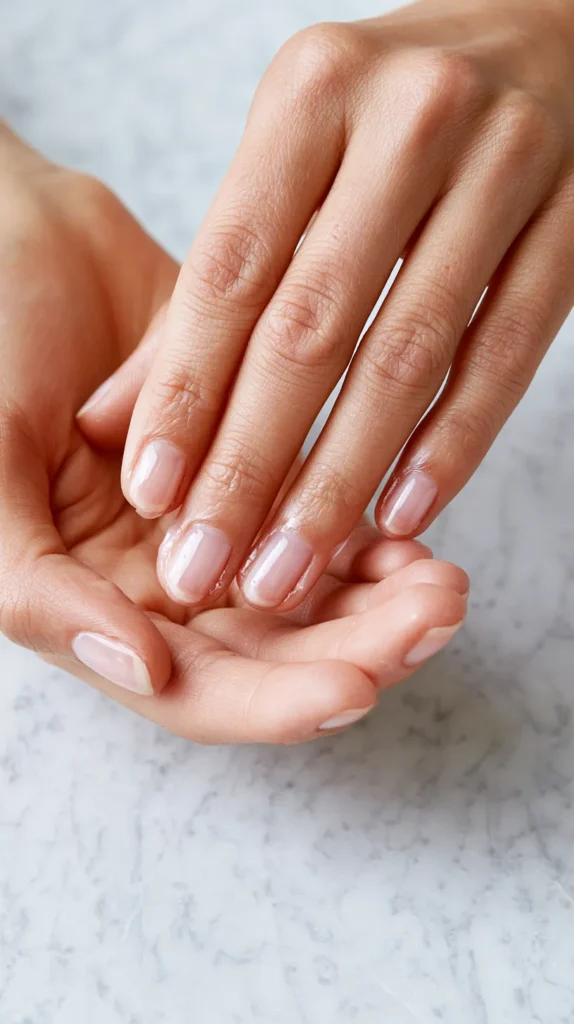
8. Know What Healthy Cuticles Should Look Like So You Can Track Progress
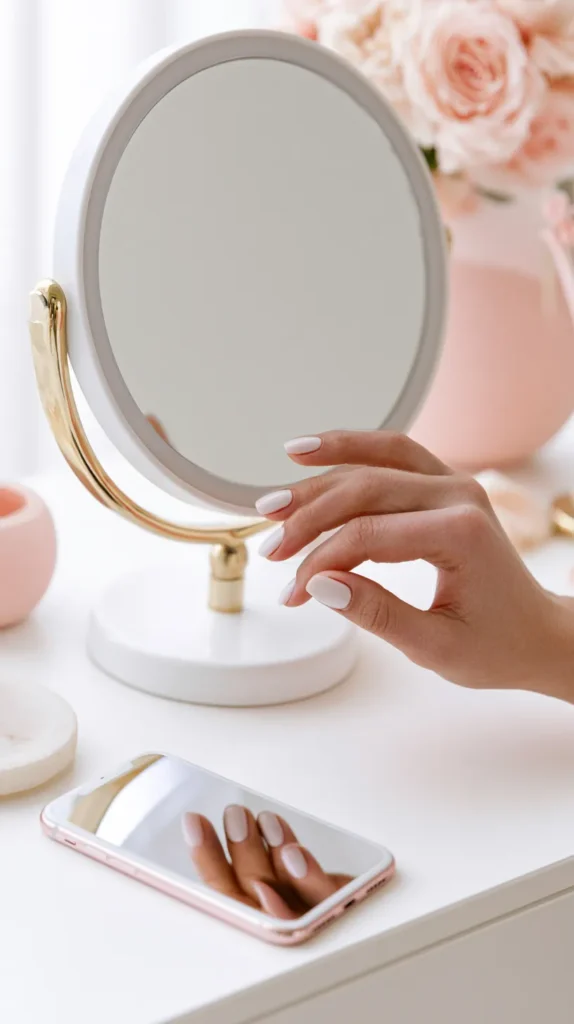
Most cuticle care routines fail because there’s no reference point for what the routine is working toward. Without a clear picture of the goal, it’s impossible to know whether what you’re doing is working, whether you’re being too aggressive, or whether you’ve already achieved the result you needed and can shift to maintenance frequency.
Healthy, well-maintained cuticles have specific characteristics that are easy to identify. The skin fold at the nail base should be smooth, flat, and flush against the nail — not raised, lifted, or separated from the nail plate surface. It should be a consistent pale pink tone without redness, irritation, or scaling at the edges. When you press gently on the nail base with a fingertip, it should feel pliant and slightly soft — not rigid or hardened. The nail plate immediately above the skin fold should be clean and clear with no visible transparent film or dead tissue layered onto it.
The cuticle area takes 4–6 weeks of consistent care to visibly improve from a neglected state. In the first two weeks, you’ll notice reduced dryness and less tendency to catch and lift. By weeks three and four, the skin fold begins to recede naturally without forcing, and the nail plate surface starts to look cleaner at the base. Full improvement — a smooth, flat, well-defined nail base that frames the nail clearly — takes the full six weeks and requires consistency throughout, particularly with the daily oil application.
Photograph your nails at the same angle in consistent light at the start of a new routine and again at four weeks. The comparison almost always shows more improvement than day-to-day perception suggests, because cuticle changes happen gradually enough that they’re difficult to notice without a reference point.
Tip: If cuticles show persistent redness, swelling, or discharge around the nail base that doesn’t resolve with care, stop home treatments and see a dermatologist. Paronychia — a bacterial or fungal infection of the nail fold — requires antibiotic or antifungal treatment and looks similar to chronic cuticle irritation. Continuing to apply remover gel and push an infected nail base delays healing and can worsen the infection.
Budget: $0 — this is assessment, not a product
9. Use a DIY Cuticle Balm for Overnight Intensive Treatment
A dedicated overnight cuticle treatment applied consistently produces results that daily oil alone doesn’t fully match — the extended contact time and the occlusiveness of a balm formula allow ingredients to penetrate more deeply than a fast-absorbing oil does in its brief application window.
A simple DIY cuticle balm requires three ingredients available at most pharmacies and natural food stores: beeswax pellets, shea butter, and a carrier oil of your choice (jojoba, sweet almond, or argan all work well). Combine 1 teaspoon of beeswax pellets, 2 teaspoons of shea butter, and 1 tablespoon of carrier oil in a small glass jar or heatproof dish set over hot water. Stir until fully melted and combined, then pour into small lidded tins or empty lip balm pots and allow to solidify at room temperature for 1–2 hours. This makes enough balm for approximately 4–6 weeks of nightly use.
The beeswax creates an occlusive barrier that slows water evaporation from the skin surface overnight. The shea butter contributes ceramides and fatty acids that actively repair the skin barrier rather than just sealing it. The carrier oil provides the penetrating moisture that both other ingredients support. Together they create a balm that leaves the cuticle area visibly smoother within 3–5 consecutive nightly applications.
Apply a small amount — slightly less than a lentil-sized portion per hand — to all ten nail bases before bed, working it in with gentle circular massage for 20 seconds per hand. Cover with thin cotton gloves for the first 30 minutes if you find the balm transfers to bedding or feels too heavy without them. Remove the gloves before sleep.
For those who prefer a ready-made option rather than DIY, Lush Lemony Flutter Cuticle Butter ($14–$18) and Burt’s Bees Lemon Butter Cuticle Cream ($5–$7) are two widely available products with formulas close to this DIY approach in terms of occlusive-plus-penetrating ingredient balance.
Tip: Add 5–8 drops of vitamin E oil (from pierced capsules or purchased in a dropper bottle) to the DIY balm mixture before it solidifies. Vitamin E is a fat-soluble antioxidant that prevents oxidative degradation of the oils in the balm over time, extending shelf life by several weeks, and it contributes directly to skin barrier repair at the cuticle area.
Budget: $8–$18 for DIY ingredients or ready-made alternative
10. Align Your Cuticle Care with Your Full Manicure Timing
Cuticle care done in isolation from the rest of your nail routine produces inconsistent results. The sequence of when you do each step relative to polish application, removal, and weekly maintenance determines whether the cuticle work actually translates into longer-lasting manicures or gets undermined by the steps around it.
The optimal weekly sequence is: removal day (acetone remover to take off old polish, followed by nail plate cleaning) on day one, then a rest day on day two with the nightly balm treatment, then the cuticle soak and remover session on day three, then polish application on day four after the nail plate has fully restabilized from the soak. This four-day cycle between full polish removal and new application gives the nail plate and cuticle area time to recover from the dehydrating effects of acetone before being covered again — which is one of the biggest contributors to the accumulation of damage that causes nails and cuticles to degrade over months of regular manicuring.
In practice, many people apply and remove polish weekly without a rest day, which is workable as long as the daily oil routine is in place and the remover used is non-acetone except for full removal sessions. The rest day matters most when using gel polish with UV curing, which requires full acetone removal and causes more significant dehydration than regular polish removal.
The relationship between cuticle condition and manicure longevity is direct and measurable. A well-maintained, flat, receded cuticle line gives polish a smooth, clean starting point with no raised edges to catch and peel from. A lifted, dry, or uneven cuticle creates a ridge at the nail base that polish bridges over rather than adhering to — and any polish that isn’t in full contact with the nail plate begins to separate from that point outward within days. Fixing the cuticle alone, without changing the polish brand or application technique, routinely extends manicure wear time by 3–5 days for most people.
For a complete picture of how cuticle preparation fits into the full sequence from filing through top coat, the nail care secrets guide on StyleTasteStudio covers the broader routine framework — including some application timing details that complement the cuticle prep work in this article and explain why the full sequence matters as much as any individual step.
Tip: On full removal days, apply cuticle oil immediately after using acetone remover — before touching any other step. Acetone strips the lipid layer from the cuticle skin in the same pass that it removes polish, and the sooner you replace that moisture, the less the surrounding skin tightens and cracks during the rest of the manicure session.
Budget: $0 — this is sequencing and timing, not a new product
Final Thoughts
Healthy cuticles don’t require expensive products or salon visits. They require understanding what the tissue actually is, treating it with the right chemistry at the right frequency, and maintaining the moisture levels that prevent the dry-crack-pick-damage cycle from restarting between sessions. The difference between cuticles that look polished and professional and ones that look perpetually rough is almost always consistency rather than technique complexity.
Start with the two steps that produce the fastest visible change: daily cuticle oil twice a day and switching from scissors to a remover gel for the weekly cleanup. Those two changes alone will produce noticeable improvement within two weeks. Add the overnight balm, the softening soak, and the sequencing adjustments from there as the routine becomes habitual.
The full nail care section on StyleTasteStudio covers related topics including nail strengthening, polish application, and at-home treatments that build naturally on the foundation this cuticle routine creates.