10 At-Home Nail Care Ideas for Salon-Worthy Nails on a Budget
Getting your nails done at a salon feels like a luxury — and it is, at $40–$80 per visit adding up to hundreds of dollars a year. The good news is that the gap between salon results and at-home results isn’t talent or equipment. It’s knowledge.
Nail technicians follow specific sequences, use specific products in specific amounts, and apply techniques that aren’t obvious from watching. This guide breaks all of that down into ten actionable ideas you can implement at home, with exact product types, timings, and the kind of detail that actually changes outcomes.

If you’re also working on building a long-term nail routine from scratch, the 7-Day At-Home Nail Reset Challenge on StyleTasteStudio is a great companion to what you’ll find here — it pairs well with the techniques in this article as a structured starting point.
1. Master the Correct Filing Sequence Before Anything Else
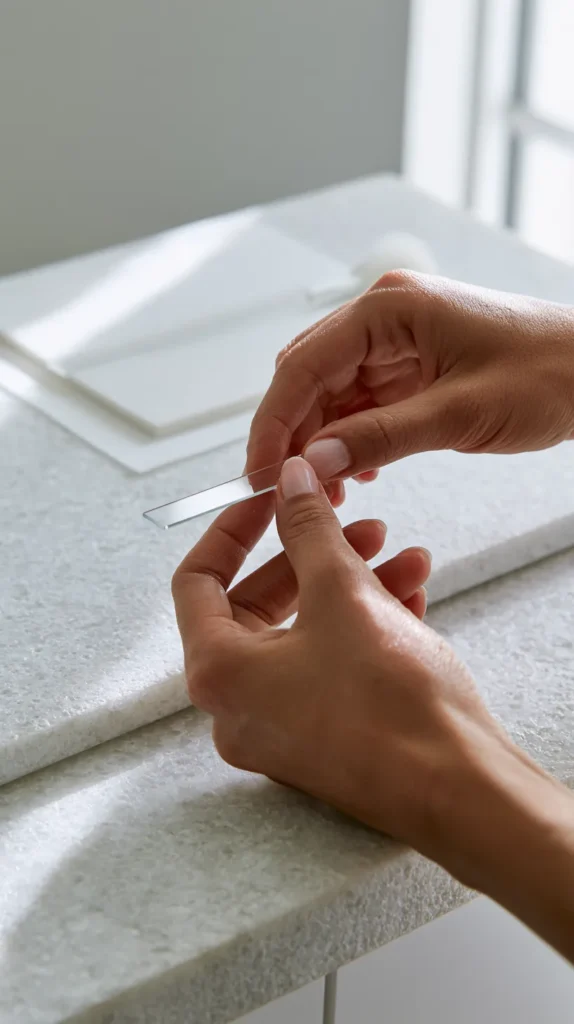
Most at-home nail care failures start before a single drop of polish is applied. The filing step is where nails get weakened, split, or shaped unevenly — and the difference between a file that damages and one that refines is almost entirely about technique rather than the tool itself.
The most important rule: always file in one direction. Back-and-forth sawing motions — the instinctive approach — create micro-tears along the nail edge that lead to peeling and splitting over time. Instead, start at the outer corner of the nail and file in a single stroke toward the center, then repeat from the other outer corner toward the center. Never reverse direction mid-stroke.
Use a glass or crystal nail file rather than a standard emery board for your primary shaping. Glass files leave a sealed, smooth edge that emery boards can’t match — the abrasive grit on cardboard files is inconsistent and tears the nail edge at a microscopic level. Good glass files (Germanikure and Mont Bleu are two reliable brands) cost $8–$15 and last indefinitely when rinsed and dried after use, unlike emery boards which should be replaced after every few uses.
For grit selection: use 180 grit for natural nails and 100–150 grit only for acrylic or gel surfaces. Anything below 180 on a natural nail removes too much material per stroke and thins the nail plate faster than growth can compensate.
Shape determines maintenance frequency. A rounded or oval shape has no sharp corners to catch and snap, which means it stays intact longer between sessions. Square shapes look sharp but the corners are the first point of stress fracture — if you prefer square, keep the corners very slightly beveled rather than perfectly 90 degrees.
Tip: File nails when they’re dry, never after a bath or hand washing. Wet nails are softer and more pliable, which means they compress and tear under the file rather than abrading cleanly. Wait at least 30 minutes after water contact before filing.
Budget: $8–$15 for a glass file that lasts years
2. Build a Proper Cuticle Care Routine (Without Cutting)
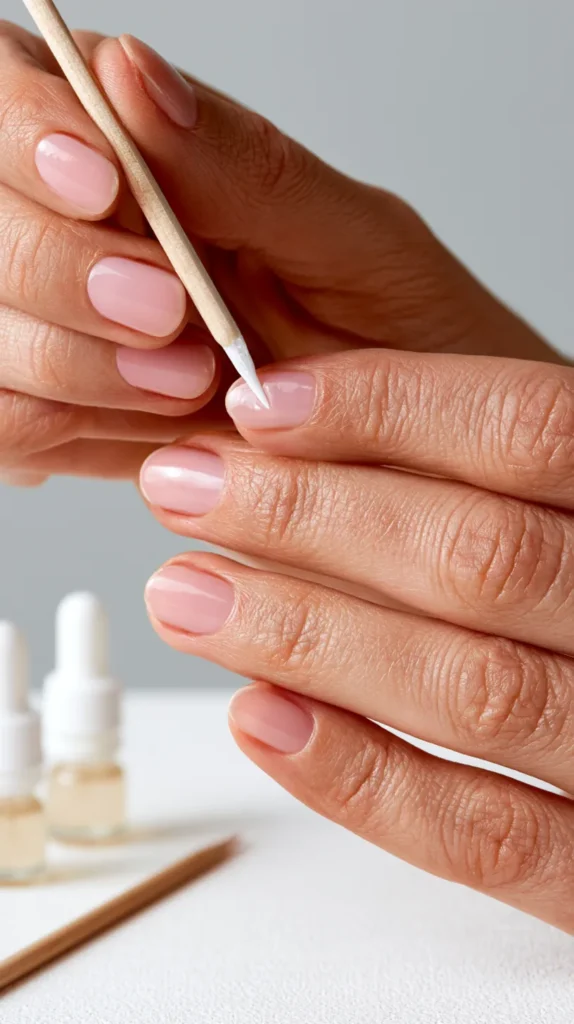
The cuticle is one of the most misunderstood parts of at-home nail care. Most people either ignore it or cut it — and both approaches cause problems. The cuticle is a seal. It protects the matrix (the part of the nail responsible for growth) from bacteria and infection. Cutting it removes that seal; ignoring it leads to dry, overgrown skin that lifts the polish edge and shortens wear time.
The correct approach is softening and pushing, not cutting. Apply a dedicated cuticle remover gel — products containing potassium hydroxide or urea are the active ingredients to look for. CND SolarOil Cuticle Remover, Blue Cross Cuticle Remover ($4–$7), and Sally Hansen Instant Cuticle Remover are all widely available and effective. Apply the gel around the base of each nail, wait exactly 60 seconds (not longer — overexposure causes irritation), then use a rubber-tipped or wood cuticle pusher to gently push the softened skin back toward the base of the nail in small circular motions.
The “dead skin” you’re pushing back is the eponychium — the visible strip of skin at the nail base that migrates forward onto the nail plate. Pushing it back regularly keeps it trained and receded, which creates the clean, defined nail base that makes polish look professionally applied.
After pushing, use a dry cotton pad to wipe away the dissolved dead skin material. Follow immediately with a cuticle oil — jojoba oil is the closest molecular match to the natural oils in human skin and absorbs faster than most alternatives. Apply to the nail base and massage in for 30 seconds per hand.
Repeat this process once per week for maintenance. If cuticles are severely overgrown, twice weekly for the first month will catch them up.
Tip: Never cut healthy cuticle skin. The only thing appropriate to trim at home is hangnails — torn skin on the sides of the nail — using sharp cuticle nippers. Cutting the cuticle seal itself opens the matrix to infection and causes the skin to grow back thicker and faster than before.
Budget: $4–$12 for cuticle remover, $6–$15 for cuticle oil
3. Do a Weekly Nail Soak That Actually Strengthens Instead of Softening
Soaking nails is one of the most frequently recommended steps in at-home care guides — and one of the most frequently done wrong. A plain warm water soak before manicure prep softens the nail plate, which causes it to expand, absorb polish unevenly, and shrink back as it dries, leading to premature chipping. Salons that offer water soaks are following an older protocol that the professional nail industry has largely moved away from.
The alternative is a targeted treatment soak that delivers benefits without waterlogging the nail. A 10-minute weekly soak in a mixture of warm water, 1 tablespoon of apple cider vinegar, and 1 teaspoon of fine sea salt does three things: the vinegar balances the pH of the nail plate (which improves polish adhesion), the salt provides trace minerals that support nail structure, and the mild acidity discourages the fungal growth that commonly occurs between polish applications.
For nails that are actively peeling or splitting, add 1 teaspoon of collagen-boosting gelatin powder (unflavored Knox gelatin, $3–$5 at any grocery store) to the soak. The theory that gelatin strengthens nails is often dismissed, but the mechanism is real — the amino acids in hydrolyzed gelatin, particularly glycine and proline, are the same building blocks as keratin, the protein that makes up the nail plate. Weekly exposure over 4–6 weeks produces a measurable difference in flexibility and resistance to splitting.
Limit any soak to 10 minutes maximum. Beyond that, the softening effect begins regardless of what’s in the water.
Tip: Do your treatment soak on a rest day between manicures rather than immediately before polishing. This gives the nail plate time to return to its natural hydration level and ensures polish goes on a surface that’s neither too dry nor too saturated.
Budget: $3–$8 for soak ingredients
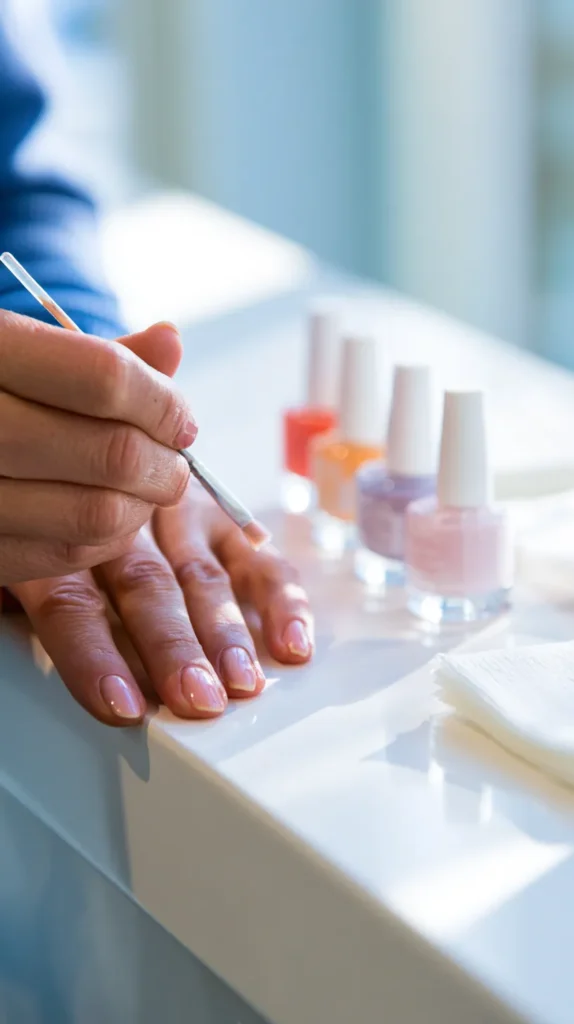
4. Learn the Base Coat, Polish, and Top Coat Timing That Professionals Actually Use
The single biggest difference between a home manicure that chips in two days and one that lasts a week is timing between layers. Most people apply polish coats too quickly — the surface feels dry but the layer beneath is still curing, and when the top coat goes on it traps solvents underneath that contract as they evaporate, causing bubbles, lifting, and premature peeling.
The professional sequence is: base coat, dry 2 minutes. First color coat (thin), dry 2–3 minutes. Second color coat (thin), dry 3–4 minutes. Top coat, dry 5 minutes minimum before any contact with surfaces. The total sitting time between base coat application and safe activity is approximately 12–15 minutes — considerably longer than most at-home manicures allow.
Base coat is not optional and not interchangeable with top coat. Base coat contains adhesion promoters that key into the nail plate surface and give color polish something to bond to. Top coat contains UV filters and harder resins that form a protective seal over the color. Using top coat as base coat skips the adhesion step and produces polish that slides off rather than grips.
Apply each coat in three strokes: one down the center, one down each side. Use the minimum amount of polish on the brush that covers the nail — overloaded brushes create thick coats that never cure fully through their depth. Thin coats cure faster, adhere better, and chip less. Two thin coats of color always outperform one thick coat.
For top coat, Seche Vite Fast-Dry Top Coat ($8–$10) is the closest salon-grade product available for home use and consistently outperforms drugstore alternatives in wear tests. Apply it before the second color coat is completely dry — Seche Vite is specifically formulated to pull the layers beneath it tight, which is what gives it the glass-like finish.
Tip: Run cold water over freshly polished nails for 2 minutes immediately after applying top coat. Cold water doesn’t “set” polish chemically, but it significantly firms the surface layer, which reduces the chance of denting during the waiting period before full cure.
Budget: $8–$25 for quality base and top coat
5. Create a DIY Strengthening Treatment for Weak or Peeling Nails
Weak, peeling nails are almost never a product problem — they’re a structural problem caused by repeated dehydration and rehydration cycles, aggressive use of acetone remover, or nutritional gaps in biotin and protein intake. A targeted at-home treatment addresses the structural issue rather than masking it with a coat of hardener.
The most effective DIY nail strengthening treatment combines three ingredients applied directly to bare nails: vitamin E oil (pierce one capsule, $4–$8 for a bottle), a drop of castor oil, and optionally a drop of lemon juice. Vitamin E is an antioxidant that supports keratin integrity and prevents oxidative degradation of the nail plate. Castor oil is high in ricinoleic acid, which creates a flexible, penetrating moisture barrier rather than a surface coat. The lemon juice provides a mild acid that temporarily tightens the nail plate surface and brightens any yellowing.
Mix these in a small dish and apply with a clean brush or cotton pad to bare nails each evening for two weeks. Leave on overnight — nails absorb oils most effectively during the extended contact of sleep, and covering hands with lightweight cotton gloves for the first hour significantly improves penetration.
For a more structured approach, the 10 Nail Care Secrets You Haven’t Tried Yet article on StyleTasteStudio covers several additional treatment approaches that complement this overnight routine, including some less commonly known product combinations that deliver visible results quickly.
Tip: Avoid nail hardeners that contain formaldehyde (listed as “tosylamide/formaldehyde resin” on older products). While they do harden the nail temporarily, they make the nail plate brittle over time by cross-linking too many keratin fibers — the nail becomes hard but snaps rather than flexing. Look for hardeners with hydrolyzed wheat protein or calcium instead.
Budget: $8–$20 for a two-week treatment supply
6. Set Up a Proper At-Home Nail Station for Consistent Results
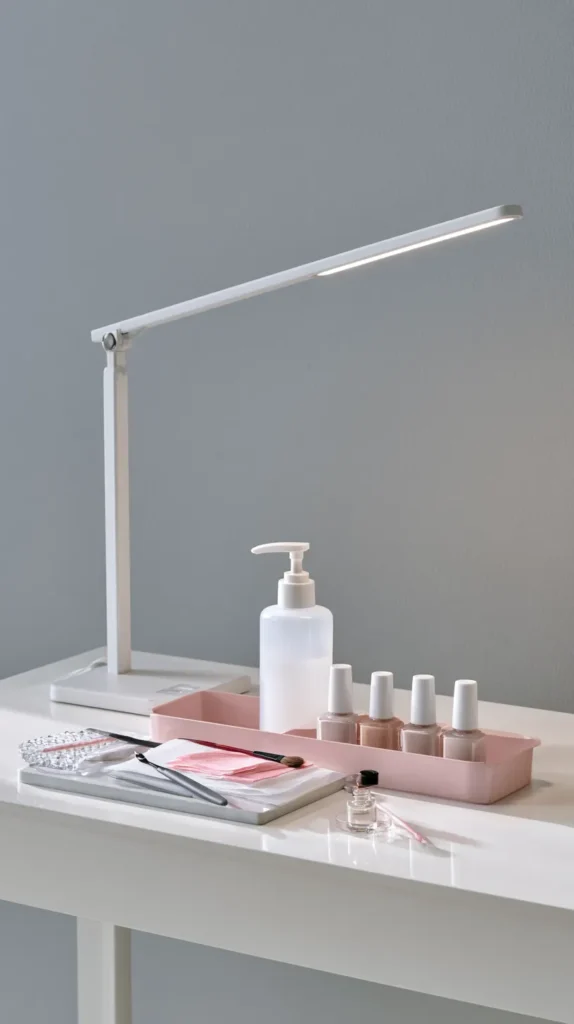
The reason at-home manicures often look inconsistent compared to salon results has as much to do with workspace setup as technique. A salon technician works under a dedicated UV lamp at a stable surface with all materials within reach and uses their non-dominant hand as a steady brace point. Replicating these conditions at home costs almost nothing but changes everything.
Dedicate a small tray or wooden box as your permanent nail station. It should hold: your glass file, cuticle pusher, cuticle oil, base coat, top coat, your current polish colors, nail polish remover in a pump bottle (easier to control than pouring from a large bottle), acetone for cleanup, and a pack of lint-free nail wipe pads rather than cotton balls. Cotton balls leave fibers on the nail surface that get trapped under polish and create visible texture — lint-free pads, sold as nail prep wipes at any beauty supply store, produce a clean surface.
Position a strong lamp — a daylight-temperature LED desk lamp rated at 800+ lumens — directly over your workspace. Inadequate lighting during polish application is the leading cause of uneven coats and missed edge coverage that you don’t notice until the polish dries.
For brush control, the professional technique is to rest the little finger of your painting hand against the surface of the table and use it as a pivot point. The hand doesn’t float — it has a fixed anchor. This eliminates the shakiness that causes the most visible at-home application mistakes.
Keep nail polish bottles stored upright in a cool, dark location and roll them between your palms for 20–30 seconds before use rather than shaking. Shaking introduces air bubbles into the formula that transfer to the nail surface and create tiny craters in the dried polish.
Tip: Clean up polish edges with a thin, stiff-bristled detail brush (an art supply brush, size 0 or 00) dipped in pure acetone rather than a cotton swab. A fine brush gives you surgical precision along the cuticle line and sidewalls that cotton swabs can’t match.
Budget: $15–$35 for a complete workspace setup
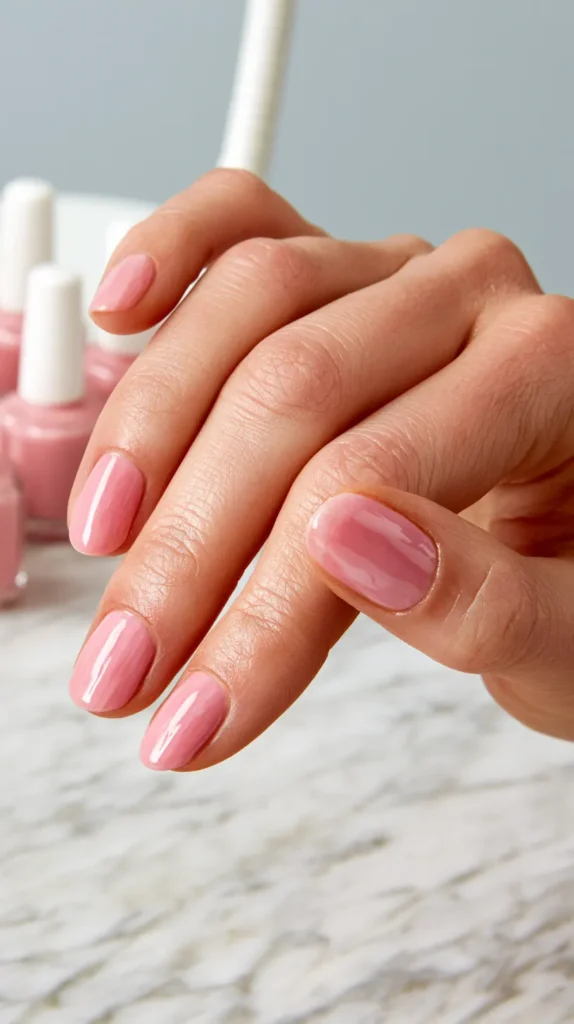
7. Try Press-On Nails the Right Way for an Instant Salon Look
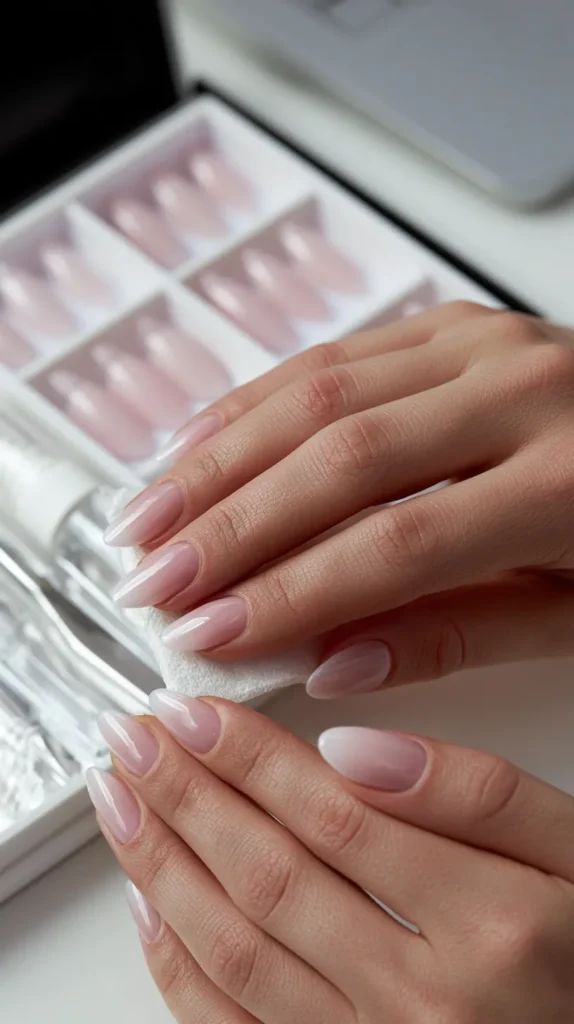
Press-on nails have changed significantly from the drugstore options of the past. Current press-on sets from brands like imPRESS, Static Nails, and Kiss are made from materials and finishes that are essentially indistinguishable from salon acrylics in photographs and nearly indistinguishable in person. When applied correctly, they last 1–2 weeks and cause zero damage to the natural nail.
The application process that determines whether press-ons last three days or two weeks comes down to surface preparation. Start with completely bare, grease-free nails — wipe each nail with 91% isopropyl alcohol on a lint-free pad and allow to fully dry. Any trace of oil, lotion, or moisture destroys the adhesive bond within hours.
Size selection matters more than most tutorials acknowledge. Each press-on should cover the full width of the nail from sidewall to sidewall without overlapping onto skin. If you’re between sizes, always go slightly larger and file the sides to fit — a press-on that’s slightly too narrow leaves gaps that allow moisture and air underneath, which lifts the nail from the edge inward within days.
Press firmly for 30–60 seconds per nail, applying pressure from the cuticle end toward the tip in a rolling motion rather than pressing the center flat. This rolling press removes trapped air and ensures full contact across the entire surface area rather than just the center high point.
For removal, soak in warm soapy water for 10–15 minutes and slide off gently. Never force or peel — the adhesive releases cleanly with adequate soaking and pulling takes layers of natural nail with it. For a full guide on safe removal techniques including acetone-free options, the how to remove acrylic nails guide on StyleTasteStudio covers the same principles that apply to press-on removal.
Tip: Apply press-ons the night before an event rather than day-of. The adhesive bond strengthens significantly over the first 8–12 hours, so nails applied the evening before are considerably more secure for the next day than ones applied that morning.
Budget: $8–$20 per set, versus $40–$80 at a salon
8. Use a Nail Dehydrator and Primer Step for Polish That Lasts Twice as Long
This is the step that most home manicure guides skip entirely — and it’s the one that has the single biggest impact on how long polish stays chip-free. Nail dehydrators and primers are standard products in every professional nail salon, available for home use for under $10 total, and virtually unknown outside professional circles.
A nail dehydrator is a fast-evaporating alcohol-based solution applied to the bare nail plate before base coat. Its purpose is to remove the natural oils that the nail plate constantly secretes — oils that prevent polish adhesion in the same way grease prevents paint from sticking to a surface. Wipe the bare nail with the dehydrator using a lint-free pad, allow 30 seconds to evaporate, and apply base coat immediately. Mia Secret Nail Dehydrator and Young Nails Protein Bond are both under $8 and last for many applications.
A nail primer goes on after the dehydrator and before base coat. Acid-free primers (the appropriate type for natural nails at home) work by creating a slightly tacky surface layer that the base coat chemically bonds to rather than sitting on top of. This is the same mechanism that makes etching primer work in automotive painting — the primer doesn’t just cover the surface, it becomes part of it. Apply a thin coat of primer, allow it to become just tacky (not wet, not fully dry — approximately 45 seconds), and apply base coat immediately.
Together, dehydrator and primer extend the wear time of a standard polish manicure from an average of 4–5 days to 8–12 days. For gel polish at home, they’re even more critical — gel without primer can peel off in sheets within 48 hours.
Tip: Reapply top coat every 2–3 days over an existing manicure to extend wear without redoing the full application. A thin layer of fresh top coat seals any micro-chips that are forming at the edges and can add 3–5 additional days to a manicure that would otherwise need to be removed.
Budget: $6–$15 for dehydrator and primer together
9. Incorporate a Monthly Nail Health Assessment Into Your Routine
The nails are one of the most reliable external indicators of internal health — changes in color, texture, ridging, and growth rate reflect nutritional status, hydration, and sometimes early signs of conditions worth monitoring. Building a brief monthly visual check into your nail routine costs nothing and provides genuinely useful information.
Normal healthy nails are smooth, uniform in color (pale pink nail bed, white free edge), and grow approximately 3–4mm per month. Vertical ridges that run from base to tip are normal and become more pronounced with age — they don’t indicate a problem. What’s worth noting: horizontal ridges (Beau’s lines) indicate a growth interruption, usually from illness or significant physical stress. White spots are almost always minor trauma to the matrix, not calcium deficiency as commonly believed. Significant yellowing under polish can indicate fungal infection, which requires treatment before continuing to polish.
Beyond visual assessment, nail strength assessment tells you whether your current routine is working. The “flex test” — gently pressing the center of a nail toward the fingertip — gives you a sense of both flexibility and strength. A nail that snaps rather than flexes slightly is too hard and brittle, often from overuse of hardeners. A nail that folds easily is too soft, usually from dehydration or acetone overuse.
If you’re dealing with peeling, splitting, or slow growth, the most impactful nutritional adjustments are increasing biotin intake (found in eggs, salmon, and nuts — or supplemented at 2500–5000mcg daily), ensuring adequate protein, and increasing water intake. Nails are approximately 10% water by composition and become measurably weaker and more prone to breaking when the body is chronically under-hydrated.
Tip: Photograph your nails monthly in consistent lighting to track progress. Changes in nail health happen slowly enough that they’re difficult to perceive day to day, but a side-by-side comparison from 8 weeks apart usually shows clear improvement (or regression) when you’re evaluating whether your routine is working.
Budget: $0 — this is a habit, not a purchase
10. Create a Budget-Friendly Nail Care Kit That Covers Everything
The foundation of consistent at-home nail results is having everything you need in one place, so the barrier to a proper manicure session is low enough that you actually do it regularly. A complete at-home nail care kit built from scratch costs $40–$70 total — less than a single salon visit — and covers every technique in this article.
The non-negotiable items, with approximate costs: glass nail file ($10–$15), cuticle pusher with rubber tip ($4–$6), cuticle remover gel ($5–$7), cuticle oil in jojoba base ($8–$12), nail dehydrator ($6–$8), nail primer ($6–$10), quality base coat ($8–$12), quality top coat ($8–$12), lint-free nail wipe pads ($4–$6 for a pack of 200), detail cleanup brush ($3–$5), and acetone in a small pump bottle ($4–$6). This covers the entire preparation, application, and maintenance sequence.
Build on this base over time rather than all at once. If you’re starting from zero, prioritize in this order: glass file, lint-free wipes, dehydrator, quality top coat. These four items address the most common causes of home manicure failure before adding anything else.
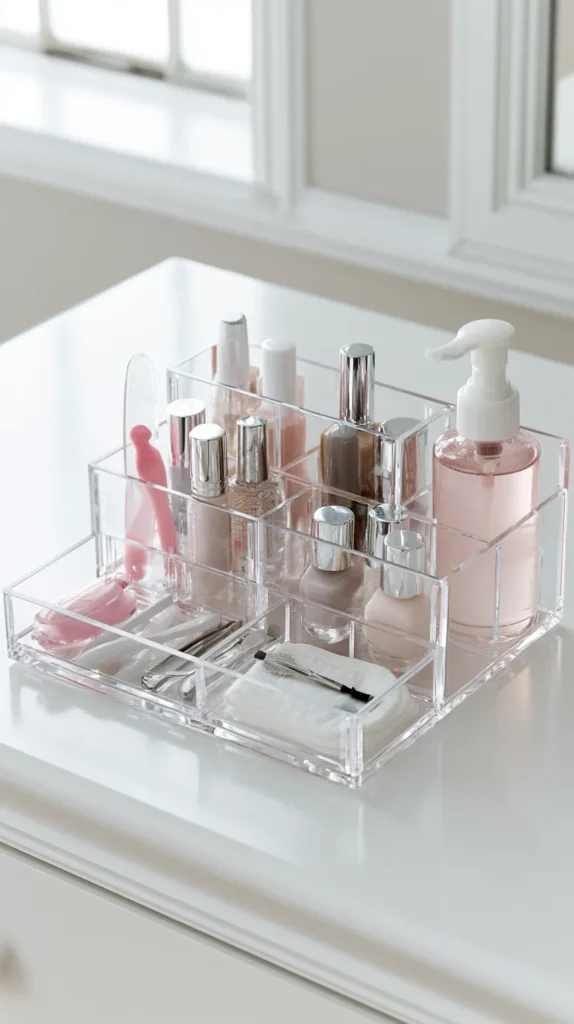
Store everything in a clear-lidded box or cosmetic organizer where you can see what you have without sorting through a drawer. Visibility is the single biggest predictor of whether a care routine actually gets maintained — tools that are buried get skipped, and skipped steps produce the inconsistent results that make home care feel like it doesn’t work.
If you find yourself consistently struggling with damaged or weak nails despite a solid at-home routine, reading through how to take care of your nails on StyleTasteStudio covers the longer-term health framework that complements the hands-on technique in this guide — particularly useful for nails that have been through repeated acrylics or gel removal.
Tip: Replace nail polish every 18–24 months regardless of how much product remains. Polish separates, thickens, and loses its adhesive properties over time. Old polish is one of the most common invisible causes of poor wear time and application quality — using fresh product on a well-prepared nail surface produces results that old polish on a perfect surface simply can’t.
Budget: $40–$70 for a complete starter kit
Final Thoughts
Salon-quality nails at home aren’t the result of better polish or more expensive tools. They come from understanding the sequence — preparation before application, adhesion before color, timing before moving on. Every shortcut in that sequence shows up as a chip, a bubble, or a manicure that lasts three days instead of ten.
Start with the techniques that address your specific pain points rather than overhauling everything at once. If your polish chips at the tips, focus on the dehydrator and primer step. If your nails peel and split before you can grow them, start with the weekly treatment soak and the overnight oil routine. If your application looks uneven, the workspace and lighting setup will change more than any new brush or polish brand.
The nail care section on StyleTasteStudio covers more detailed guides on specific techniques, nail art ideas, and trend-focused content if you’re looking to take your at-home practice further once the foundational care routine is in place.