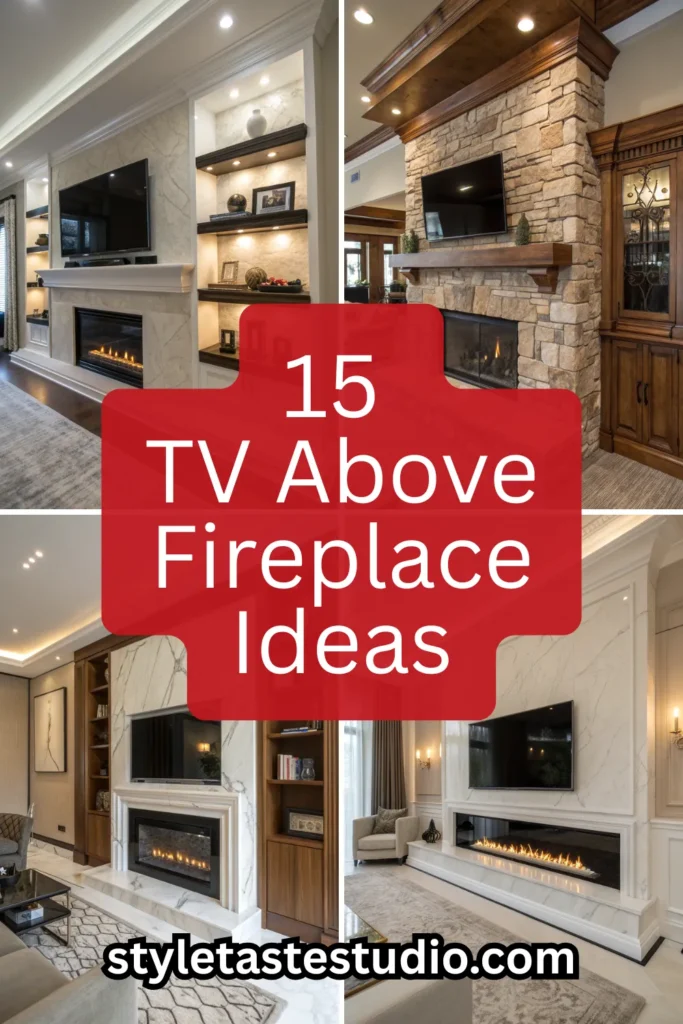
15 TV Above Fireplace Ideas for a Stylish, Modern Living Space
Mounting a TV above a fireplace is one of the most common living room decisions — and one of the most commonly executed poorly.

The challenge is not the placement itself. A TV above a fireplace works. The challenge is everything around it — the wall, the mantel, the surround, the space between the screen and the shelf — and how all of those elements are styled, finished, and composed into something that looks genuinely designed rather than simply functional.
These fifteen ideas focus entirely on how to make the wall, the mantel, and the surrounding materials look beautiful when a TV sits above a fireplace. Not where to put the TV — that is a layout question covered separately. This is about how to make what you see look intentional.
1. A Frame TV and a Bare Mantel That Makes the Wall Look Curated

The Samsung Frame TV is the only television currently available that solves the visual problem of a screen above a fireplace when the screen is off.
When not in use, it displays artwork — a rotating gallery of paintings, photographs, or personal images — in a matte finish that reads as a framed picture rather than a black rectangle. The bezel is available in multiple frame finishes including teak, white, brown, and black, all designed to read as picture frames rather than technology borders.
Making it work above a fireplace:
The Frame TV works best when the mantel beneath it is kept almost completely bare. One or two objects maximum — a single ceramic vase, one small sculpture, a candle. The restraint on the mantel allows the TV’s artwork display to carry the wall’s visual interest without competition.
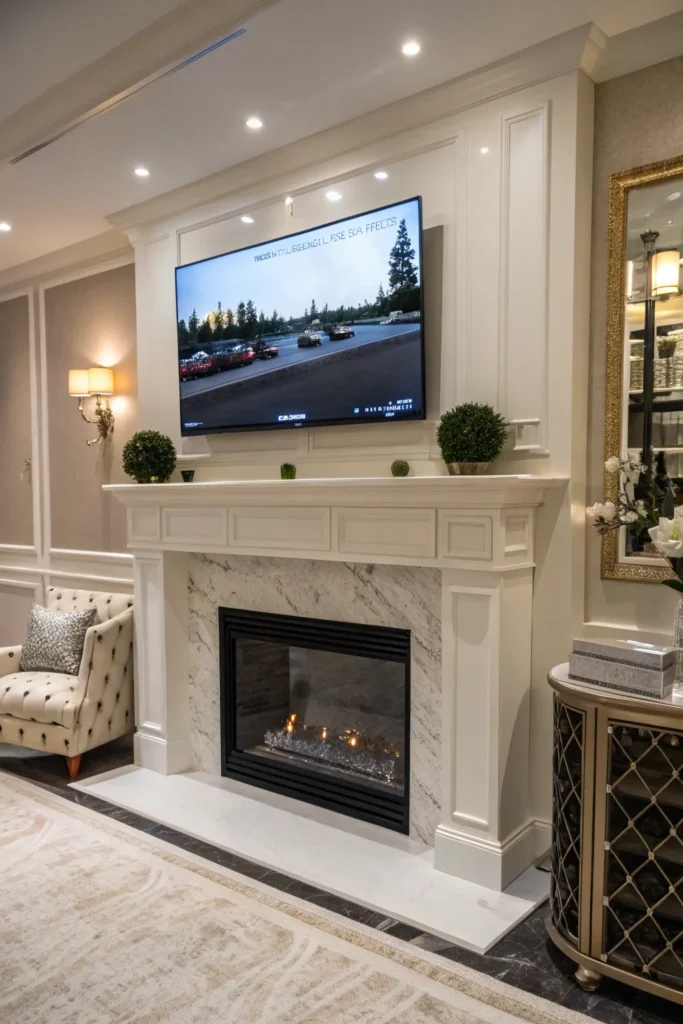
Choose the Frame TV bezel in a finish that relates to the fireplace surround material. A teak frame above a timber mantel. A white frame above a white plastered surround. A black frame above a dark stone or painted surround.
Practical note: The Frame TV requires a One Connect box for its cabling — a small separate unit connected by a single nearly invisible cable. Position the One Connect box inside the fireplace surround’s cavity or within a nearby cabinet for a completely wire-free wall appearance.
Sizes available: 32″, 43″, 50″, 55″, 65″, 75″, 85″. For above a standard fireplace opening of 80–100cm width, the 55″ or 65″ provides the best proportional relationship between screen and surround.
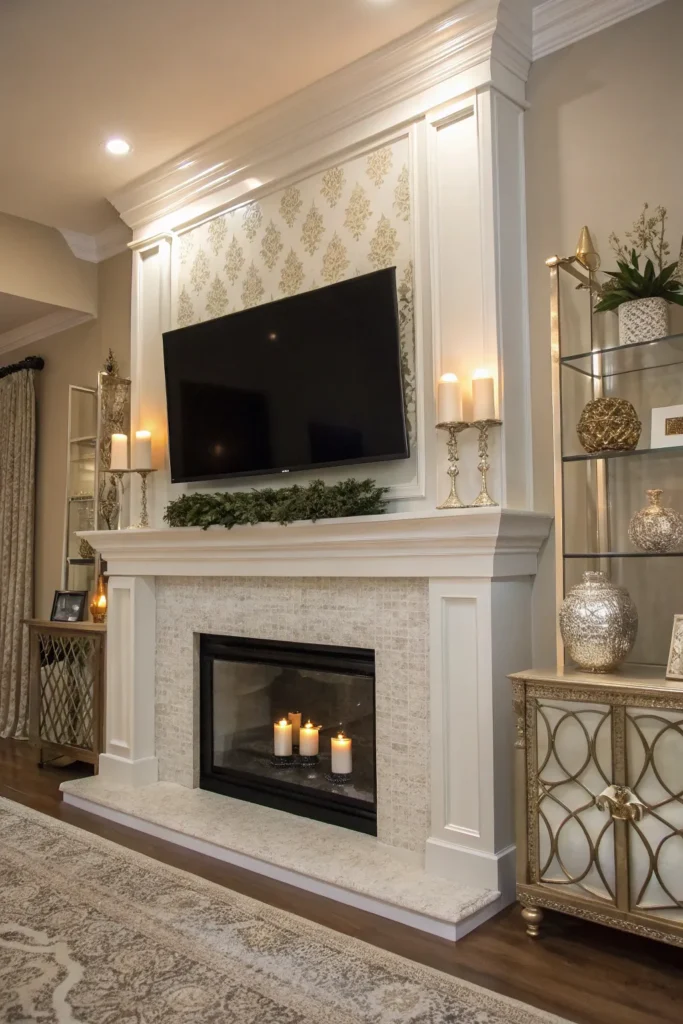
2. How to Style the Mantel When the Fireplace Is Already the Statement

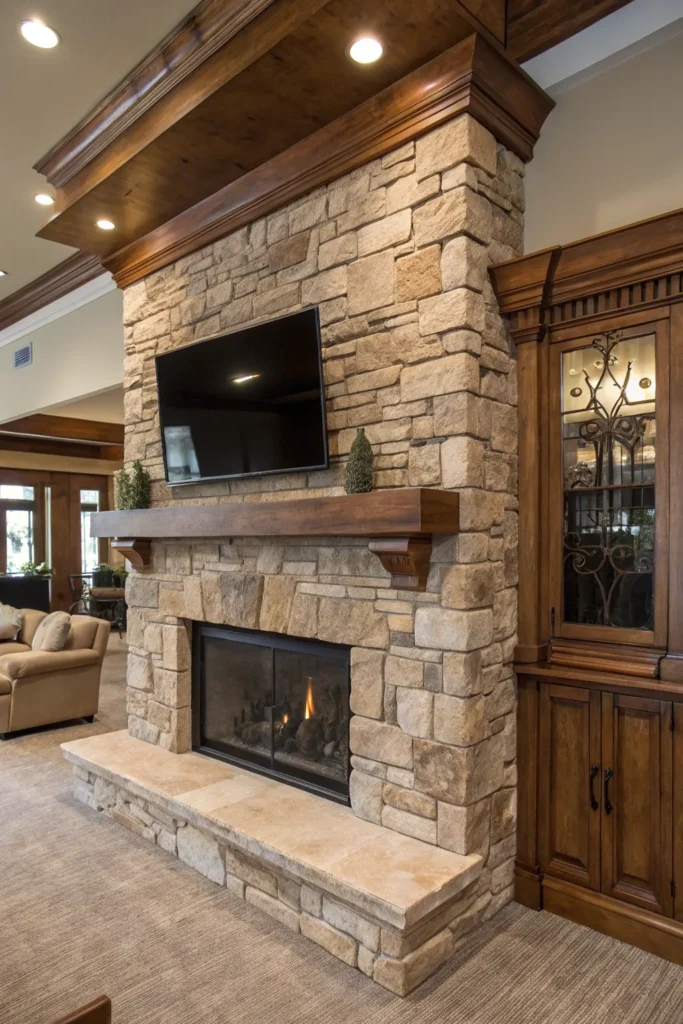
A stone fireplace surround — natural limestone, slate, or rough-cut sandstone — is already doing significant design work on the wall.
When the surround itself is this visually present, the mantel beneath the TV should be styled with maximum restraint. The stone is the statement. The mantel styling should support it, not compete with it.
The correct mantel approach for a statement stone surround:
Three objects maximum. All in materials that relate to the stone — natural timber, raw ceramic, smooth river stone, aged bronze.
A single large piece of driftwood laid horizontally across two thirds of the mantel width. One ceramic vessel of generous scale at one end. One candle in a simple iron holder.
Nothing more. The stone surround is already complex enough. The mantel needs to provide a quiet landing place for the eye rather than adding further visual information.
For the wall above the TV:
Leave it entirely clear. No artwork. No shelving. The stone surround, the TV, and the restrained mantel are sufficient. Any additional wall decoration above the TV competes with the screen and makes the entire wall feel overloaded.
Product note: For natural stone fireplace surrounds, suppliers including Stoneyard, Farmington Natural Stone, and Pisani Stonemasonry all offer made-to-measure surrounds. Budget £600–£3,500 installed depending on stone type and complexity.
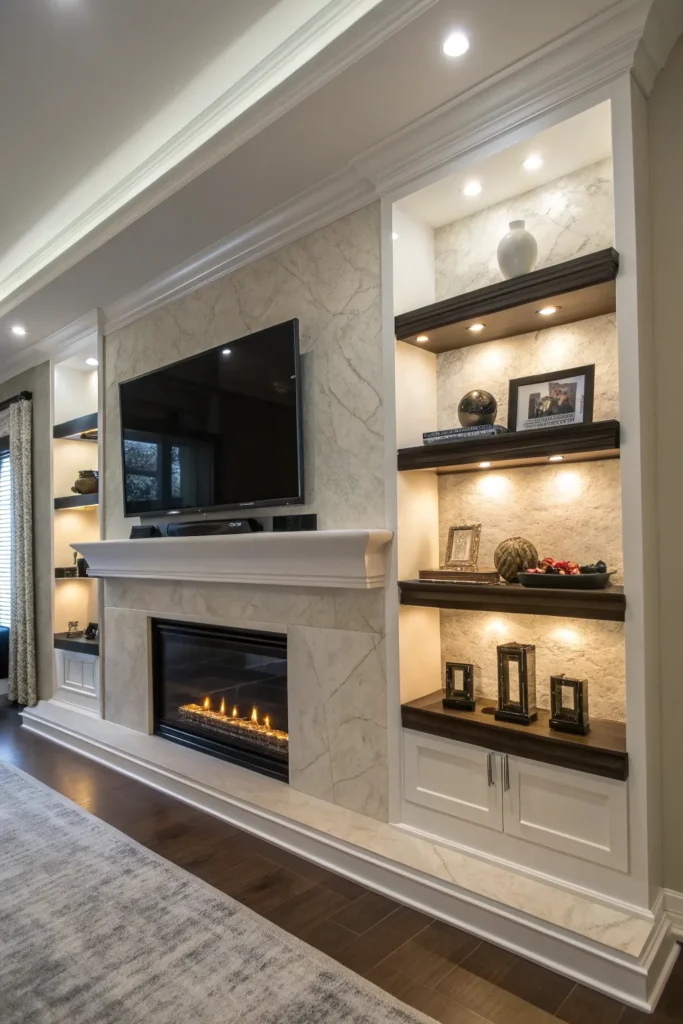
3. Built-In Cabinetry That Makes the TV and Fireplace Feel Like One Feature

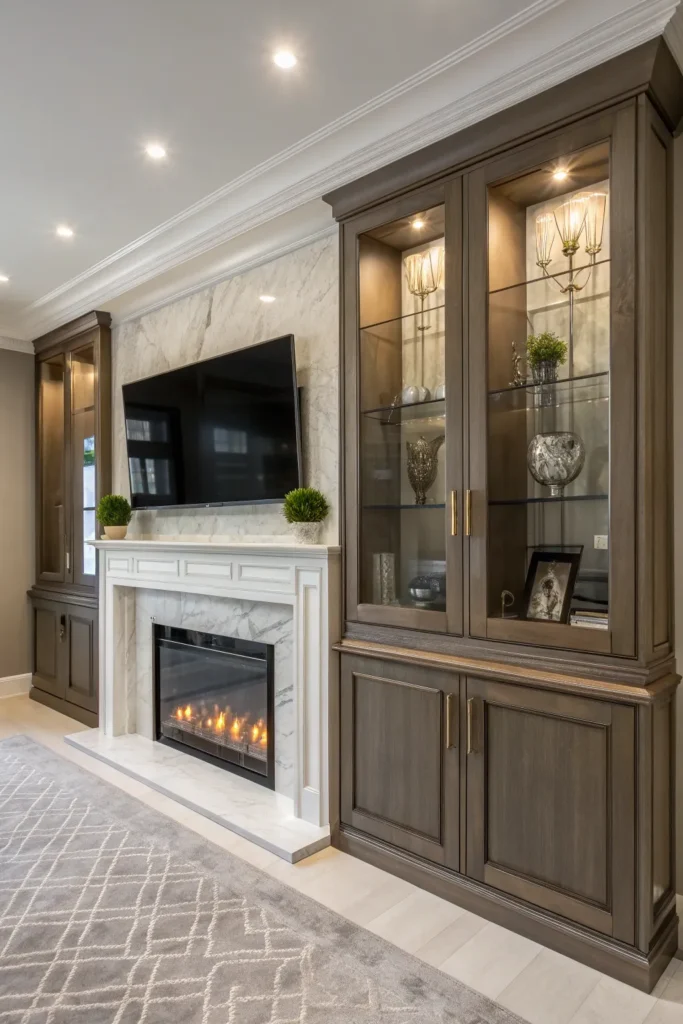
A custom built-in wall — cabinetry and shelving running floor to ceiling around both the fireplace and the TV mounted above it — is the most complete and most architecturally resolved solution for a TV-above-fireplace installation.
The built-in treats the TV and fireplace not as two separate objects placed on a wall but as two elements within a single designed composition. The cabinetry frames both, connects both, and gives the entire wall a quality of intentional architecture that no freestanding arrangement can replicate.
Specification details:
Cabinet depth of 300–350mm accommodates the fireplace surround’s projection while providing sufficient storage depth for media equipment, books, and decorative objects.
Specify handle-free push-to-open doors on any cabinets that conceal media equipment — handles on TV cabinetry create a visually busy surface that reads as furniture rather than architecture.
Cable management channels built into the cabinet structure during construction eliminate the need for surface-mounted cable covers. Route all cables through the cabinet interior from the TV mount down through the cabinet structure to the media equipment stored in the lower cabinets.
Paint: Paint the entire built-in — frame, doors, shelves, and interior back panels — in a single colour. Farrow & Ball Mole’s Breath, Little Greene French Grey, or Mylands Chiswick House are all strong choices for built-in cabinetry that reads as sophisticated rather than standard.
Budget: Custom built-in cabinetry around a fireplace runs £3,000–£12,000 depending on size, material, and maker. Bespoke joinery companies including Neptune, deVOL, and local custom joiners all produce this type of work.
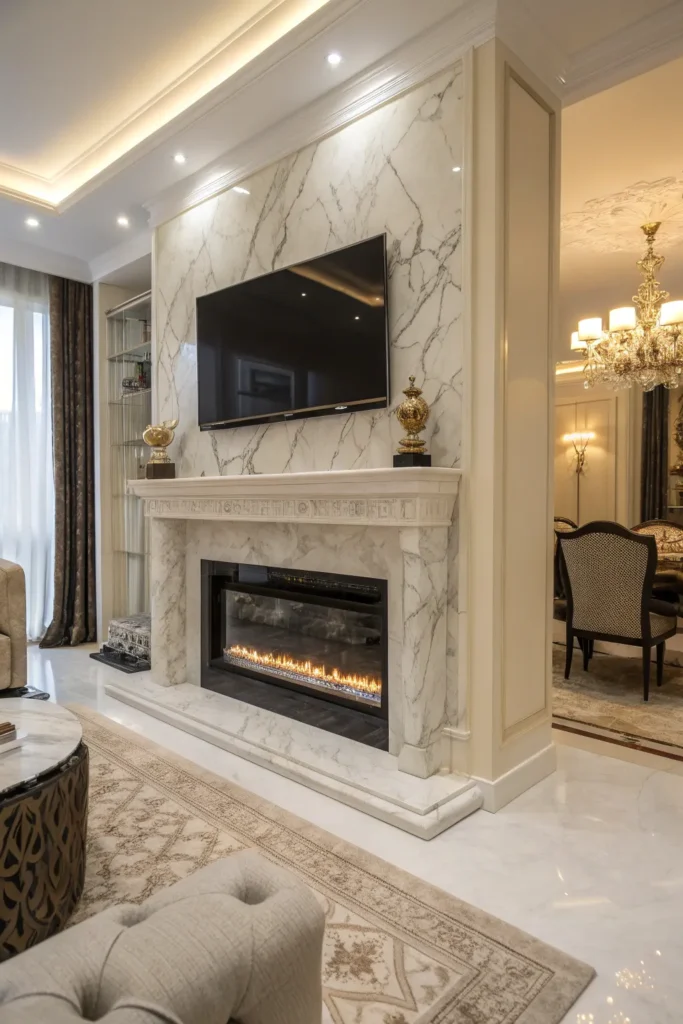
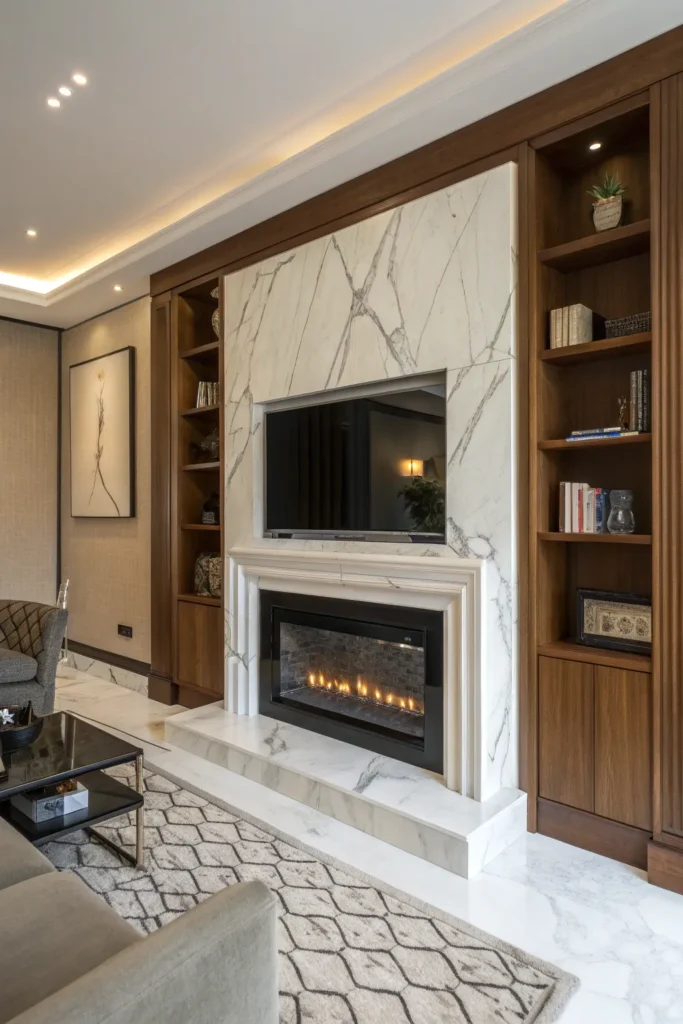
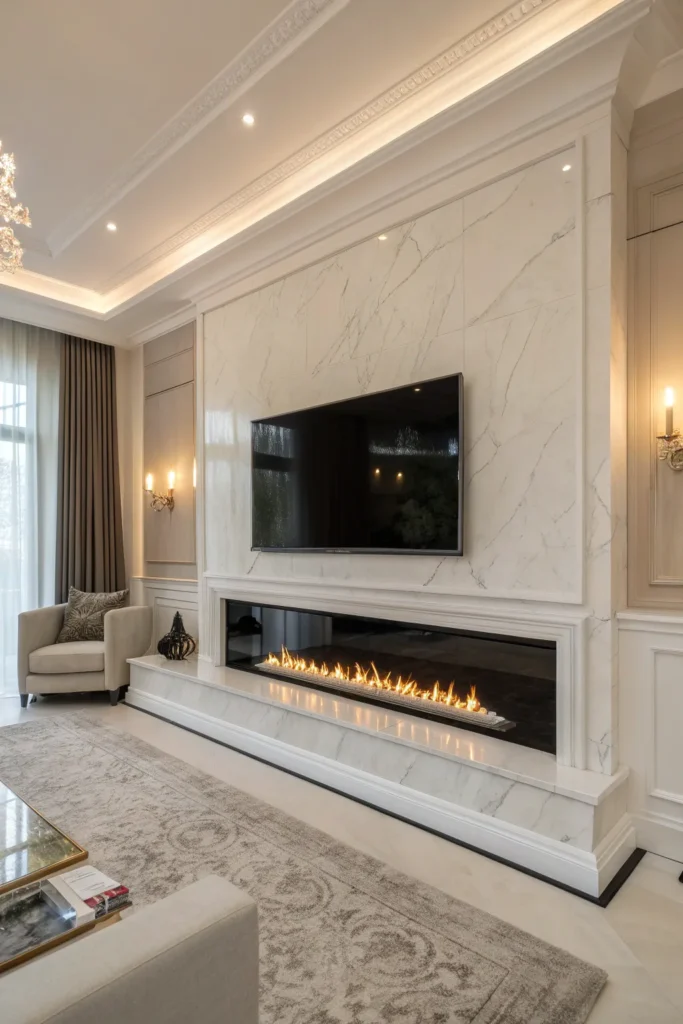
4. A Marble Surround That Justifies Keeping the Wall Simple Above It

A marble fireplace surround is the material decision that most completely justifies a bare, undecorated wall above the TV.
Marble’s combination of geological veining, luminous surface, and material authority creates a surround of sufficient visual presence that no additional wall decoration above it is needed or appropriate. The marble does all the work. The wall above should let it.
Styling approach:
Mount the TV on a slim, low-profile wall mount that sits as flush to the wall as possible — a fixed mount rather than a tilting or articulating mount for the cleanest visual profile.
Leave the wall between the top of the marble surround and the bottom of the TV screen completely clear — no floating shelves, no artwork, no decorative panels. This clear zone allows the marble to read as the wall’s primary feature and prevents the visual compression that occurs when elements are stacked too closely.
On the mantel shelf itself, use objects in complementary natural materials. White marble objects — a marble mortar and pestle, a marble bookend, a marble bud vase — sit on a marble surround with complete material coherence. Warm brass candlesticks. A single flowering plant in a simple pot.
Marble selection: Calacatta Oro for the warmest and most dramatically veined result. Carrara Bianco for the most classic and most restrained. Nero Marquina for a dark marble surround where the TV disappears against the dark background. Viewing individual slabs rather than samples is essential — veining varies enormously within the same material designation.
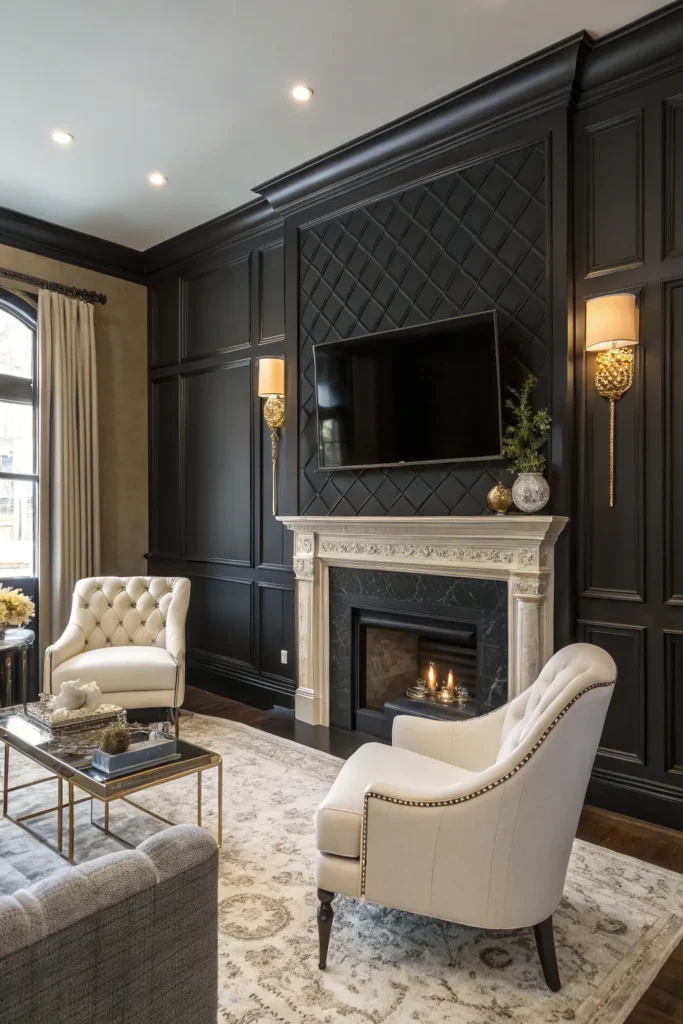
5. A Dark Painted Wall That Makes the TV Disappear Into the Design

Painting the fireplace wall in a deep, saturated colour is the single most effective technique for reducing the visual impact of a TV above a fireplace.
A black or near-black television screen mounted against a deep charcoal, navy, or forest green wall simply disappears when the TV is off. The screen reads as a dark rectangle against a dark background — barely visible, barely registering. When the TV is on, the image pops with clarity against the dark surround.
Best paint colours for this technique:
- Farrow & Ball Railings — the most widely used dark fireplace wall colour, a near-black with a subtle blue-green undertone
- Little Greene Obsidian — slightly warmer than Railings, better in rooms with limited natural light
- Farrow & Ball Hague Blue — deep navy, creates a more overtly coloured result than the near-blacks
- Edward Bulmer Lamp Black — the truest dark, works best in rooms with strong natural light to prevent the wall from reading as oppressive
Application: Apply in an eggshell finish for walls. The slight sheen catches ambient light and prevents the dark colour from reading as completely flat and absorbing. Two coats over a tinted primer in mid-grey — tinting the primer significantly improves coverage for deep shades and reduces the number of finish coats required.
Mantel styling on a dark wall: Use light-toned objects on the mantel for maximum contrast against the dark background. Cream ceramics, pale stone objects, white candles. The contrast between the pale mantel objects and the dark wall creates a composed, gallery-like quality.
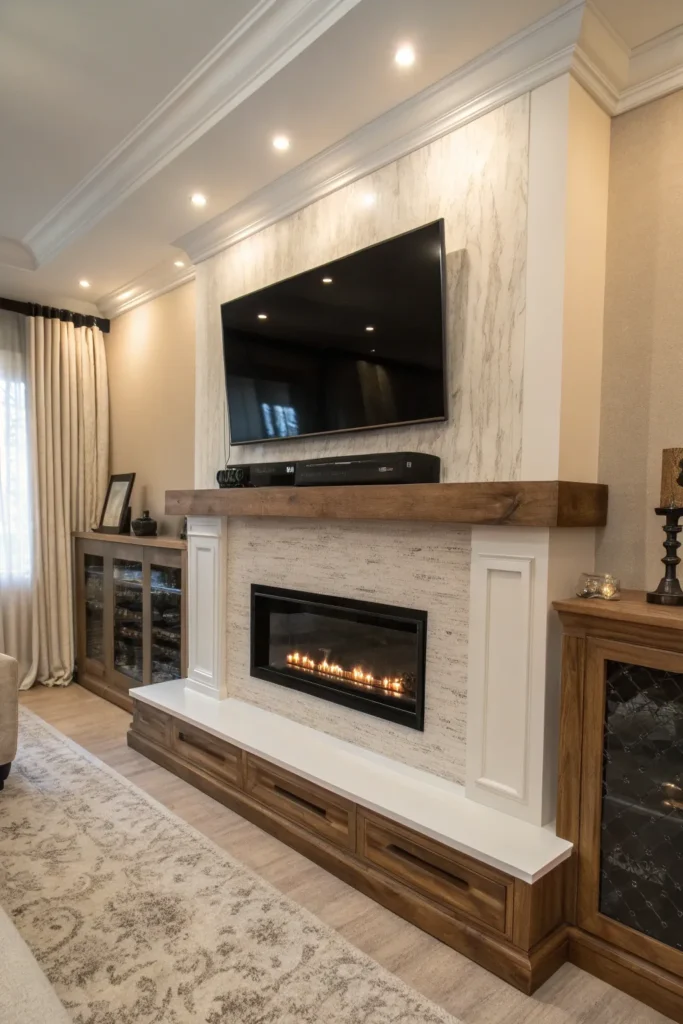
6. A Floating Timber Mantel That Hides the Tech and Keeps the Look Clean

A floating timber mantel — a single solid beam of oak, walnut, or ash fixed directly to the wall without any visible bracket or supporting structure — is the most material-honest and most architecturally clean mantel option available beneath a wall-mounted TV.
The floating beam creates a clear horizontal line between the fireplace below and the TV above. It provides a display surface without the visual clutter of a full fireplace surround. And it allows cables to be routed through the wall cavity behind it, emerging concealed within a cable management channel built into the beam’s underside.
Specification:
Beam depth of 200–250mm minimum for a mantel that reads as architecturally substantial rather than as a shelf. Beam height of 1300–1400mm above finished floor level for the most comfortable display height and best proportional relationship with the firebox below.
Fix using two concealed steel brackets set into the masonry — each bracket rated to a minimum of 50kg. The beam should sit flush and level against the wall with no visible fixings on the face or top surface.
Cable management: Route a 50mm diameter conduit through the wall from the TV mounting position down behind the mantel beam to a media unit or outlet position below. All power and signal cables for the TV pass through this conduit, emerging behind the media equipment with no surface routing visible on the wall.
Timber suppliers: Quercus Timber, British Hardwoods, and Hearne Hardwoods all supply solid timber beam mantels in a range of species and dimensions. Budget £150–£600 for the beam itself depending on species, length, and finish.
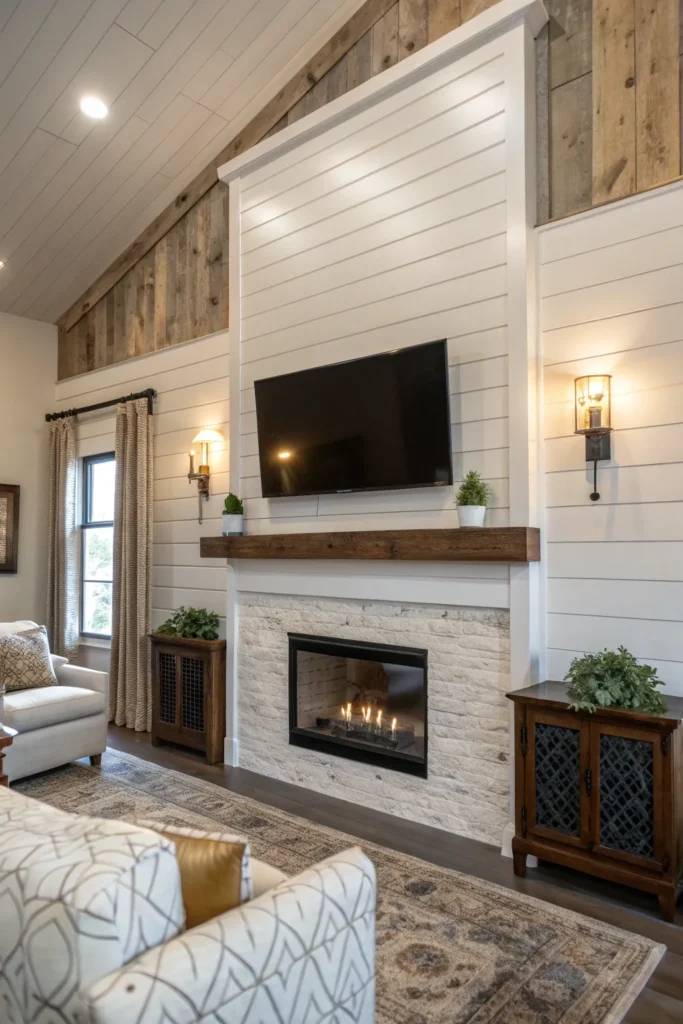
7. Shiplap Behind Both the TV and Fireplace for a Unified Farmhouse Wall

Shiplap — horizontal timber boards fixed to the wall with a consistent reveal gap between each board — applied to the entire fireplace wall from skirting to ceiling creates a unified wall surface within which both the fireplace and the TV above it sit as integrated elements rather than as separately mounted objects.
The shiplap provides horizontal texture and warmth across the full wall. The fireplace and TV read as features within the shiplap surface rather than as objects placed against it — a distinction that makes the entire wall feel more architecturally considered.
Installation specification:
Board width of 100–150mm with a reveal gap of 5–8mm produces the most proportionally refined result. Wider boards begin to read as planking rather than shiplap. Narrower boards with smaller gaps read as panelling rather than shiplap.
Fix boards horizontally with concealed fixings — no visible nails or screws on the face of the boards. Use a nail gun with a secret nailing technique at the board’s tongue, with each subsequent board covering the previous board’s fixing point.
Paint finish: White or warm white is the classic farmhouse shiplap colour. Farrow & Ball Wimborne White or Little Greene Linen White both read as genuinely warm rather than stark. Apply in eggshell for slight washability — shiplap surfaces collect dust in the reveal gaps and require periodic cleaning.
TV mounting on shiplap: Use a low-profile fixed TV wall mount with a backing plate of at least 400mm x 300mm that spans multiple shiplap boards and fixes through them into the masonry behind. Never mount a TV on shiplap boards alone — the boards are not load-bearing.
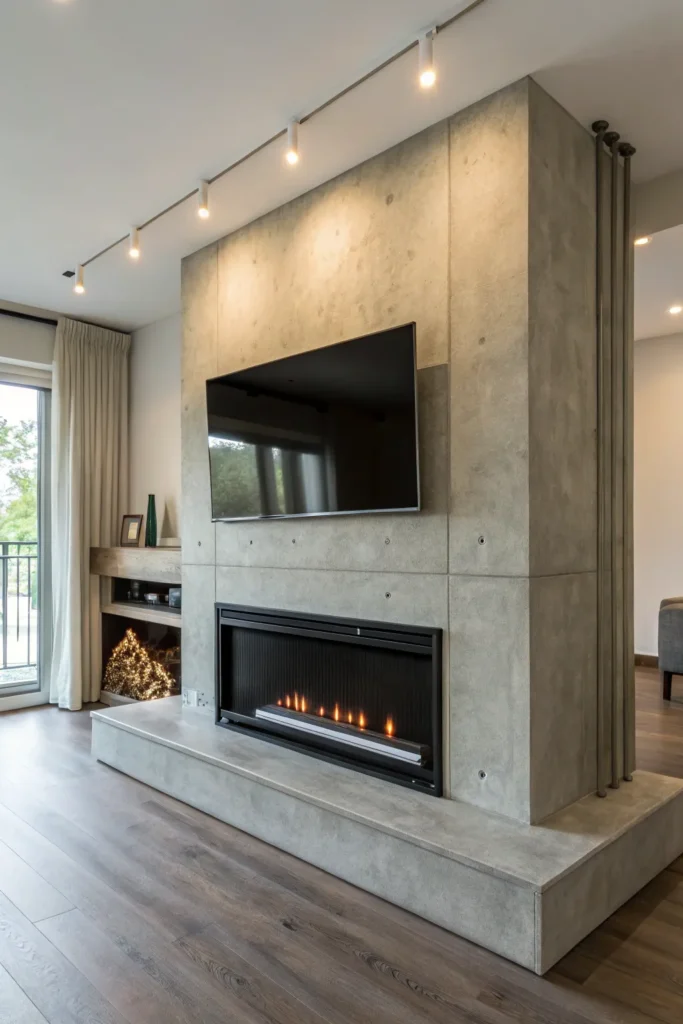
8. A Concrete Surround That Turns the Whole Wall Into a Material Statement

A poured concrete fireplace surround extends the industrial material language across the entire fireplace wall when combined with a concrete or concrete-effect finish on the surrounding wall surface.
The combination of a concrete surround and a concrete-effect wall creates a monolithic material statement within which the TV above reads as an integrated element — a screen set into a composed material surface rather than a device mounted on a decorated wall.
Two approaches to the concrete wall finish:
Genuine poured concrete panels: precast off-site and fixed to the wall surface using panel adhesive and mechanical fixings. Weight of approximately 80–120kg per square metre — requires structural assessment of the wall’s load-bearing capacity before specification.
Concrete-effect microcement: a polymer-modified cementitious coating applied to the existing plaster or plasterboard wall surface at 2–3mm thickness. Total weight addition of approximately 4–6kg per square metre — suitable for application to standard stud walls without structural modification. Suppliers including Topciment, Leroy Merlin, and Pandomo all produce microcement systems with detailed application instructions.
TV mounting on concrete or microcement: Use a heavy-duty wall mount fixed through the wall finish into the masonry or structural stud behind. Never fix a TV mount into microcement or plaster alone — always fix into the structural substrate.
9. A Recessed Niche That Gives the TV Its Own Architectural Home

Recessing the TV into the wall above the fireplace — setting it back flush with or slightly behind the wall plane into a purpose-built niche — is the most architecturally complete solution for a TV-above-fireplace installation.
The recessed TV sits within the wall rather than on it. The screen face is flush with the surrounding wall surface or set 20–30mm behind it — invisible in profile, reading as part of the wall’s composition rather than as a device attached to it.
Construction specification:
A recessed TV niche requires a structural opening in the wall of sufficient depth to accommodate the TV’s body — typically 80–120mm depending on the TV model. In a masonry wall, this requires chasing the wall to the required depth and lining the niche with a plastered finish. In a stud wall, it requires building out a false wall of sufficient depth in front of the existing wall structure.
The niche interior should be painted in the same colour as the surrounding wall for the most seamless result — any colour contrast between niche interior and wall surface makes the recess visible from oblique angles and defeats the purpose of the recessed installation.
Cable management: All TV cables route through the niche floor or back wall into the cavity below, emerging at a media unit or outlet position. No cables should be visible on the niche interior surfaces.
Cost: A recessed TV niche in a masonry wall costs approximately £400–£900 for the structural work and plastering. In a stud wall, £200–£500. These are costs separate from the TV mount and any decorative finish work around the niche opening.
10. Using Tall Mantel Objects to Close the Visual Gap Between Shelf and Screen

When a TV is mounted at a height that leaves a significant gap between the top of the mantel shelf and the bottom of the screen — typically 400–600mm — that gap needs to be addressed in the mantel styling rather than ignored.
The correct approach is to use one tall vertical element on the mantel that rises toward the TV base, closing the visual gap and connecting the mantel display to the screen above it.
Tall mantel objects that work:
A tall ceramic vase of 500–600mm height at one end of the mantel shelf — its top rising to within 100–150mm of the TV base. One significant dried botanical arrangement in a floor-standing vase positioned at the mantel’s edge. A tall candlestick of 450–500mm height in aged brass or iron.
The tall element should occupy one side of the mantel rather than the centre — placing a tall object directly beneath the TV’s centre creates a visual axis that draws the eye upward too forcefully and makes the gap above it feel even more pronounced.
Objects to avoid in this gap:
Artwork hung between the mantel and the TV base. Floating shelves positioned in the gap. Both of these interventions make the wall feel vertically crowded and visually compressed. The gap is better addressed through tall mantel objects than through adding further elements between the mantel and the screen.
11. Floating Shelves Either Side That Frame the Fireplace and TV Together

Floating shelves positioned on the wall either side of the fireplace — running from approximately 400mm above the mantel height up to ceiling level — frame the fireplace and TV within a composed wall arrangement that gives the entire composition a quality of architectural intention.
The shelves do not sit above the TV or between the TV and the mantel. They sit beside the fireplace on the flanking wall sections, at a depth and a height that creates vertical columns of display space on either side of the central fireplace-and-TV composition.
Specification:
Shelf depth of 200–250mm — shallow enough to read as display shelving rather than storage, deep enough to accommodate books, ceramics, and objects of genuine scale.
Fix at consistent 300mm vertical intervals from the top of the mantel height to within 200mm of the ceiling. The consistent spacing creates a composed, grid-like arrangement that reads as designed rather than ad hoc.
Material: Solid oak or ash shelves of 25mm thickness for shelves up to 600mm in length. 32mm thickness for shelves of 600–900mm. Thinner shelves at longer spans deflect visibly under load and read as insufficient. Fix using concealed shelf brackets set into the masonry — no visible bracket face on the shelf underside.
Styling: Books in complementary spine colours. Ceramic objects in warm neutral tones. One small plant per shelf level — a trailing plant on the highest shelf whose tendrils cascade downward adds organic softness to the structured composition.
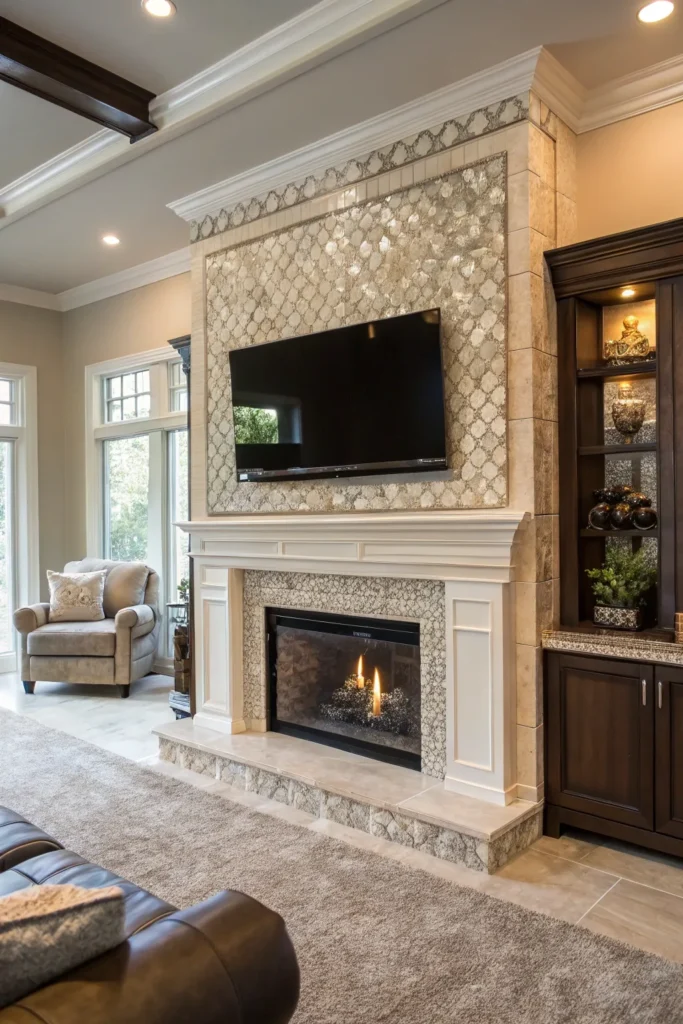
12. A Textured Tile Surround That Adds Pattern Without Competing With the Screen

A textured tile surround — zellige, handmade encaustic, or dimensional relief tile applied to the fireplace surround and inner hearth — adds pattern and material richness to the fireplace wall without extending that pattern to the area above the TV where it would compete with the screen.
The tile is contained within the surround. Above the surround, the wall is plain — the same painted finish as the surrounding room. The TV sits against this plain wall section, clearly readable against a calm background rather than against a competing patterned surface.
Tile options and their visual effects:
Zellige in warm white or pale terracotta: the most visually active option — its hand-glazed irregular surface catches light constantly, creating a living surround surface that changes through the day. Suppliers including Bert & May, Mosaic Factory, and Cle Tile. Budget £80–£180 per square metre.
Encaustic cement tile in a geometric pattern: more graphic and more static than zellige — its pattern is consistent and its surface is matte. Works best with a plain wall above. Budget £45–£90 per square metre from Fired Earth and Topps Tiles.
Dimensional relief tile: three-dimensional surface texture in a single colour — the pattern visible through light and shadow rather than colour contrast. The most subtle and most contemporary option. Available from Porcelanosa and Domus at £60–£120 per square metre.
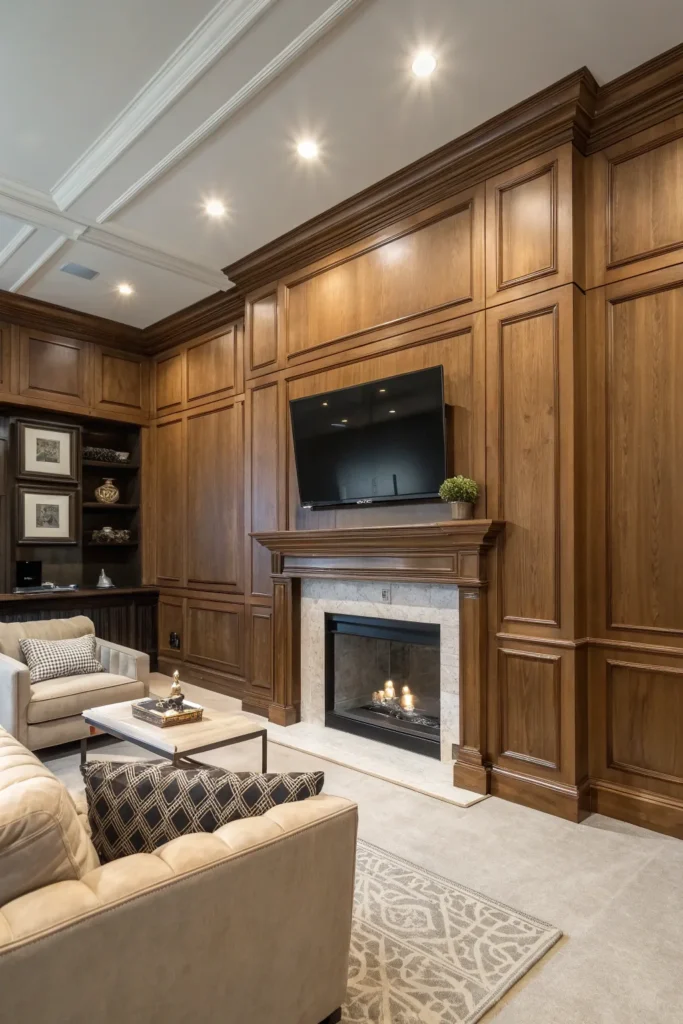
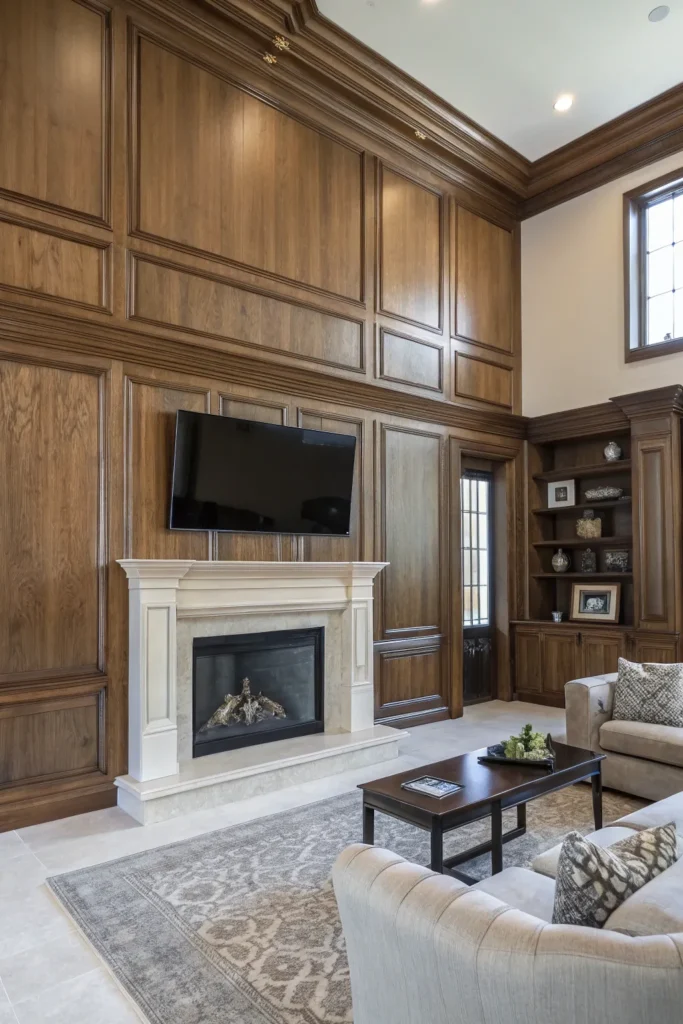
13. Timber Paneling From Mantel to Ceiling That Wraps the TV in Warmth

Running timber paneling from the top of the mantel shelf upward to the ceiling — behind and above the TV — creates a warm, material backdrop against which the screen sits as an integrated element rather than as a cold technological object placed against a painted wall.
The timber panel section occupies only the wall area above the mantel. The fireplace surround below remains in its existing material. The paneling creates a warm transition zone between the fireplace below and the ceiling above, within which the TV reads as a composed element rather than an afterthought.
Panel specification:
Fluted oak veneer MDF panels of 2400mm height trimmed to the required mantel-to-ceiling dimension. Flute width of 20–25mm with a ridge width of 10–15mm produces the most refined result.
Fix directly to the wall using panel adhesive applied in continuous beads at 300mm centres, with temporary fixing pins to hold the panels while the adhesive cures. No visible surface fixings required.
Finish in natural oak oil — Rubio Monocoat or Osmo Oil — for a warm, natural timber appearance. Or paint in a complementary colour to the fireplace surround below for a two-tone chimney breast of considerable sophistication.
TV mounting on timber panels: Fix the TV mount through the timber panels into the masonry behind using 100mm fixings that penetrate through the panel thickness (typically 18–22mm) and into the masonry beyond. Never rely on the panel adhesive or the panel material alone for TV mount fixings.
14. A Curved Surround That Softens the Hard Rectangle of the Screen Above

A curved or arched fireplace surround — its opening formed in a smooth arch rather than a rectangular lintel, its surround material flowing in a continuous curve around the opening — creates a visual counterpoint to the hard rectangular form of the TV above that makes both elements more interesting by contrast.
The curve and the rectangle in close proximity create a composed visual tension that reads as considered and deliberate. The soft arch of the surround draws the eye to the organic form of the fireplace. The hard geometry of the screen above reads as a deliberate contrast rather than as a visual accident.
Creating a curved surround:
On an existing rectangular fireplace opening, an arched effect can be created by building up the surround material — lime render, plaster, or shaped MDF — to create the curved form above and around the existing rectangular opening. This does not require structural modification of the opening itself, only surface work on the surrounding area.
Alternatively, a purpose-built arched fireplace insert — available from suppliers including Chesneys, Chesney’s, and Artisan of Devizes — creates a genuine arched opening in a range of materials from cast iron to carved stone.
Styling note: A curved surround works best with a plain, undecorated mantel shelf and minimal objects. The curve is the decorative statement. The mantel styling should be as restrained as the surround is expressive.
15.A Slim Electric Fireplace That Sits Under the TV Without Overcrowding the Wall

A slim wall-mounted electric fireplace installed below a wall-mounted TV — the two elements stacked vertically on the same wall section without any surround, mantel, or additional framework — is the most space-efficient and most installation-flexible solution for a TV-and-fireplace wall in a smaller room or apartment.
The slim electric fireplace typically projects 80–150mm from the wall surface. The TV above projects 40–80mm on its wall mount. Together they create a vertical stack of technology and warmth that reads as a composed, contemporary wall feature when the surrounding wall is kept completely clear.
Recommended slim electric fireplaces:
- Evonic E800 — 800mm wide, 135mm projection, realistic flame effect using water vapour technology. RRP approximately £1,200
- Dimplex Opti-Myst Pro 1000 — 1000mm wide, realistic water vapour flame, multiple flame colour settings. RRP approximately £1,500
- Gazco eReflex 75R — 750mm wide, 100mm projection, high-definition LED flame effect. RRP approximately £900
Installation: All three models require only a standard 13A socket for power — no gas connection, no flue, no structural work. Fix to the wall using the supplied bracket system following manufacturer’s instructions. Total installation time of 2–3 hours for a competent DIY installer.
Wall composition: Mount the electric fireplace at a height of 400–500mm above finished floor level. Mount the TV above it at a height where the screen centre is at approximately seated eye level — typically 1000–1100mm above finished floor level for a standard sofa seating arrangement. Leave the wall around both elements completely clear — no shelving, no artwork, no additional decoration.
Warm Style Meets Smart Function
The TV-above-fireplace wall that looks genuinely designed is the one where every decision — the wall finish, the surround material, the mantel styling, the cable management — has been considered as part of a single composed whole rather than resolved separately and assembled afterward.
The most common mistake is treating the TV and the fireplace as two separate problems solved independently. They are one wall. Design them as one wall and the result looks considered. Design them separately and the result looks assembled.
Decide on the wall’s material first — paint, panelling, tile, concrete, or plaster. Then specify the surround within that material. Then mount the TV within that composition. Then style the mantel in relationship to both. In that sequence, the wall arrives at a quality of intentional design that any other sequence rarely achieves.