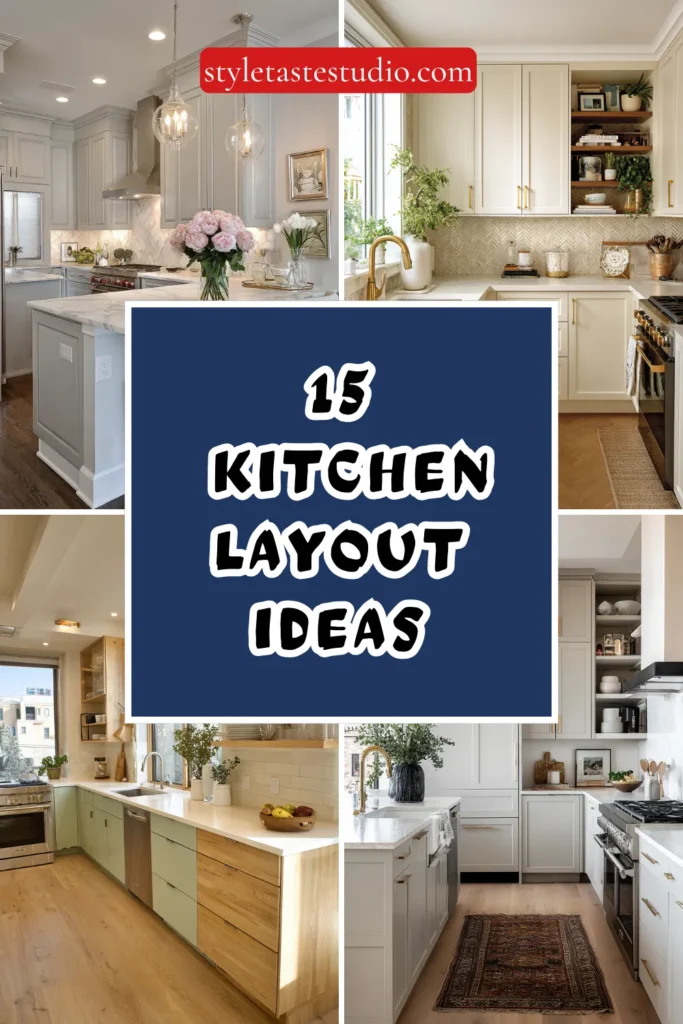
15 Kitchen Layout Ideas That Improve Workflow and Storage
The kitchen layout fundamentally determines how efficiently you can cook, clean, and store everything from spices to small appliances. A well-designed kitchen minimizes unnecessary steps, maximizes storage capacity, and creates logical zones for different tasks.
Whether you’re planning a complete renovation or working within existing constraints, these fifteen layout ideas will help you transform your kitchen into a highly functional space that makes meal preparation a pleasure rather than a chore.
Understanding the Work Triangle
Before exploring specific layouts, it’s essential to understand the kitchen work triangle—the path between your refrigerator, sink, and stove.
The most efficient kitchens keep this triangle compact with each leg measuring between four and nine feet, totaling no more than twenty-six feet. This principle underlies many successful kitchen layouts, though modern kitchens often expand this concept to include multiple work zones for families with several cooks.
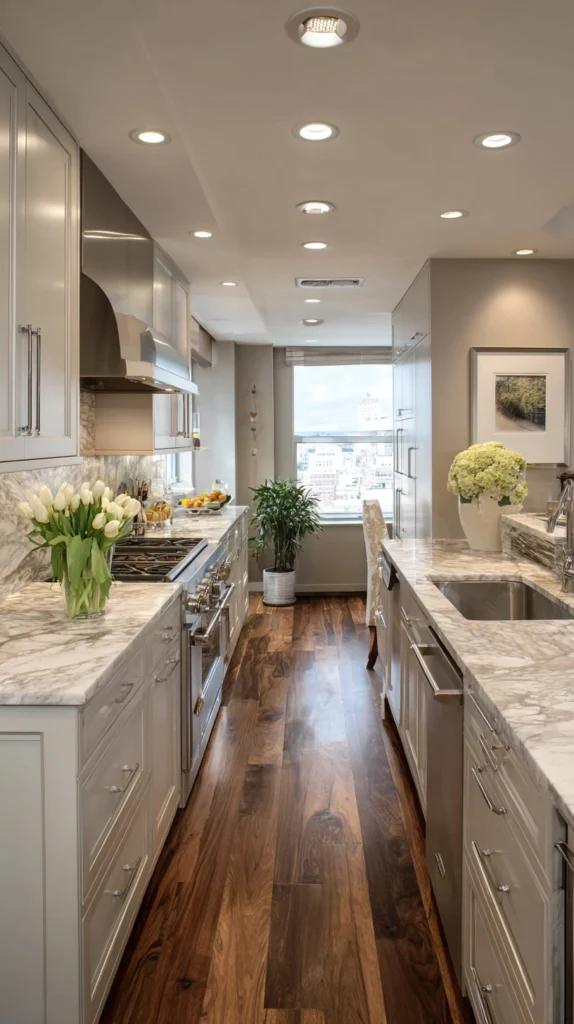
1. The Galley Kitchen with Facing Counters
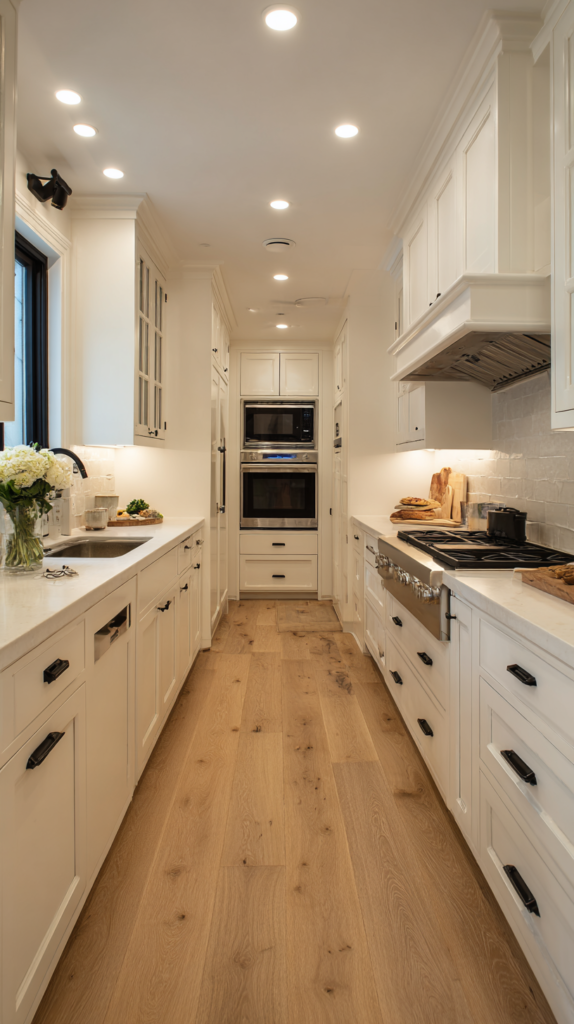
A galley layout features two parallel counters creating an efficient corridor that minimizes steps between work zones. Position the sink and stove on one side with the refrigerator on the opposite to create a natural workflow.
Keep the corridor width between forty-two and forty-eight inches to allow comfortable movement while preventing wasted space, and install floor-to-ceiling cabinets on both walls to maximize vertical storage capacity.
2. L-Shaped Layout with Corner Solutions
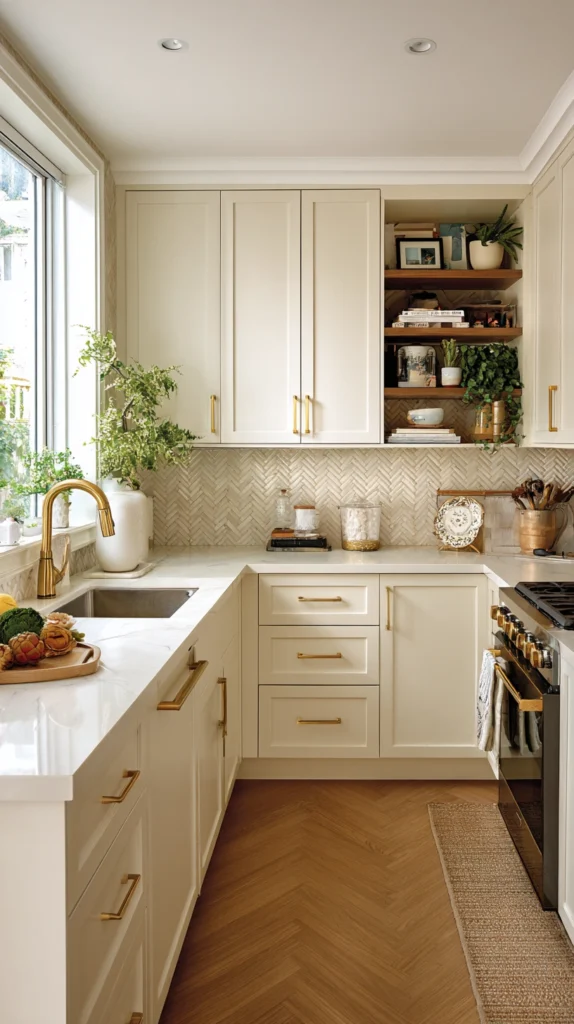
L-shaped kitchens wrap around two perpendicular walls, offering an open feel while maintaining efficient workflow. The challenge lies in the corner, which often becomes dead space—solve this with lazy Susan cabinets, pull-out corner drawers, or Magic Corner systems that bring items to you.
Position the sink at the corner or along one wall with the stove and refrigerator completing the triangle on separate legs of the L for optimal efficiency.
3. U-Shaped Kitchen for Maximum Storage
U-shaped layouts surround you with counter space and storage on three walls, ideal for serious cooks who need ample prep area. This configuration works best in spaces at least ten feet square to prevent the kitchen from feeling cramped. Place the sink at the base of the U with the stove and refrigerator on opposing walls, and consider incorporating different counter heights to create baking zones or breakfast bars.
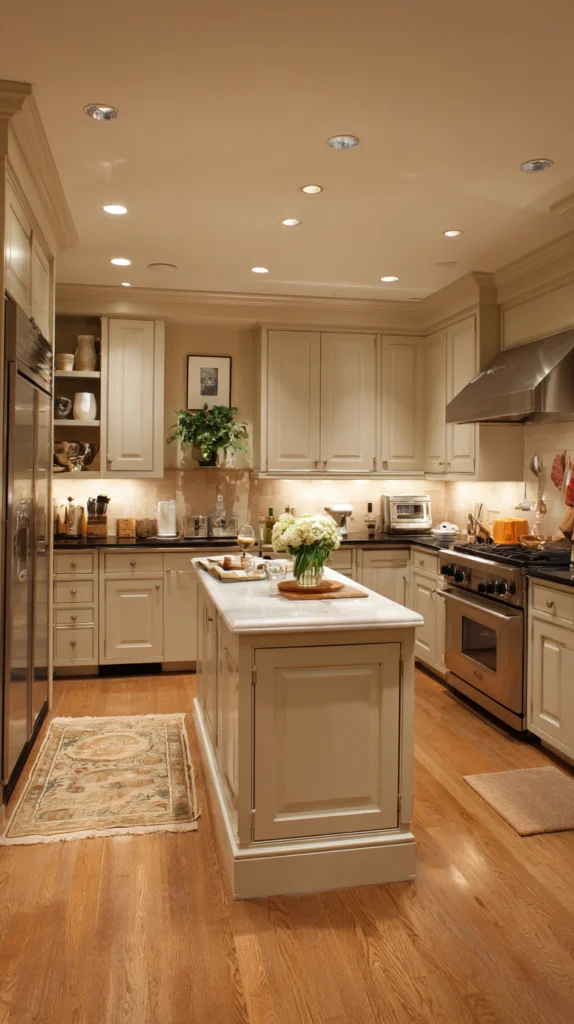
4. Island-Centered Workflow
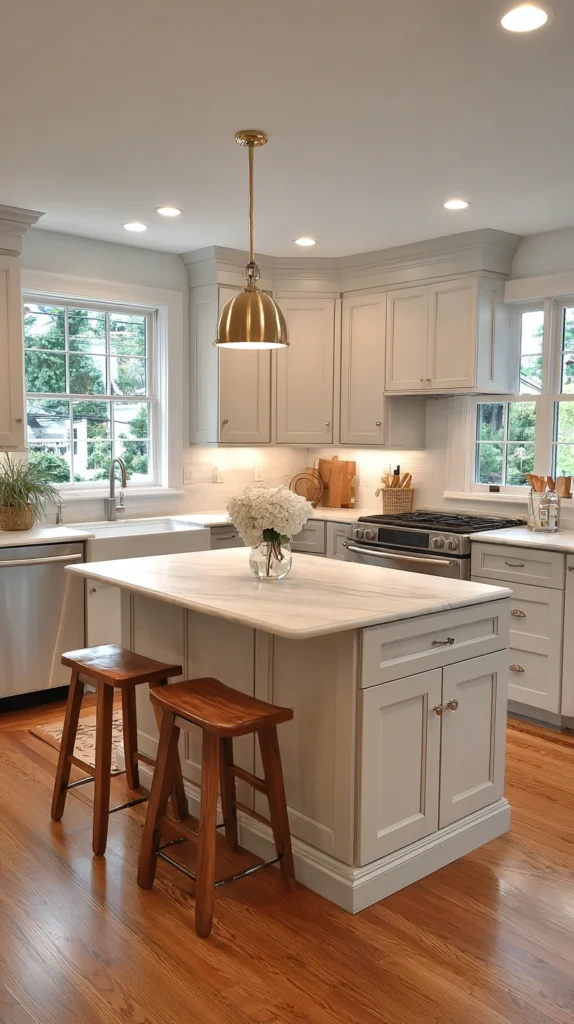
A central island transforms kitchen workflow by adding a fourth work zone accessible from all sides. Position the island to maintain clear pathways of at least forty-two inches on all sides, and consider adding the cooktop or sink to the island to shorten the work triangle.
Include storage on all four sides of the island—drawers for utensils, cabinets for pots, and open shelving for cookbooks—to maximize its utility while keeping frequently used items within arm’s reach.
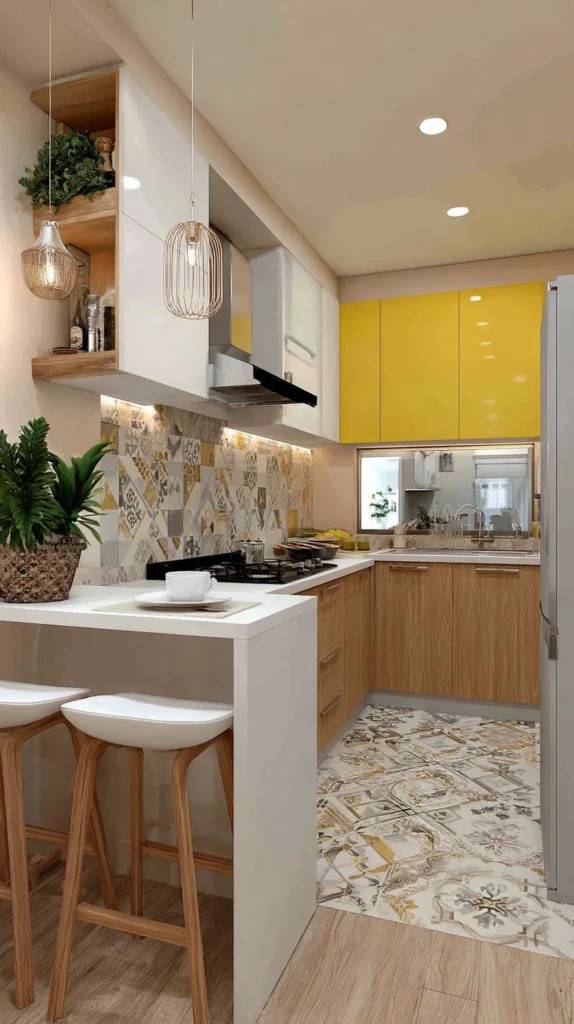
5. Peninsula Layout for Open Plans
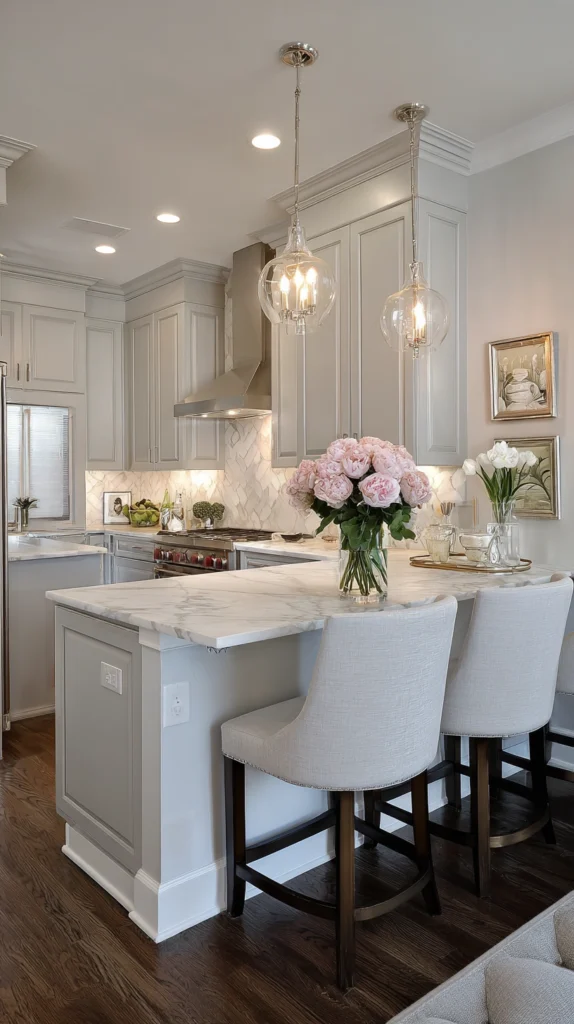
Peninsulas function like islands but connect to existing cabinetry or walls, perfect for open-plan spaces that lack room for a full island. This configuration creates a natural boundary between kitchen and living areas without closing off the space entirely.
Add seating to the outer edge for casual dining, install cabinets underneath facing the kitchen for storage, and consider placing the cooktop or sink here to create an additional work zone.
6. Zone-Based Layout System
Organize your kitchen into distinct zones rather than focusing solely on the work triangle—create dedicated areas for food storage, preparation, cooking, serving, and cleanup. Group related items within each zone: keep cutting boards and knives near prep counters, pots and pans adjacent to the stove, and dishes near the dishwasher.
This approach works particularly well in larger kitchens or homes with multiple cooks, as it prevents traffic jams and allows several people to work simultaneously without interfering.
7. Single-Wall Linear Kitchen
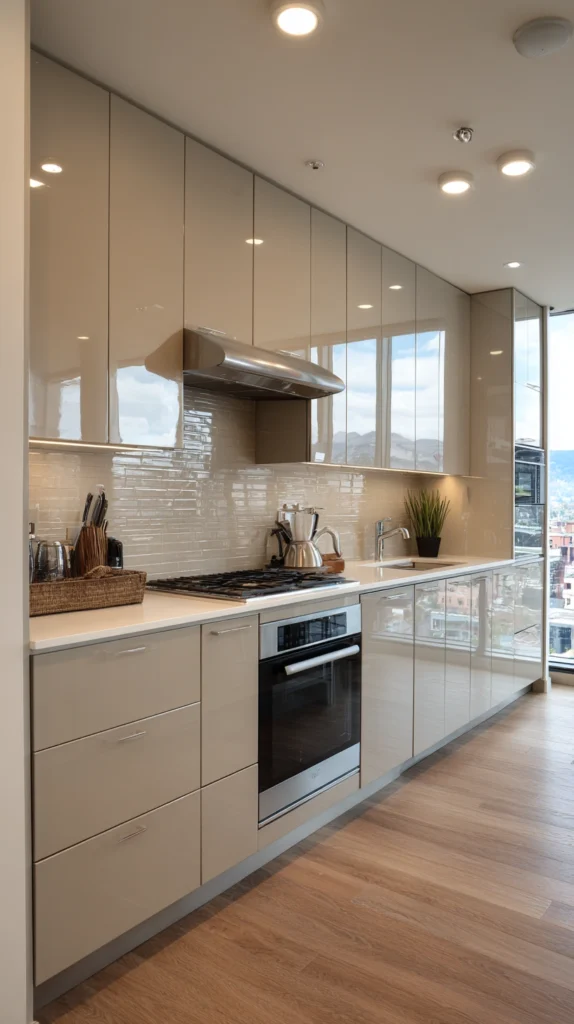
Single-wall kitchens arrange all appliances and cabinets along one wall, ideal for small spaces or open-plan apartments. Combat limited storage by installing cabinets to the ceiling, incorporating a pantry tower at one end, and using the full depth of lower cabinets with pull-out organizers. Maintain workflow efficiency by positioning the sink in the center with the refrigerator and stove flanking it, keeping the work triangle compact despite the linear arrangement.
8. Parallel Galley with Island
Combine the efficiency of a galley kitchen with the versatility of an island by positioning a narrow island between two parallel counters. This layout provides exceptional counter space and storage while accommodating multiple cooks comfortably. Keep the main work triangle along one wall with the sink, stove, and refrigerator, then use the island for prep work, additional storage, or a secondary sink for washing vegetables while someone else works at the main sink.
9. G-Shaped Kitchen with Peninsula
The G-shaped layout adds a fourth wall or peninsula to the U-shape, creating an enclosed workspace with maximum counter area and storage. This configuration excels for serious home chefs but requires adequate space—at least twelve by twelve feet—to prevent feeling claustrophobic.
Use the peninsula for seating, a beverage station, or a baking zone with specialized storage for mixers and baking sheets, while maintaining the primary cooking zones along the three main walls.
10. Asymmetric Layout for Awkward Spaces
Irregular room shapes demand creative layouts that break traditional rules while maintaining functionality. In L-shaped rooms, extend one leg longer than the other to accommodate a full pantry or appliance garage at the end.
For spaces with angled walls, custom corner cabinets and diagonal base units maximize every inch while creating visual interest, and floating shelves installed at varying depths accommodate the angles while providing accessible storage.
11. Two-Island Configuration
Luxury kitchens with ample square footage benefit from dual islands that separate functions and accommodate multiple cooks effortlessly. Designate one island for cooking with the cooktop, prep sink, and immediate utensil storage, while the second serves as a baking station, homework zone, or bar area with a beverage fridge and wine storage.
Maintain at least forty-eight inches between islands for comfortable traffic flow, and consider making one island mobile on locking casters for ultimate flexibility.
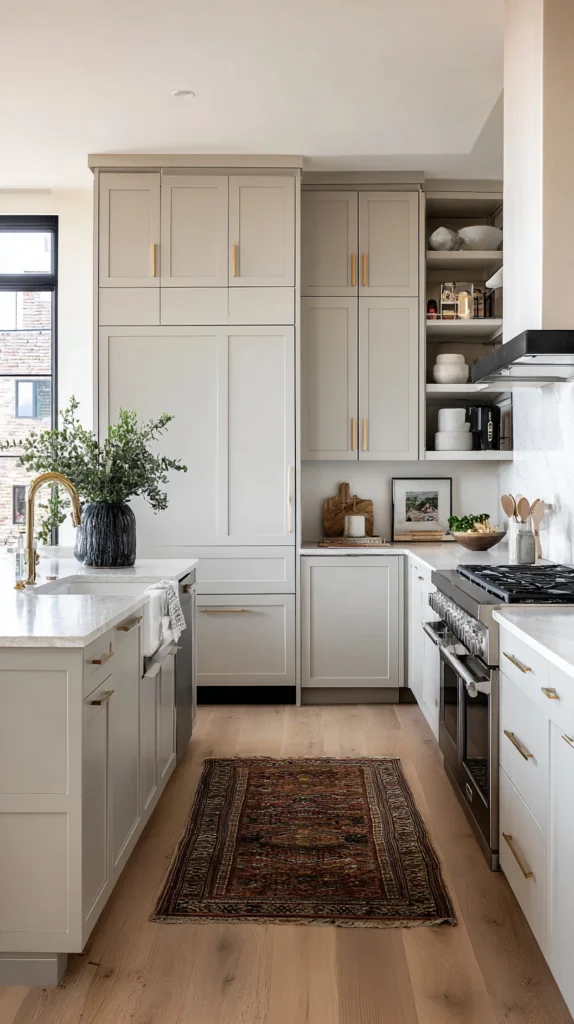
12. Vertical Storage Maximization
Transform any layout into a storage powerhouse by exploiting vertical space from floor to ceiling. Install upper cabinets that extend to the ceiling, using the top shelves for seasonal items or rarely used serving pieces accessed with a step stool.
Add open shelving between upper and lower cabinets at backsplash height for frequently accessed items like oils and spices, and incorporate floor-to-ceiling pantry towers at the end of cabinet runs or in narrow spaces too small for standard base cabinets.
13. Broken Plan Layout with Partial Walls
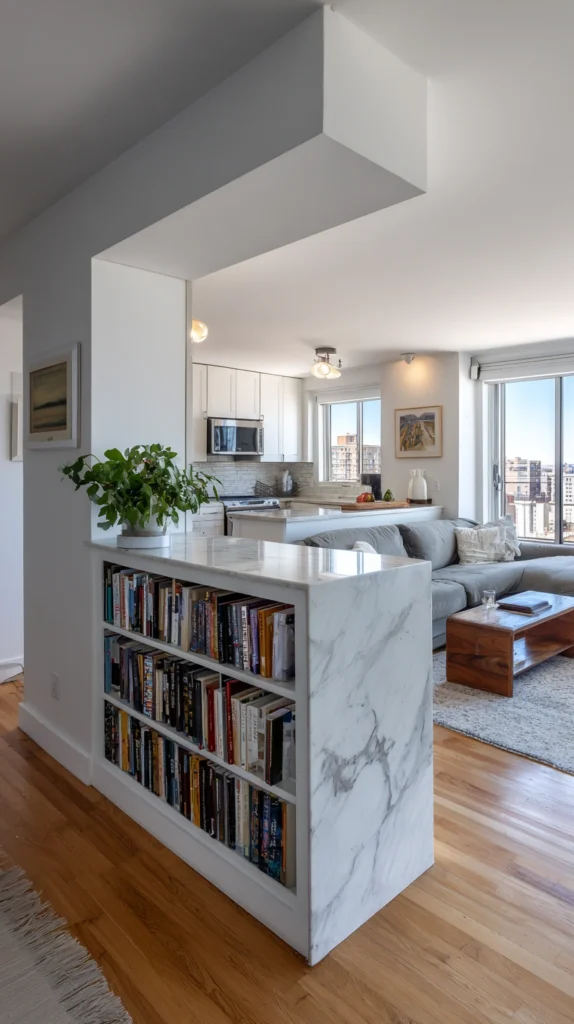
Create defined zones without fully closing off the kitchen by using partial walls, columns, or strategic cabinet placement. A half-wall with cabinets underneath separates the kitchen from adjacent spaces while maintaining sight lines and conversation flow.
This approach works beautifully in renovated older homes where removing load-bearing walls isn’t feasible, and the partial walls themselves become storage opportunities with cabinets facing both directions or open shelving displaying decorative items.
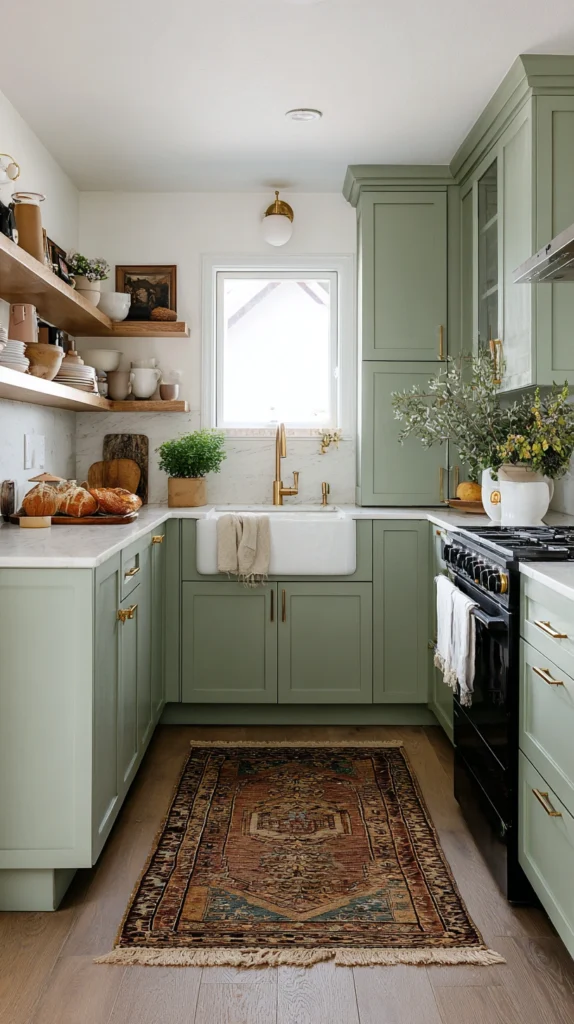
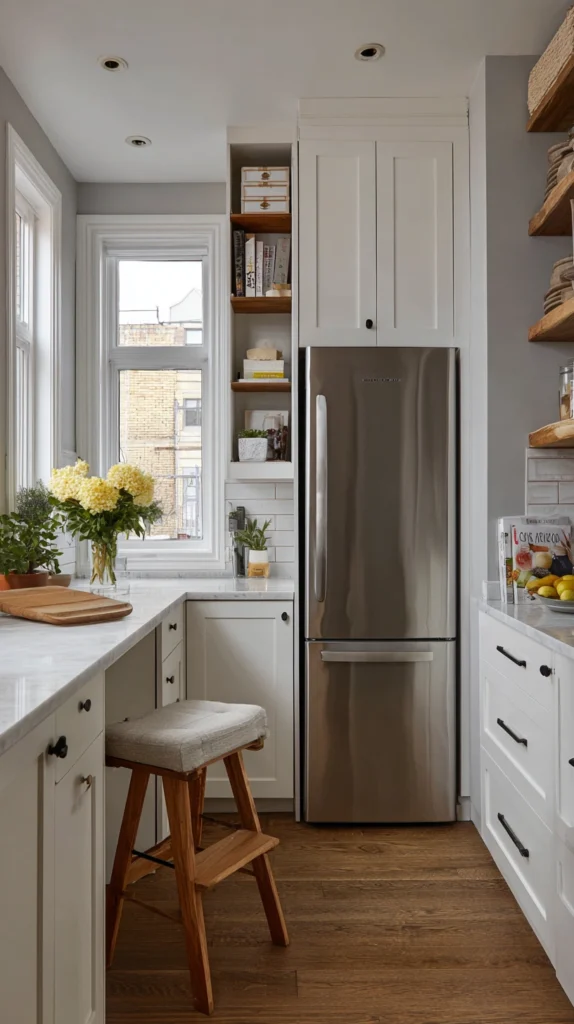
14. Compact L-Shape with Pantry Wall
For smaller kitchens, combine an L-shaped layout with a dedicated pantry wall opposite the corner to maximize storage without requiring a large footprint. The L-shape provides efficient workflow along two walls totaling just ten to twelve linear feet, while the pantry wall—a floor-to-ceiling cabinet system—houses all dry goods, small appliances, and bulk items.
Keep counters clear by storing appliances in the pantry with outlets inside for coffee makers and toasters that slide out when needed.
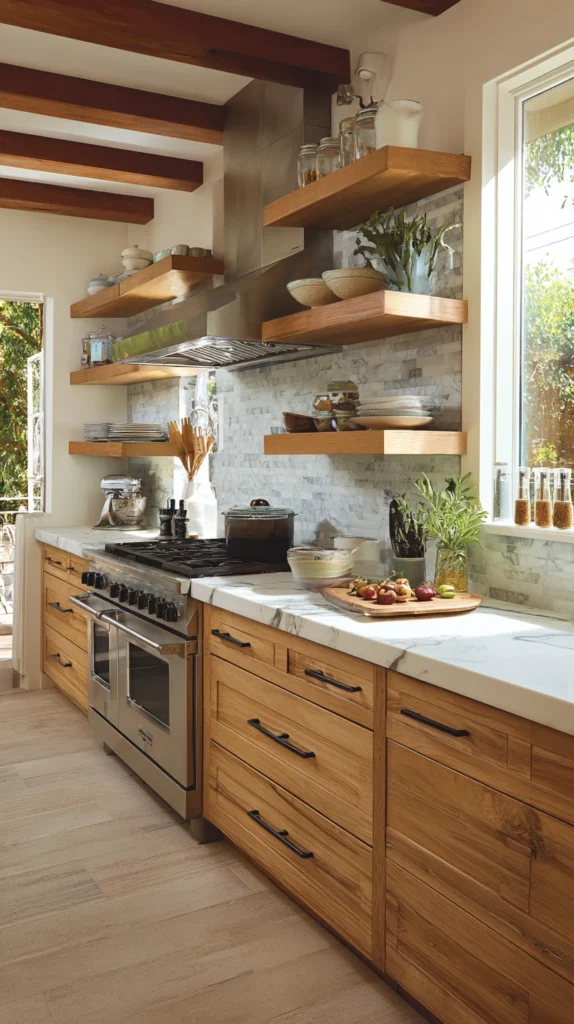
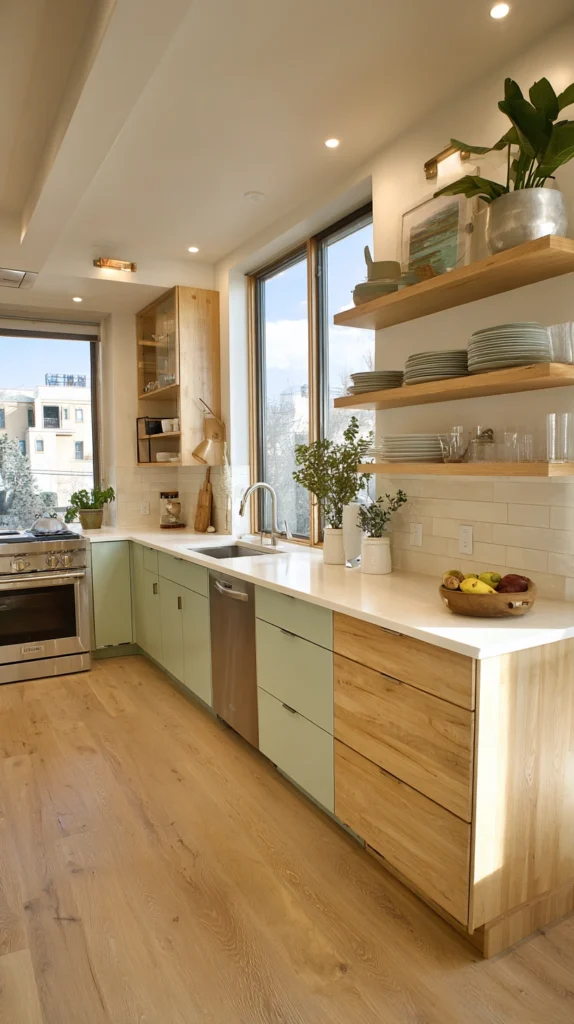
15. Open Shelving Integration
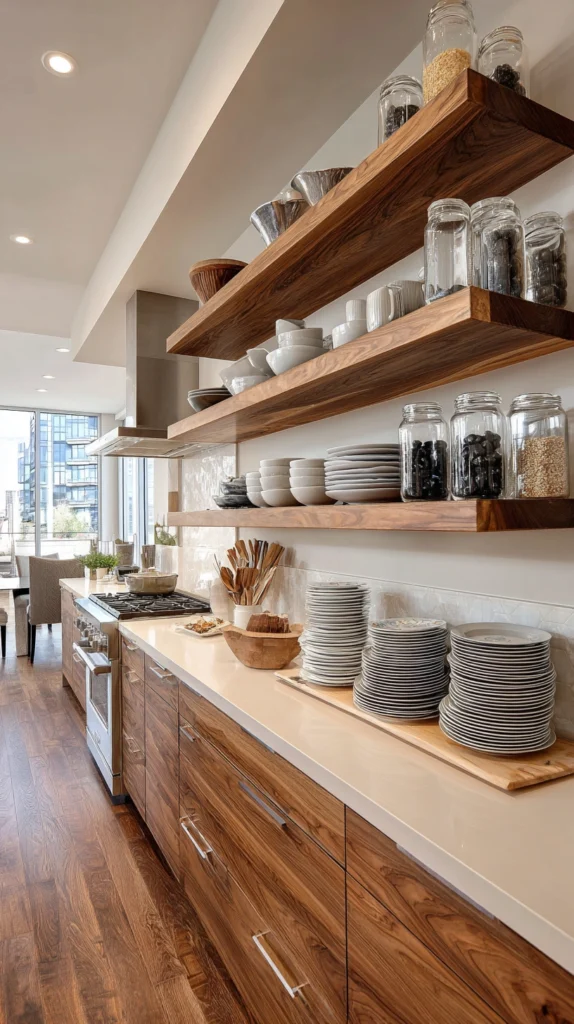
Replace some upper cabinets with open shelving to create an airy feel while maintaining easy access to frequently used items. Position open shelves near the dishwasher for everyday dishes, beside the stove for oils and spices, or above the prep area for mixing bowls and cutting boards.
This layout choice forces you to keep displayed items organized and attractive, naturally reducing clutter while making cooking more efficient since everything remains visible and within reach.
Optimizing the Prep Zone
The preparation area requires the most counter space in any kitchen layout—ideally thirty-six inches of uninterrupted surface adjacent to the sink. Position this zone between the refrigerator and stove so you can retrieve ingredients, prepare them, and transfer directly to cooking without crossing the kitchen repeatedly.
Store knives, cutting boards, mixing bowls, and food processors in this zone, using drawer dividers and pull-out organizers to keep everything accessible yet organized.
Creating an Efficient Cleanup Zone
The cleanup zone centers on the sink and dishwasher, ideally positioned with eighteen inches of counter space on both sides for dirty and clean dish staging.
Place the dishwasher to the side of the sink that feels most natural based on your dominant hand—right-handed people typically prefer it on the left of the sink. Store dish soap, sponges, and cleaning supplies under the sink using pull-out organizers, and position trash and recycling bins in the adjacent cabinet for easy access while washing dishes.
Designing the Cooking Zone
The cooking zone encompasses the stove, oven, and immediate surrounding counter space where hot pots land and plated dishes await serving. Allocate at least fifteen inches of heat-resistant counter space on one side of the stove for resting hot pans safely.
Store pots, pans, cooking utensils, and pot holders in base cabinets or deep drawers flanking the stove, and install a pot rack above the island or stove if ceiling height allows for additional accessible storage.
Maximizing Corner Cabinet Storage
Corner cabinets notoriously waste space, but modern solutions make them highly functional storage areas worth incorporating into your layout. Lazy Susan systems work well for dry goods and spices, while blind corner pull-out systems bring contents to you without requiring you to crawl inside.
LeMans corner units swing out in a graceful arc, presenting items stored deep in the corner, and diagonal corner sinks eliminate the cabinet entirely while creating unique visual interest and efficient use of the angled space.
Incorporating Appliance Garages
Appliance garages hide small appliances behind cabinet doors, keeping counters clear while maintaining easy access to frequently used items. Position these at counter height in corners or along backsplashes where they don’t interrupt primary work zones, and ensure they include electrical outlets inside so appliances remain plugged in and ready.
Tambour doors that roll up or pocket doors that slide into the cabinet work better than traditional hinged doors in tight spaces, and lift-up platforms bring heavy mixers to working height effortlessly.
Planning for Pantry Storage
Dedicated pantry space dramatically improves kitchen functionality regardless of overall layout size or style. Walk-in pantries offer maximum storage but require significant square footage—consider placing them adjacent to the kitchen with a doorway rather than consuming precious kitchen space.
Tall pantry cabinets fit beside refrigerators or at the end of cabinet runs, providing nearly equivalent storage in a compact footprint, and pull-out pantry systems installed in narrow spaces between appliances, utilizing every inch while keeping contents visible and accessible.
Designing for Multiple Cooks
Kitchens that accommodate multiple cooks simultaneously require thoughtful layout planning to prevent bottlenecks and conflicts. Create separate work zones with their own access to key resources—perhaps two sinks, dual dishwashers, or a prep sink on the island complementing the main cleanup sink. Ensure adequate aisle width of at least forty-eight inches in high-traffic areas so people can pass comfortably, and consider installing the cooktop and wall ovens in separate locations so baking and stovetop cooking happen independently.
Integrating Technology and Outlets
Modern kitchens require abundant electrical outlets positioned thoughtfully throughout the layout for appliances, charging devices, and task lighting. Install outlets every four feet along backsplashes at standard height, add them inside appliance garages and pantry cabinets, and consider pop-up outlets in islands and peninsulas that remain hidden when not in use.
Under-cabinet outlets keep counters uncluttered while powering task lighting and frequently used appliances, and USB charging ports integrated into outlet covers accommodate modern devices without requiring adapters.
Lighting Each Zone Effectively
Proper lighting transforms kitchen functionality by illuminating work surfaces where you need visibility most. Layer three types of lighting—ambient ceiling fixtures for overall illumination, task lighting under cabinets and over islands for prep and cooking zones, and accent lighting inside glass-front cabinets or above shelving for visual interest.
Install lights on separate switches or dimmers to adjust lighting levels throughout the day, and ensure task lighting doesn’t create shadows by positioning fixtures between your head and the work surface.
Traffic Flow Considerations
Analyze how people move through and within your kitchen to identify potential bottlenecks in your layout. The primary pathway through the kitchen should remain clear of the work triangle, allowing traffic to bypass cooks rather than interrupt them.
If your kitchen serves as a thoroughfare to outdoor spaces or other rooms, position the walkway along the perimeter rather than through the center, and consider using islands or peninsulas to subtly direct traffic flow around work zones without creating physical barriers.
Conclusion
The ideal kitchen layout balances efficient workflow with abundant storage, creating a space that functions beautifully whether you’re preparing a quick weeknight dinner or hosting a holiday feast.
By understanding how you actually use your kitchen—which tasks you perform most frequently, how many people cook simultaneously, and what items you need most accessible—you can select and customize a layout that serves your specific needs perfectly.
These fifteen layout ideas provide frameworks adaptable to virtually any space, from compact urban apartments to sprawling suburban homes. The key lies in applying core principles of zone planning, workflow optimization, and storage maximization to your particular circumstances.
Whether you’re planning a complete renovation or simply reorganizing existing cabinets more effectively, focusing on layout fundamentals will yield a kitchen that makes cooking more enjoyable and efficient for years to come.