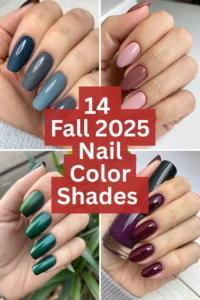
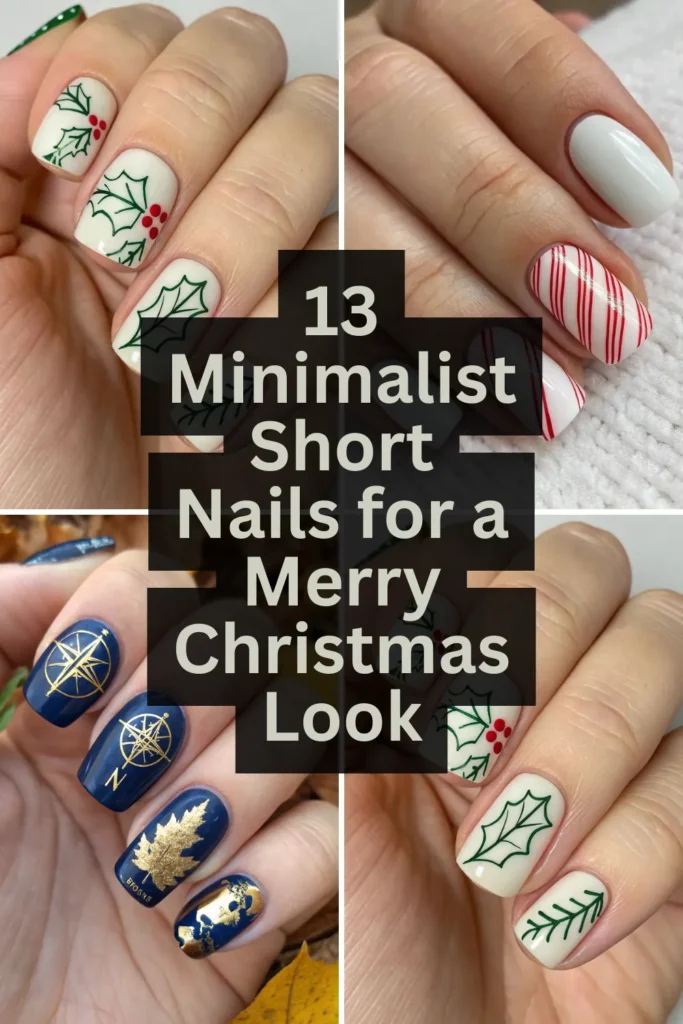
13 Minimalist Short Nails for a Merry Christmas Look
Christmas nail art doesn’t have to mean over-the-top designs with bells, whistles, and every color of the rainbow. Sometimes the most beautiful holiday looks are the simplest ones, especially when you’re working with shorter nails.
Minimalist Christmas nails are perfect for anyone who wants to feel festive without sacrificing elegance or practicality.
Single Gold Line Down the Center
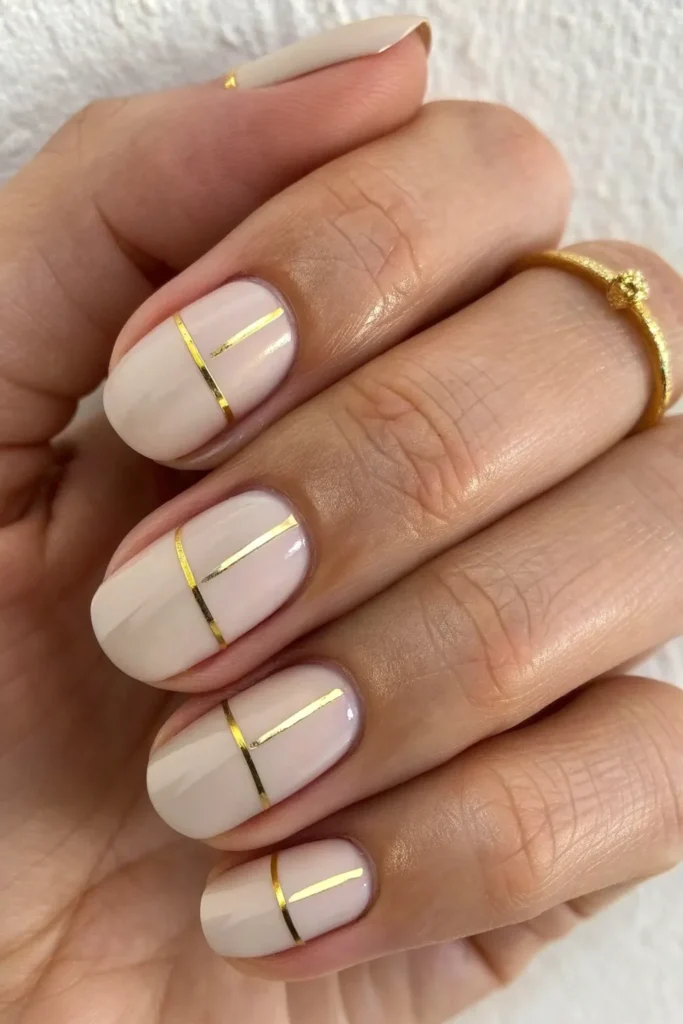
A thin gold line running vertically down the center of each nail creates instant elegance with minimal effort. This simple design works beautifully on short nails and adds just the right amount of holiday sparkle.
Use a thin striping brush or nail art pen for the cleanest application. Start at the base of your nail and draw the line in one smooth motion toward the tip. If your hand isn’t super steady, you can use striping tape as a guide – just remove it while the polish is still slightly wet for crisp edges.
This design works with any base color, but it looks especially stunning over nude, white, or deep jewel tones. The single line creates the illusion of longer nails while keeping the overall look sophisticated and modern. It’s perfect for office holiday parties or any time you want festive nails that won’t interfere with typing or daily tasks.
Tiny White Dots on Deep Green
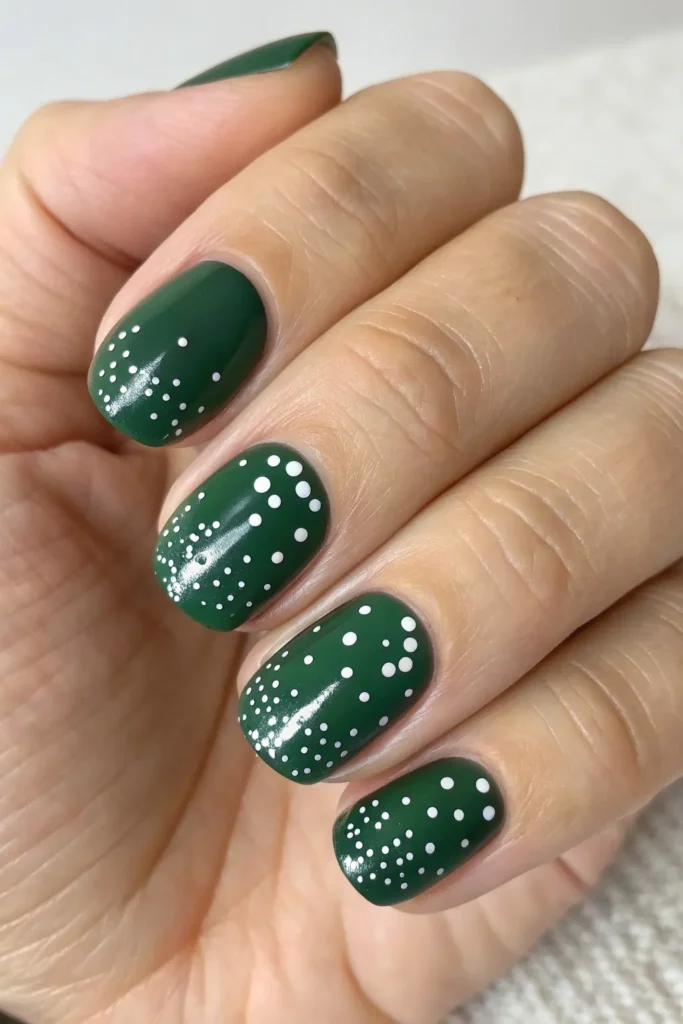
Sometimes the most impactful designs are the simplest ones. Tiny white polka dots scattered across a rich forest green base create a subtle nod to Christmas without screaming “holiday nail art.”
Use a dotting tool or the tip of a bobby pin to create perfectly round dots. Don’t worry about making them uniform in size or spacing – slightly irregular dots actually look more organic and charming. Start with larger dots and fill in with smaller ones for visual interest.
The key to making this design work on short nails is restraint. Too many dots can make your nails look busy and cluttered. Aim for about 5-7 dots per nail depending on your nail size, and vary the placement so it doesn’t look too structured or geometric.
Subtle Red French Tips
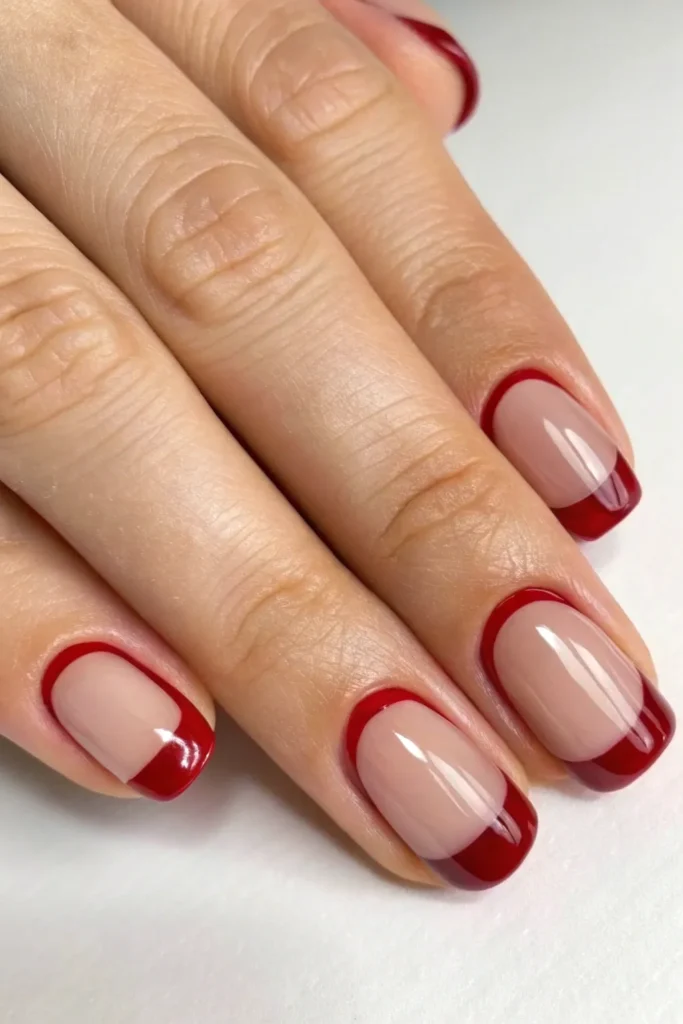
Give the classic French manicure a holiday twist by using a deep red instead of white for the tips. This look is festive but professional, making it perfect for anyone who needs to maintain a polished appearance during the holidays.
For the cleanest application on short nails, use French tip guides or nail tape to create a perfect curve. Apply your red polish in thin layers rather than trying to get full coverage in one coat. This prevents bubbling and gives you a smoother, more professional-looking finish.
Choose a red that complements your skin tone – cooler reds work better on cool undertones, while warmer reds flatter warm undertones. The beauty of this design is its versatility – it looks appropriate in boardrooms and at holiday parties alike.
Single Rhinestone Accent
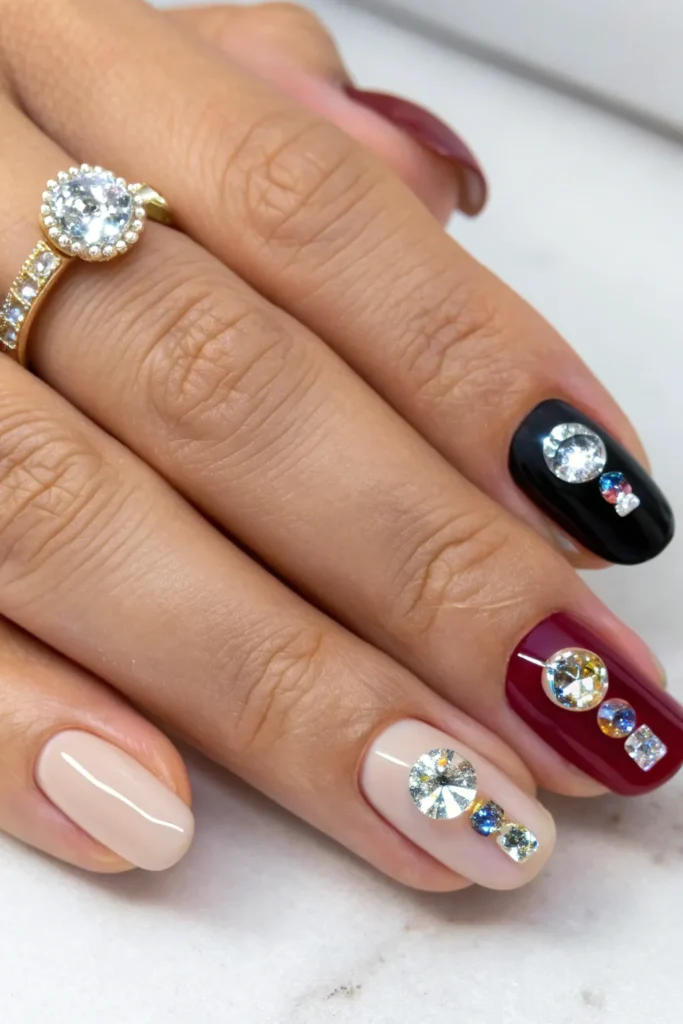
One perfectly placed rhinestone on each nail creates instant glamour without overwhelming short nails. This minimalist approach to nail bling is sophisticated and catches light beautifully throughout the day.
Choose high-quality rhinestones that won’t lose their sparkle over time. Apply them using nail glue or a tacky base coat, positioning them about one-third of the way down from your cuticle for the most flattering placement. Press gently but firmly to ensure good adhesion.
The single rhinestone placement creates a focal point that draws the eye and makes your nails look more expensive than they actually are. This design works with any base color but looks especially elegant over nude, black, or deep jewel tones.
Minimalist Holly Leaf Outline
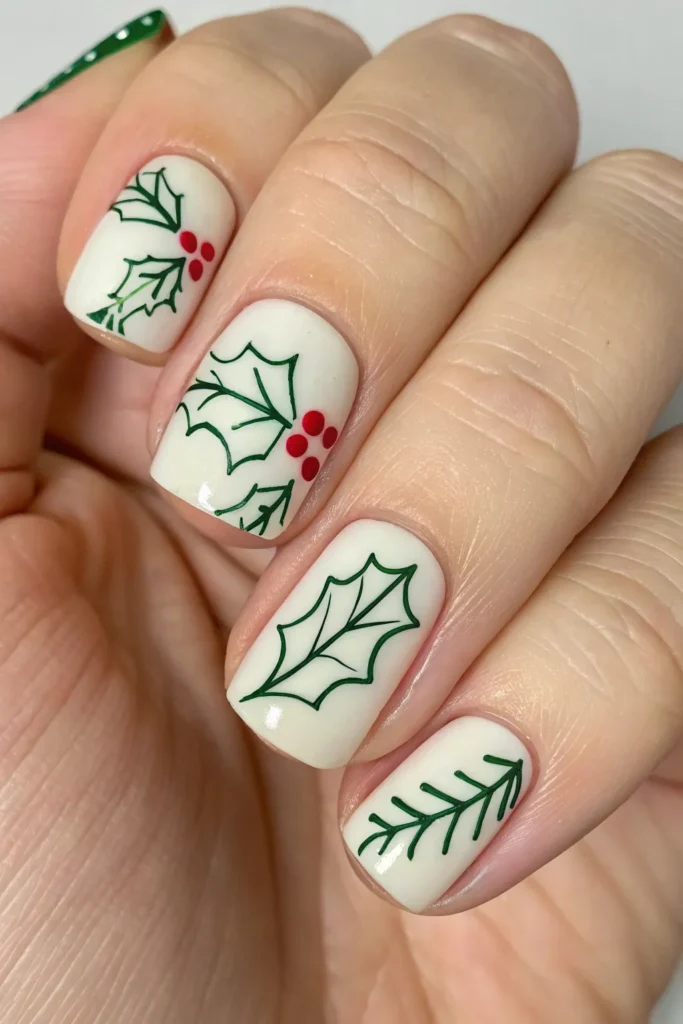
A simple outline of a holly leaf on one or two accent nails gives you that Christmas vibe without going overboard. This delicate design is perfect for short nails since it doesn’t require a lot of space to look impactful.
Use a thin brush to create the holly leaf outline with dark green polish. Don’t fill in the entire leaf – just the outline is enough to convey the holiday theme. Add two small red dots for berries to complete the look, but keep it simple and small-scale.
This design works best when you limit it to one or two accent nails rather than doing it on every finger. The restraint makes it look intentional and sophisticated rather than overdone. Choose your ring finger and thumb for the most balanced look.
Candy Cane Stripe Accent Nail
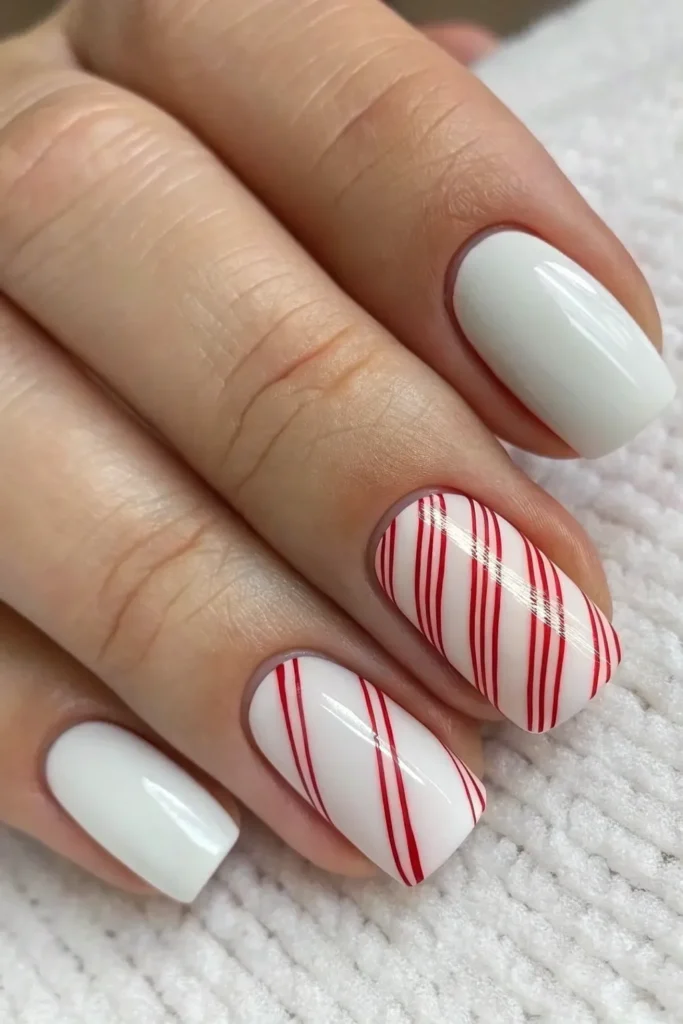
One accent nail with delicate candy cane stripes while the rest stay in a solid neutral creates the perfect balance of festive and minimalist. This approach gives you holiday flair without overwhelming your overall look.
Use striping tape to create clean, even diagonal lines on your accent nail. Apply white as your base, then add thin red or pink stripes at an angle. Remove the tape while the polish is still slightly wet to prevent peeling and ensure crisp lines.
The key to making this work on short nails is keeping the stripes thin and well-spaced. Too many thick stripes can make a short nail look cluttered. Aim for 3-4 thin stripes maximum, and make sure they’re evenly spaced for the best visual impact.
Subtle Glitter Gradient on Tips
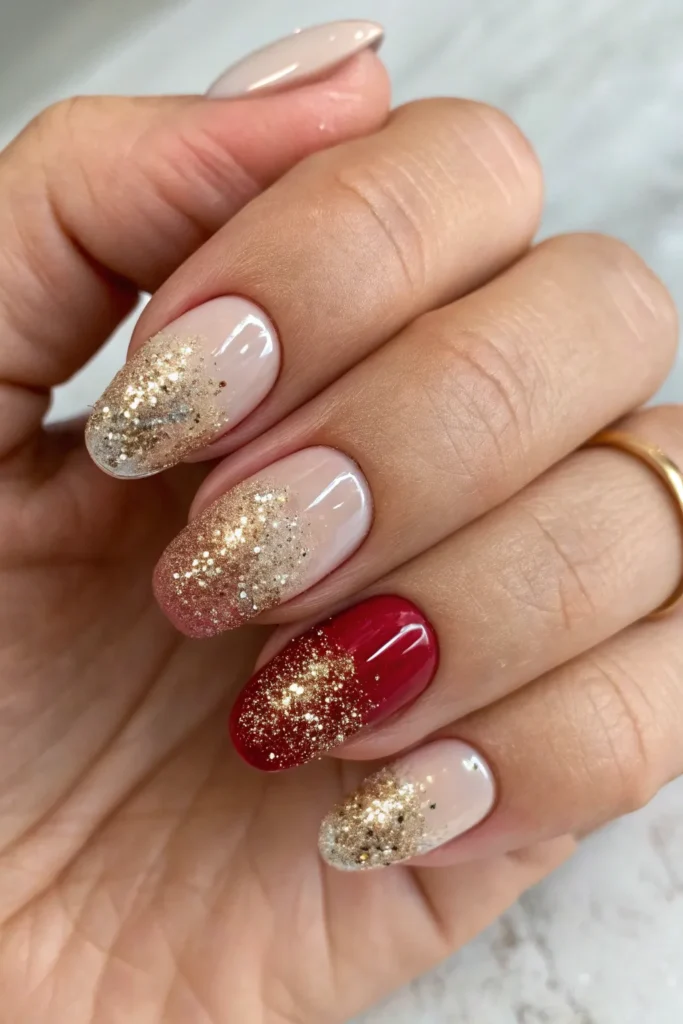
A soft glitter gradient that starts light at the base and concentrates at the tips creates sparkle without overwhelming short nails. This technique adds festive shine while maintaining an elegant, understated look.
Use a makeup sponge to dab glitter polish from the tips toward the middle of your nails, building up the intensity gradually. Work in light layers to avoid a bumpy texture, and blend while the base coat is still slightly tacky for seamless color transitions.
Choose glitter that’s fine rather than chunky for the most sophisticated look. Gold, silver, or champagne glitter works beautifully over nude or light pink bases, while red glitter looks stunning over white or cream backgrounds.
Single Snowflake on Ring Finger
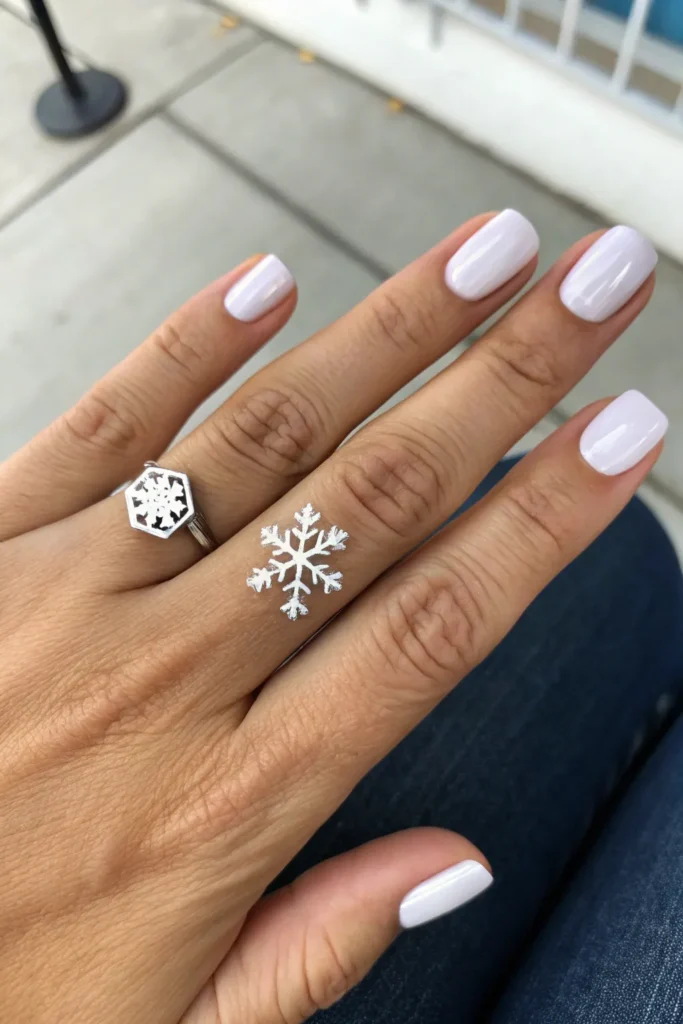
One delicate snowflake painted on your ring finger while the other nails stay in a solid winter color creates the perfect minimalist holiday accent. This design is subtle enough for conservative workplaces but still feels festive.
Use a thin detail brush to paint small snowflake shapes with white or silver polish. Don’t worry about making them perfectly symmetrical – real snowflakes are all unique, and your nail art should be too. Keep the snowflakes small and delicate to suit short nails.
Practice drawing snowflakes on paper first if you’re not confident with the design. Start with a simple six-pointed star and add small lines and dots to create the classic snowflake shape. The imperfections actually add to the charm and make it look more handcrafted.
Matte Burgundy with Glossy Tips
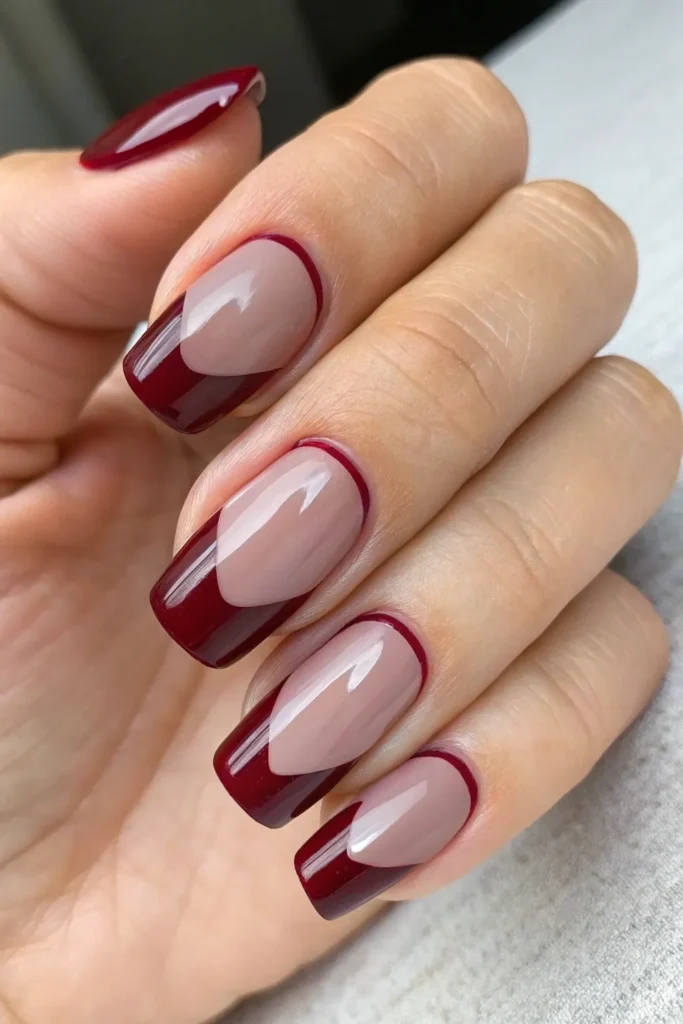
Combine matte and glossy finishes for a modern twist on the classic French manicure. Use matte burgundy for the main nail and add glossy tips in the same color for subtle contrast and visual interest.
Apply your burgundy base in thin, even coats and let it dry completely before adding your matte top coat. Use tape or French tip guides to section off the tips, then apply glossy top coat only to those areas. The contrast between finishes creates depth and dimension.
This technique works because it’s unexpected – most people are used to seeing color contrasts in French manicures, not texture contrasts. The result is sophisticated and modern while still having that holiday burgundy color.
Tiny Gold Stars Scattered Randomly
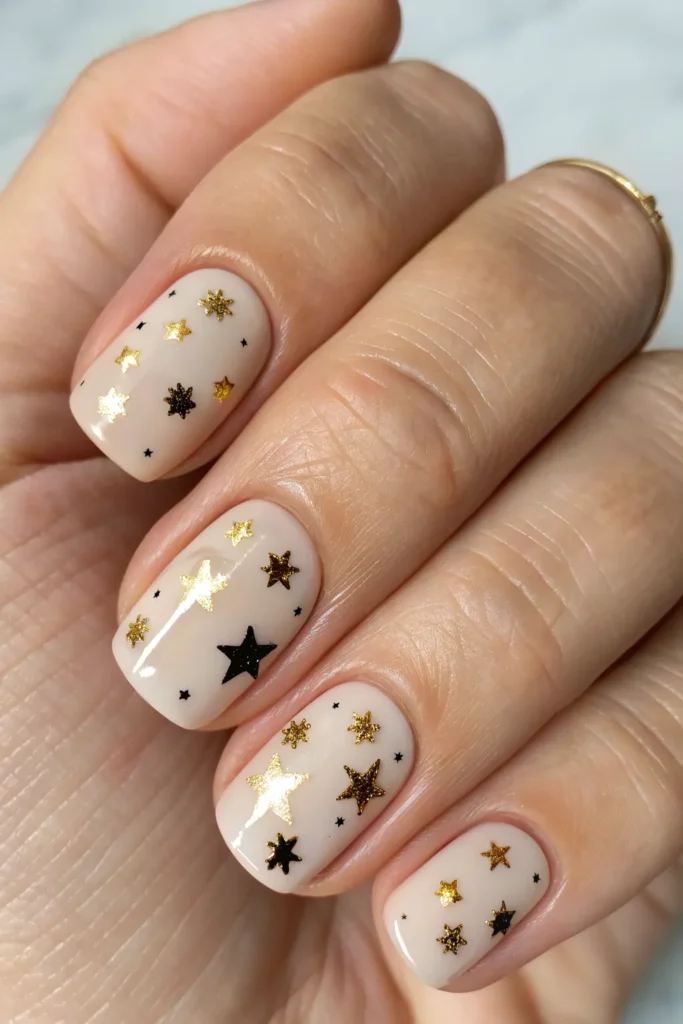
A few small gold stars randomly placed across neutral or dark-colored nails creates a celestial winter look that’s both minimalist and magical. This design works particularly well during the holiday season when we’re all looking up at winter skies.
Use a small detail brush or dotting tool to create star shapes with gold polish. Vary the sizes and don’t make them too perfect – slightly irregular stars look more natural and handcrafted. Place them randomly rather than in a pattern for the most organic look.
The key to this design is restraint – 3-4 small stars per nail is plenty. Too many stars can make your nails look busy, especially on shorter lengths. The scattered placement should look effortless and natural, like stars in the night sky.
Nude Base with White Half-Moon

Create a reverse French manicure using a nude base with white half-moon shapes at the cuticle. This clean, modern look is perfect for anyone who wants something different but still minimalist and professional.
Use half-moon stencils or tape to create the perfect curve at your cuticle line. Apply the white polish carefully, removing the stencil while the polish is still wet for the cleanest lines. This technique takes practice, so don’t be discouraged if it’s not perfect on your first try.
This design elongates short nails by drawing the eye toward the cuticle area. It’s also incredibly versatile – you can use any color combination that appeals to you, though nude and white is classic and universally flattering.
Simple Vertical Ombre
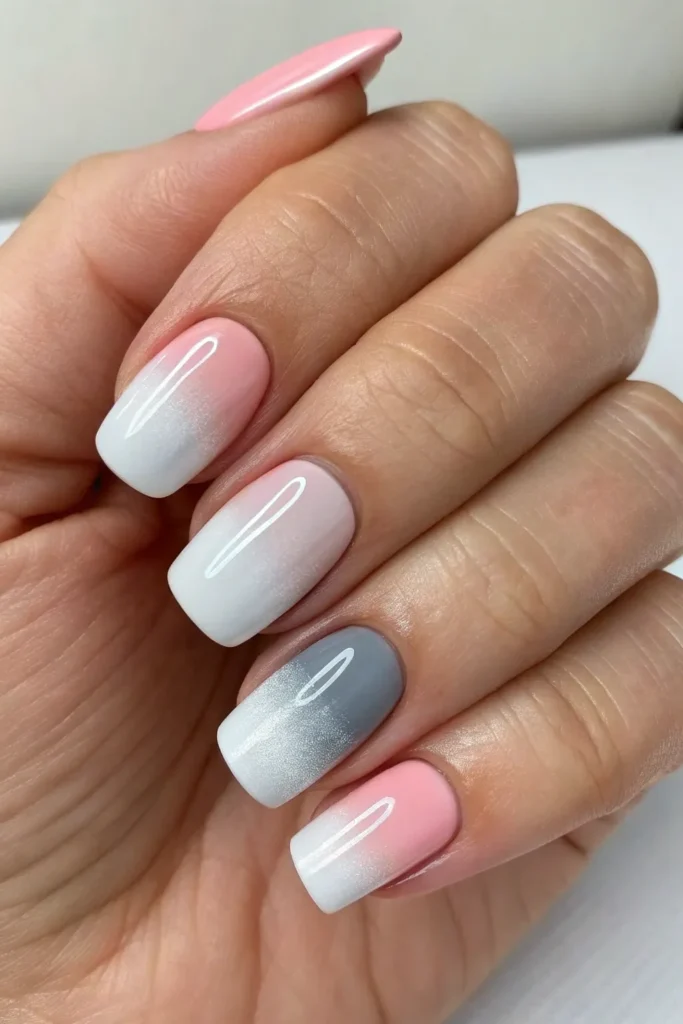
A subtle vertical ombre using two complementary colors creates depth and interest without overwhelming short nails. Try soft pink to white, or light gray to silver for a winter-appropriate gradient.
Use a makeup sponge to blend the colors while they’re still wet, working from one side of the nail to the other. Start with the lighter color as your base, then add the darker color to one side of the sponge and blend across the nail surface.
The vertical direction of this ombre technique is particularly flattering on short nails because it creates the illusion of length. The gradient should be subtle and seamless – if you can clearly see where one color ends and the other begins, keep blending.
Classic Red with Matte Finish
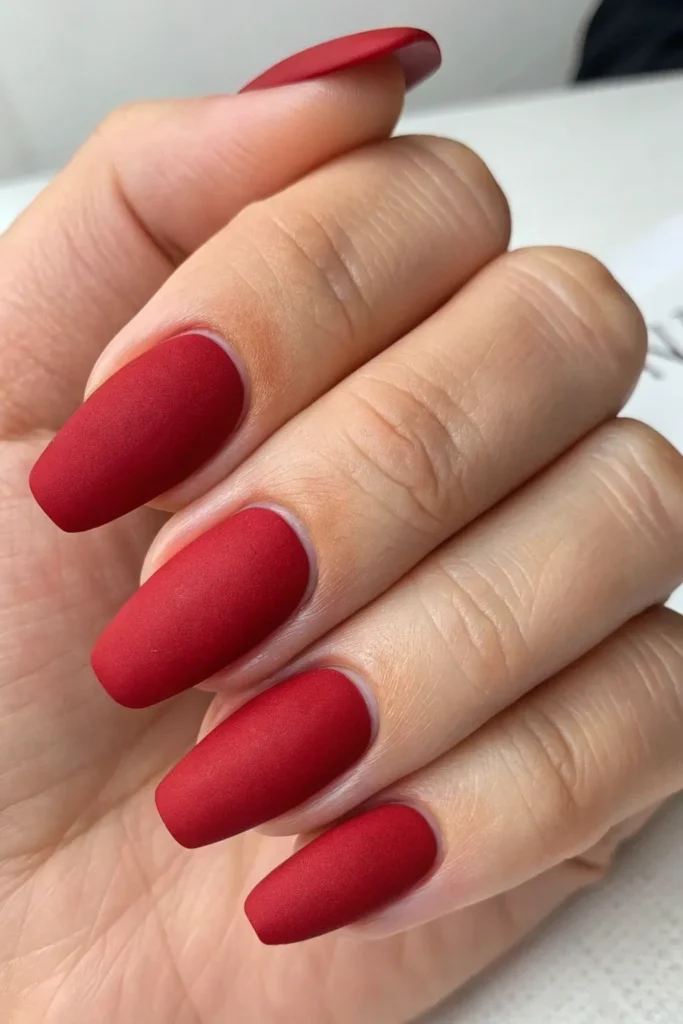
Sometimes the most minimalist approach is simply choosing one beautiful color and perfecting the application. Classic red with a matte finish feels both timeless and modern, and it’s absolutely perfect for the holiday season.
Choose a red that flatters your skin tone and apply it in thin, even layers for the smoothest finish. Matte colors show imperfections more readily than glossy ones, so take extra care with your application technique. Clean up any mistakes with a small brush dipped in acetone.
The matte finish gives classic red a contemporary edge that feels fresh and current. It’s also practical since matte finishes tend to show fewer fingerprints and everyday wear than glossy polishes, making your manicure last longer.
Short nails and minimalist designs are a match made in heaven, especially during the busy holiday season. These 13 looks prove that you don’t need long nails or complicated nail art to feel festive and put-together. The beauty of minimalist Christmas nails is that they’re elegant enough for any occasion while still giving you that holiday spirit you’re craving. Plus, they’re much easier to maintain when you’re wrapping presents, cooking holiday meals, and juggling all those seasonal activities.