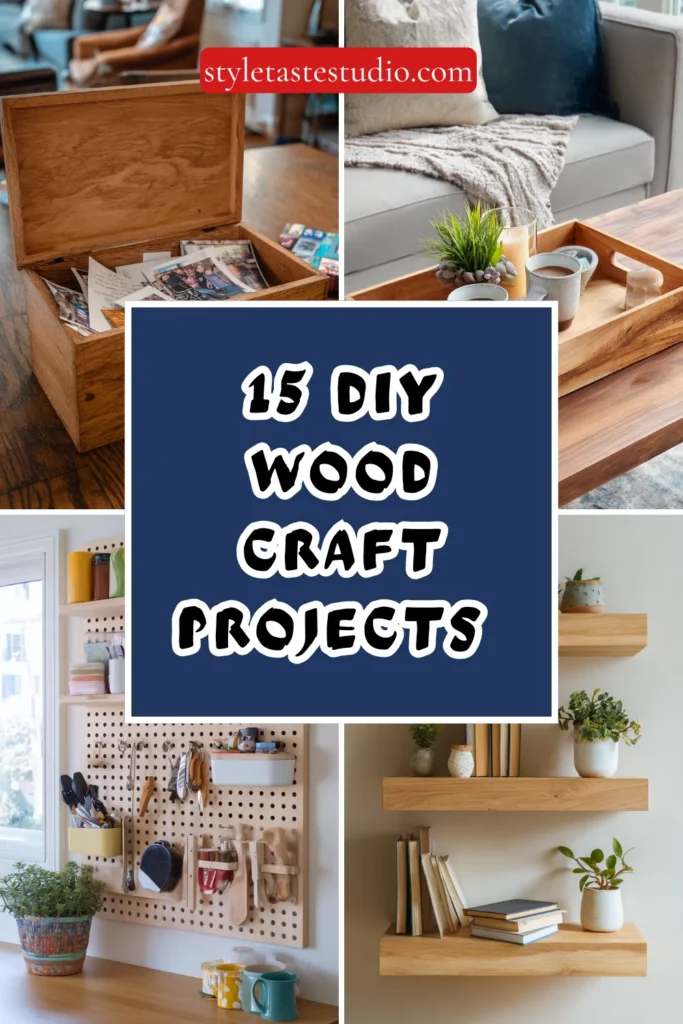
15 DIY Wood Craft Projects You Can Actually Make at Home
Wood is one of those materials that never goes out of style. It is warm, versatile, endlessly workable, and the finished results always look more expensive and considered than the effort and cost involved. Whether you have a fully equipped workshop or just a small kitchen table and a few basic tools, there is a wood craft project here for you.
The best thing about DIY wood projects is the satisfaction they deliver. There is something genuinely rewarding about making something with your hands — something real and tangible that you can use, display, or give as a gift. No screen time, no algorithms, just you, some wood, and a finished piece you are genuinely proud of.
Here are 15 DIY wood craft projects ranging from beginner-friendly to impressively ambitious — all completely achievable at home.
1. Floating Wooden Wall Shelves
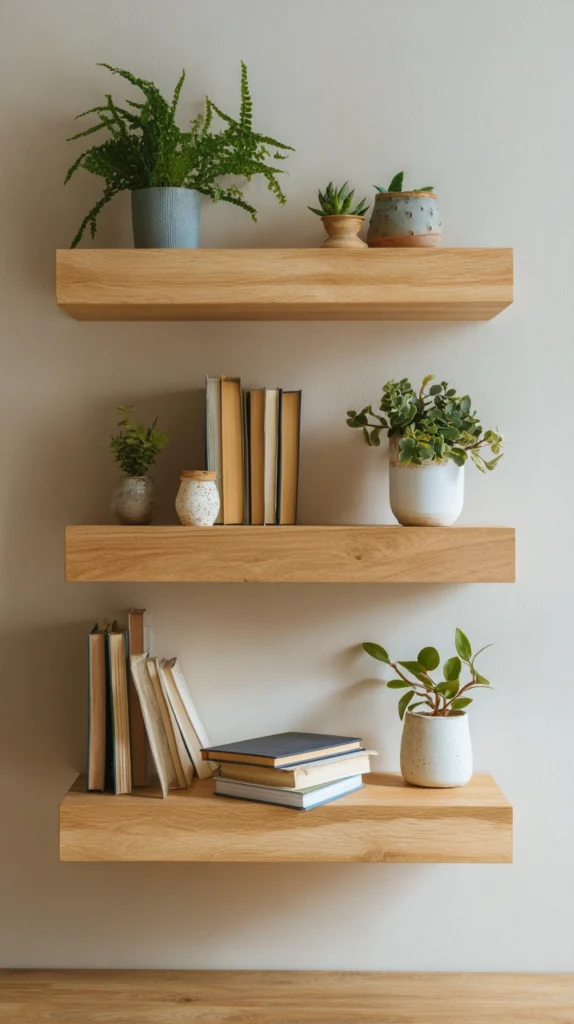
Floating shelves are one of the most satisfying first wood projects you can take on. The result looks polished and professional, they are genuinely useful in any room of the house, and the basic construction requires nothing more than a plank of timber, a saw, sandpaper, and a few wall fixings.
Cut your timber to the desired length, sand all edges smooth, finish with wood stain or paint in your chosen color, and mount with concealed brackets for that clean, floating look. A set of three shelves at varying lengths on a single wall creates a display feature that looks like it came from a high-end interiors shop.
Pro Tip: Always sand with the grain of the wood rather than against it, and work through progressively finer grits — starting at 80, moving to 120, finishing at 220 — for the smoothest possible surface before applying any stain or finish. Rushing the sanding stage is the most common mistake beginners make.
2. Wooden Serving Board with Leather Strap Handle

A handmade wooden serving board is one of those projects that looks impressive, makes a wonderful gift, and takes just a few hours from start to finish. All you need is a piece of hardwood — walnut, oak, or maple all work beautifully — a jigsaw or band saw, sandpaper, and food-safe finishing oil.
Cut your board to shape, round off the edges and corners, sand progressively to a smooth finish, drill a small hole at one end, thread through a folded piece of leather cord, and finish the whole board with mineral oil or cutting board oil. The result is a serving board that looks artisan-made and costs a fraction of what you would pay in a shop.
Pro Tip: Always use a food-safe finish on any wood project that will come into contact with food. Mineral oil, beeswax finish, or specially formulated cutting board oil are all excellent choices. Avoid varnishes, lacquers, or standard wood stains — these are not designed for food contact and should never be used on serving boards or cutting boards.
3. Rustic Wooden Picture Frames
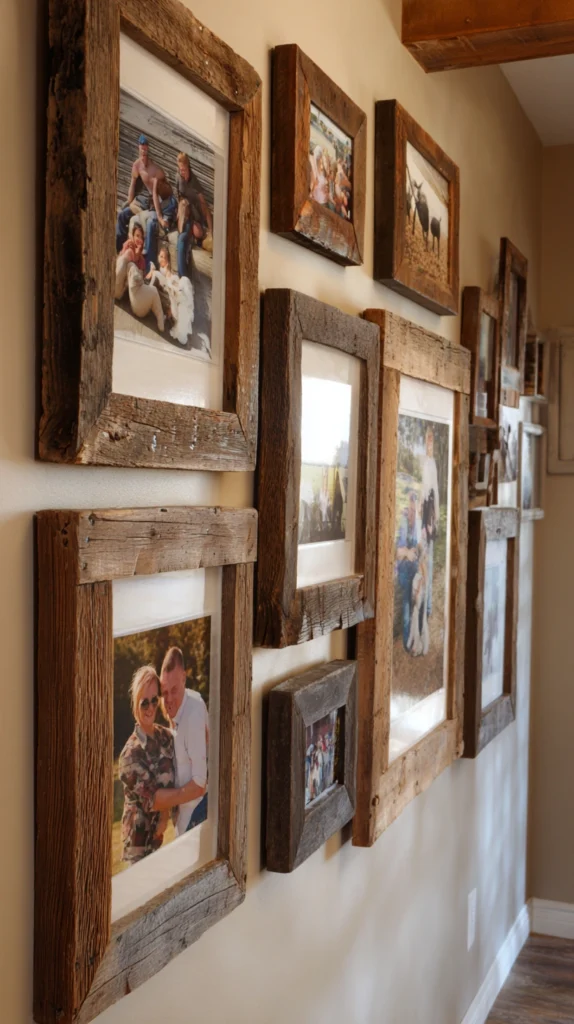
Making your own picture frames gives you complete control over the size, color, and finish — and the results are always more personal than anything you can buy ready-made. Reclaimed wood, rough-sawn timber, or even off-cuts from other projects all make beautiful rustic frames with real character.
Cut four pieces of timber at 45-degree angles at each end to create the classic mitred frame corners, sand lightly to keep the rustic texture, and join with wood glue and small finishing nails. Add a piece of glass or acrylic cut to size, a backing board, and hanging hardware — and you have a completely bespoke frame for a fraction of retail cost.
Pro Tip: For perfectly sharp mitre joints without a mitre saw, use a mitre box — an inexpensive plastic or wooden guide that holds your saw at exactly the right angle every time. It is one of the most useful and underrated tools in any beginner woodworker’s kit and costs very little.
4. Wooden Candle Holders
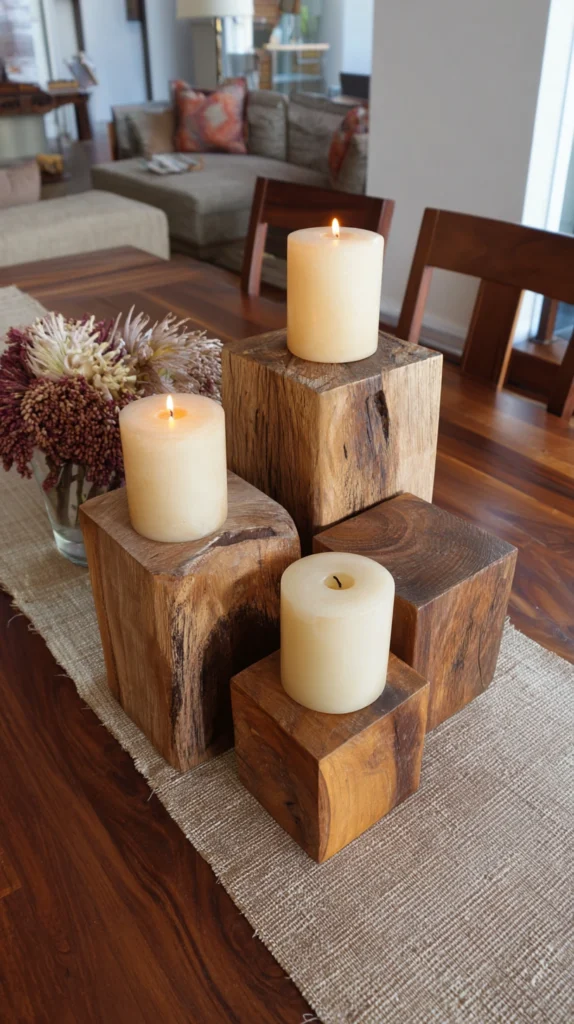
Wooden candle holders are one of the simplest and most beautiful wood craft projects you can make. A short section of a tree branch or a small wooden log, drilled with a spade bit to the right diameter for a tealight or pillar candle, is all it takes to create something that looks genuinely artisan and organic.
A set of three or five holders in varying heights grouped together on a dining table or mantelpiece creates a display that looks considered and expensive. Use branches from your own garden, source interesting pieces of driftwood, or buy small timber offcuts — the more natural character in the wood, the better the finished result.
Pro Tip: Always drill candle holder holes slightly deeper than the candle base — at least a centimeter deeper — so the candle sits securely and cannot tip sideways. Sand the top surface around the hole smooth to remove any rough wood fibers that could catch a spark, and never leave burning candles in wooden holders completely unattended.
5. DIY Wooden Herb Garden Planter Box
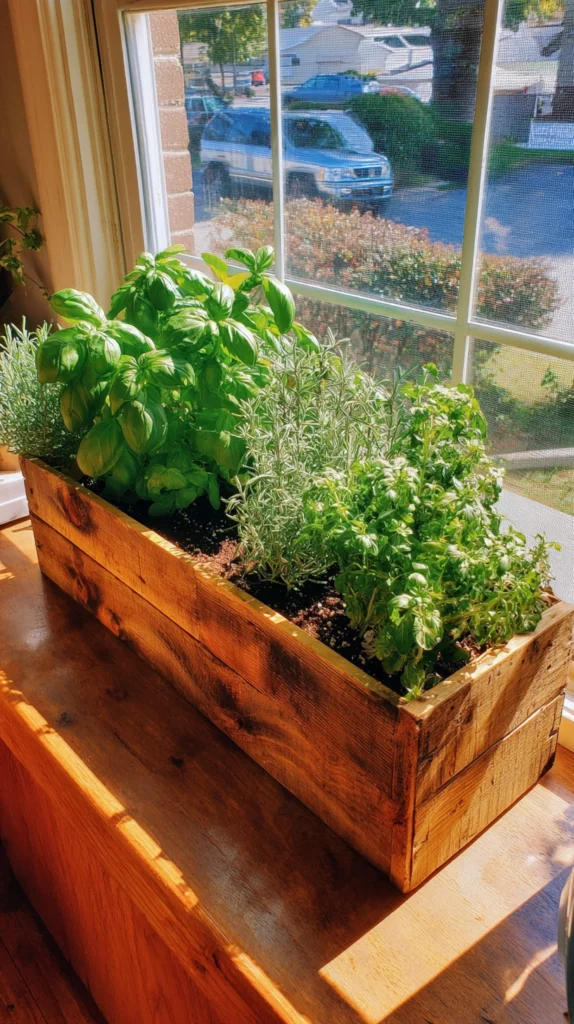
A simple rectangular planter box made from timber planks is a project that combines woodworking with gardening in the most satisfying way. It is straightforward to build, looks beautiful on a windowsill, balcony, or kitchen counter, and gives you a permanent home for fresh herbs that you can use every single day.
Cut your planks to size, assemble the box with screws and wood glue, drill drainage holes in the base, and finish with an exterior wood stain or a coat of chalk paint in your chosen color. Line the inside with plastic sheeting before filling with compost to extend the life of the timber significantly.
Pro Tip: Use pressure-treated timber or naturally rot-resistant wood like cedar or larch for any planter box that will live outdoors or be in regular contact with damp compost. Standard pine or softwood will deteriorate quickly in wet conditions, even with a painted finish, and the box will need replacing within a season or two.
6. Wooden Coat Hooks on a Plank
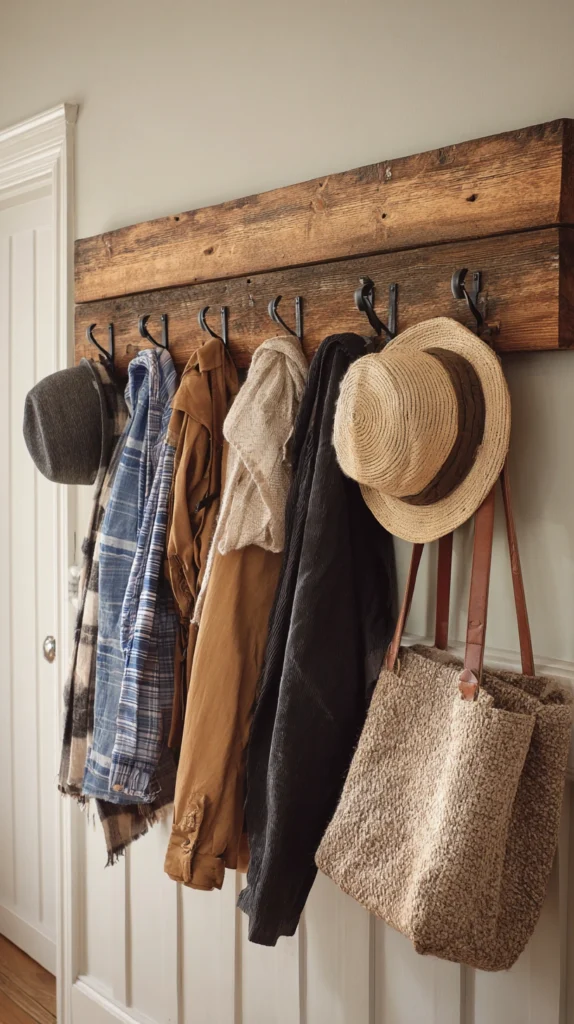
A row of hooks mounted on a beautifully finished piece of reclaimed or stained timber is one of the most practical and stylish DIY wood projects you can make for a hallway, bedroom, or bathroom. It is a weekend project that takes a couple of hours and delivers results that look like they came from a boutique interiors store.
Cut your timber plank to length, sand and finish it in your chosen stain or paint color, mark and drill pilot holes at even intervals, and mount your chosen hooks — brass, matte black, or ceramic all look wonderful on timber. Fix the whole piece to the wall with screws through the plank into wall studs for a secure, long-lasting finish.
Pro Tip: Space your hooks at least 15 to 20 centimeters apart to prevent coats and bags from bunching together on the rail. Mark each hook position with a pencil and use a spirit level before drilling to make sure the whole row sits perfectly straight — a slightly wonky hook rail is one of those things that is impossible to unsee once you notice it.
7. Wooden Tray with Handles
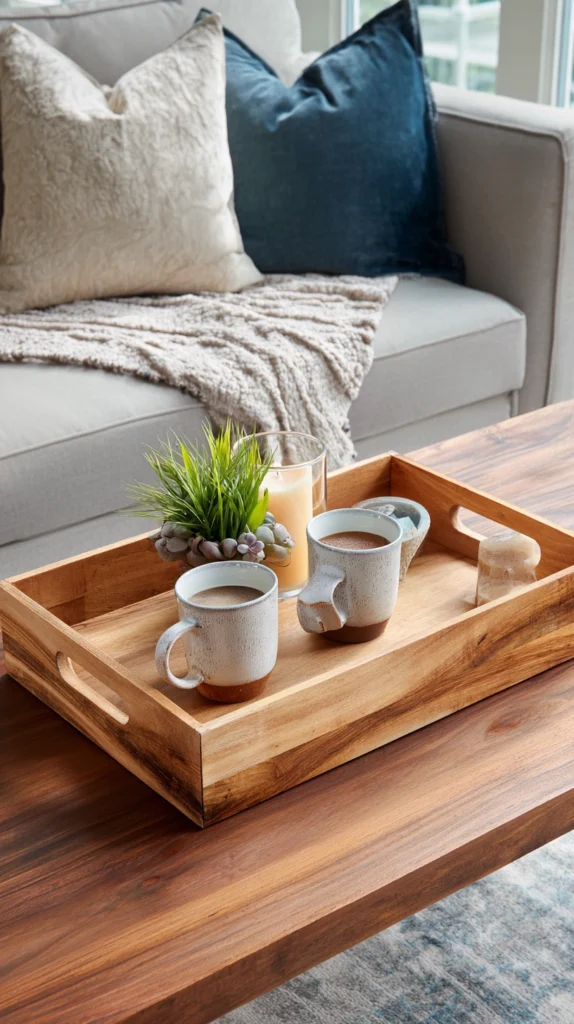
A handmade wooden tray is one of the most versatile DIY projects you can undertake. Use it to style a coffee table, serve breakfast in bed, organize a bathroom counter, or carry drinks in the garden. A well-made wooden tray is genuinely one of those pieces that gets used every single day.
The basic construction involves a flat base board with four side pieces glued and nailed in place. Drill circular holes at each end as handles, sand everything smooth, and finish with wood stain, paint, or natural oil. The result looks handcrafted and beautiful in a way that mass-produced trays simply never do.
Pro Tip: For handles that look more refined than a plain drilled hole, use a router to cut a smooth, rounded finger-pull groove along the inside of each short end instead. It takes a little more time but the finish is genuinely professional and elevates the whole piece significantly.
8. Wooden Lanterns
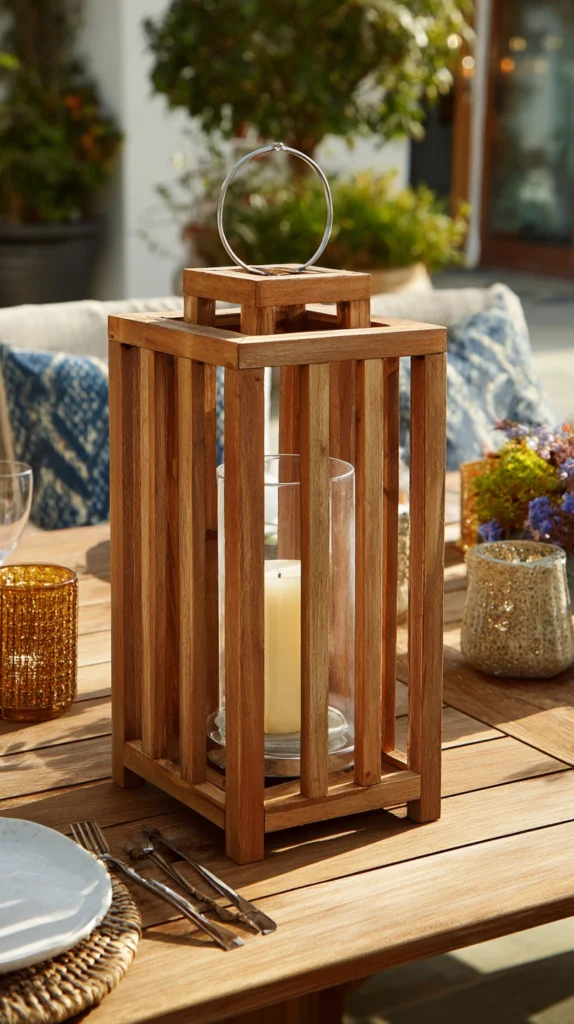
Wooden lanterns made from simple timber slats and a glass panel or hurricane vase insert are one of the most beautiful DIY wood projects for the home or garden. They look stunning on a dining table, a fireplace mantel, or a garden terrace and create the most beautiful warm glow when lit from inside.
The basic construction is four timber corner posts with horizontal slats glued between them, a base panel, and an open top to accommodate a glass vase or lantern insert. Finish in a dark walnut stain or matte black paint for maximum impact. The contrast between the dark timber and the warm candlelight inside is genuinely gorgeous.
Pro Tip: Cut all your timber slats to exactly the same length before assembly — even a millimeter of variation across a set of slats becomes very obvious in the finished lantern. A simple stop block clamped to your workbench or saw guide ensures every cut comes out identical without measuring each piece individually.
9. Crate Shelving Unit
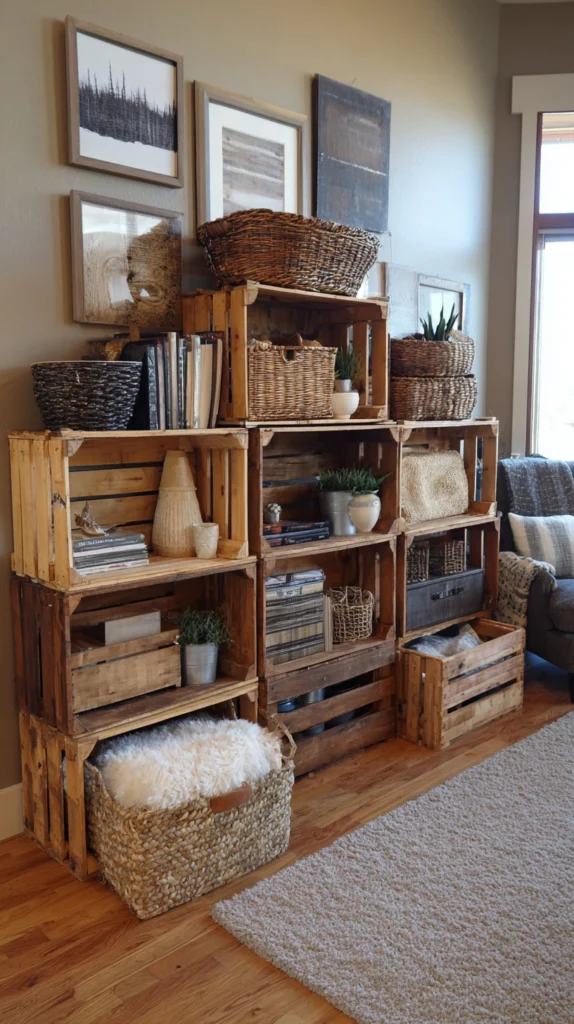
Wooden fruit crates or simple timber box crates stacked and fixed together make one of the most charming, affordable, and practical shelving units you can build without advanced woodworking skills. They work beautifully in a bedroom, living room, home office, or children’s room.
Sand the crates smooth, paint or stain them in a consistent color or a mix of complementary tones, and fix them together with screws through the adjoining panels. Mount the whole unit to the wall for safety and stability. The modular, asymmetric quality of stacked crates gives the finished unit a casual, creative energy that suits almost any interior.
Pro Tip: Fix the entire crate unit to the wall through a back batten rather than directly through the crates themselves. A horizontal timber batten screwed firmly into wall studs, with the crate unit then screwed to the batten, creates a much more secure and stable fixing than trying to anchor each individual crate separately.
10. Wooden Phone and Tablet Stand

A small wooden phone or tablet stand is one of the quickest and most satisfying woodworking projects you can complete in a single afternoon. It requires minimal materials — just a small piece of timber and a few cuts — and the result is both genuinely useful and beautiful on a desk, kitchen counter, or bedside table.
Cut a piece of timber at a slight angle to create the stand base, then cut a thin slot across the face to hold the phone or tablet upright. Sand everything smooth, finish with oil or wax, and the whole project takes less than an hour. It makes an excellent gift and looks far more considered than any plastic alternative.
Pro Tip: Cut the phone slot slightly wider than you think you need — about 12 to 15 millimeters — so the stand accommodates phones both with and without a protective case. A slot that only fits a naked phone is frustrating in daily use and limits the stand’s versatility significantly.
11. Wooden Pegboard Organizer
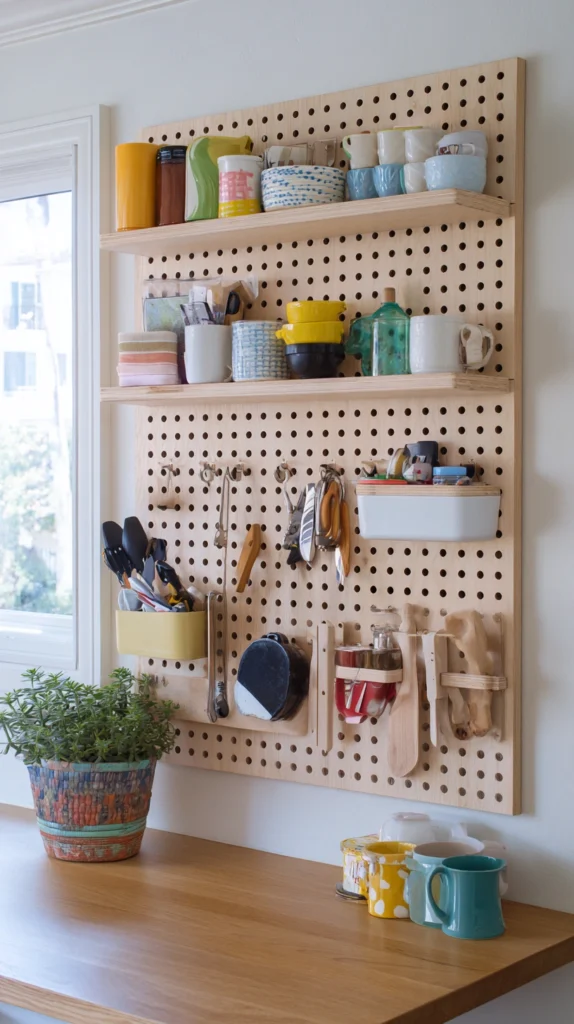
A wooden pegboard organizer is one of the most functional and visually striking DIY wood projects for a home office, kitchen, craft room, or garage. The grid of evenly spaced holes accepts pegs, hooks, shelves, and baskets in any configuration, making it infinitely adaptable as your storage needs change.
Cut your plywood panel to size, mark and drill your peg holes in a consistent grid pattern, sand smooth, and finish in white, natural, or a bold accent color. Mount on the wall with standoff brackets so there is enough depth behind the board to insert the pegs and hooks. The result is both a practical storage solution and a genuine wall feature.
Pro Tip: Mount your pegboard on standoff spacers that hold it at least 20 to 25 millimeters away from the wall. This gap is essential — without it, the pegs and hooks cannot be inserted through the back of the board and the whole system simply does not work. Many people make this mistake on their first attempt and have to remount the entire board.
12. Wooden Jewelry Display Stand
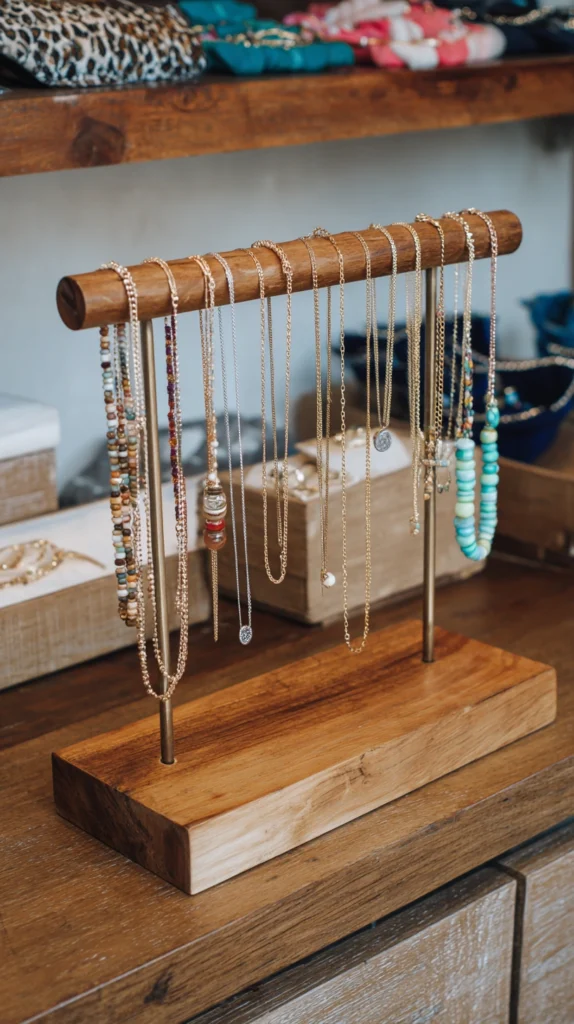
A handmade wooden jewelry stand is a beautiful and practical project that makes a thoughtful gift or a lovely addition to your own dressing table. Simple branch offcuts, a turned wooden dowel, or a series of small timber pegs mounted on a base block all make excellent jewelry display stands with genuine artisan appeal.
The simplest version involves mounting a series of short wooden dowel pegs at varying heights into a base block of hardwood, sanding everything smooth, and finishing with natural oil or wax. Hang necklaces and bracelets from the pegs, display rings along the base, and the whole thing looks like something from a boutique gift shop.
Pro Tip: Drill your dowel peg holes at a very slight upward angle — around 5 to 10 degrees — rather than perfectly horizontal. This subtle angle stops necklaces and bracelets from sliding off the ends of the pegs in everyday use and makes the whole stand far more functional without affecting the appearance at all.
13. Reclaimed Wood Headboard

A DIY headboard made from reclaimed timber planks is one of the most impactful bedroom projects you can undertake. The combination of natural wood character — knots, grain variation, color differences between planks — creates a headboard that looks completely unique and genuinely bespoke.
Source reclaimed planks from salvage yards, old pallets, or scaffold boards. Cut to your desired headboard width and height, arrange the planks in your chosen pattern, fix them to a plywood backing panel with screws, sand any rough edges, and mount to the wall directly behind the bed. The result transforms a plain bedroom into something with real personality.
Pro Tip: Seal reclaimed wood used as a headboard with a clear matte wax or finishing oil before mounting it. Reclaimed timber can carry dust, splinters, and residues from its previous life that you do not want near pillows and bedding. A good seal also brings out the natural color and grain of the wood beautifully.
14. Wooden Garden Signage
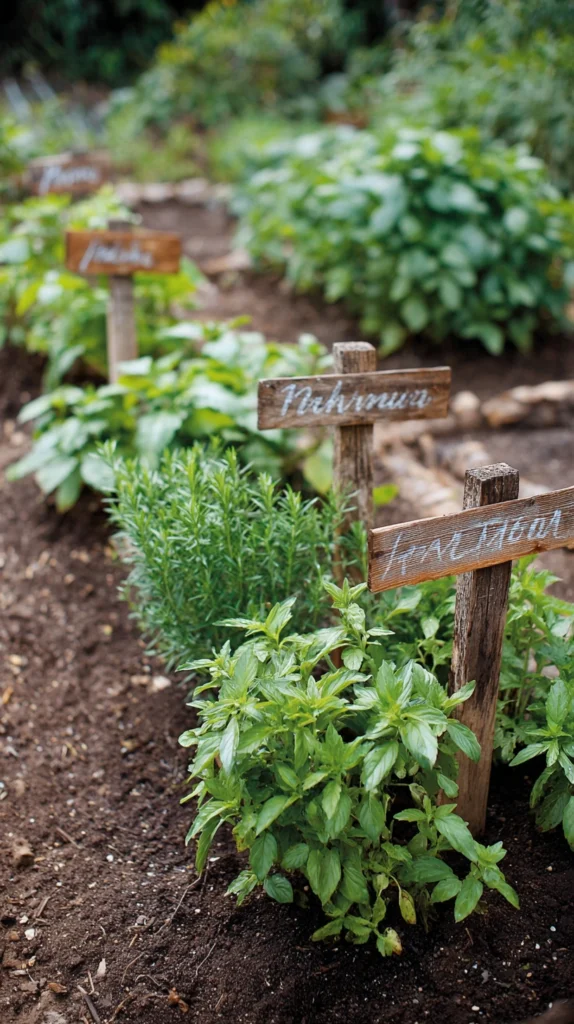
Handmade wooden signs for the garden — plant markers, welcome signs, house name boards, or directional signs — are simple projects that add enormous character to any outdoor space. They make wonderful personalized gifts and require minimal tools or materials to produce.
Burn, carve, paint, or stencil your chosen text onto a piece of sanded timber. For outdoor use, finish with an exterior varnish or wood stain to protect against weather. Simple plant markers can be made from thin offcuts of timber sharpened to a point at one end — they look far more beautiful than plastic alternatives and last for years with minimal care.
Pro Tip: For wood burning text onto garden signs, practice your lettering on scrap wood before committing to your final piece. Wood burning is forgiving in many ways but completely unforgiving when it comes to mistakes — unlike paint or stain, burnt marks cannot be sanded away without removing significant material from the surface.
15. Wooden Memory Box or Keepsake Chest
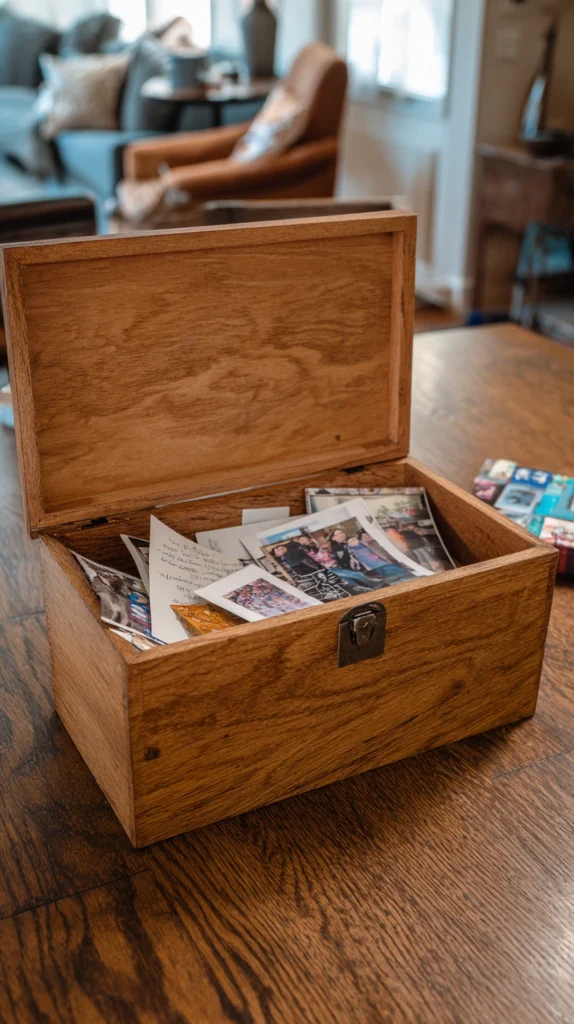
A handmade wooden memory box is perhaps the most meaningful project on this entire list. Built to hold photographs, letters, small mementos, and keepsakes, it is a piece that carries genuine emotional weight and becomes more precious with every passing year.
The basic construction is a simple rectangular box with a hinged lid, built from quality hardwood or ply. Add a small clasp or latch on the front, sand everything beautifully smooth, and finish with a natural oil or wax that brings out the richness of the grain. Personalise it with wood burning, a carved initial, or a small brass plate engraved with a name or date.
Pro Tip: Use box joints or finger joints at the corners of a memory box rather than simple butt joints. They are more time-consuming to cut but significantly stronger, and the interlocking pattern of the joints becomes a beautiful decorative feature in its own right — one of those small details that elevates a handmade box from nice to genuinely heirloom quality.
The Best Project Is the One You Actually Start
Every piece of wood you work with has its own character, its own grain, its own story — and every project you make carries a little of yours too. That is something no mass-produced piece from a shop can ever replicate.
Pick one project from this list that excites you, gather your materials, and start this weekend. You do not need a perfect workshop or expensive tools. You just need the willingness to begin — and the patience to enjoy the process as much as the finished result.