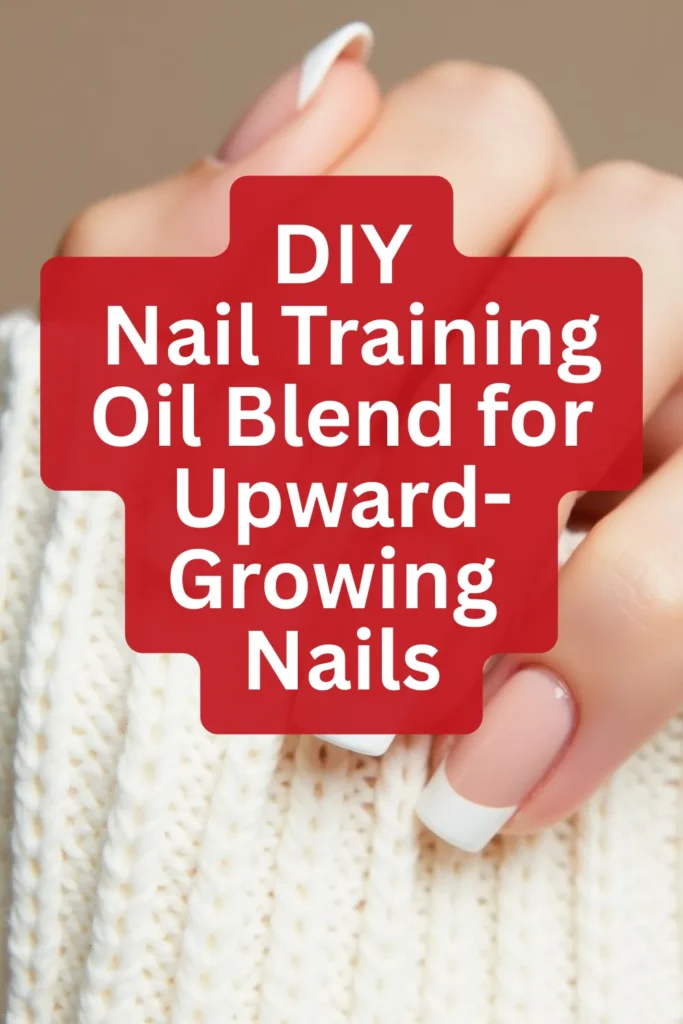
DIY Nail Training Oil Blend for Upward-Growing Nails
If your nails tend to grow upwards instead of lying flat, you know how frustrating it can be. They can catch on things, break more easily, or make applying polish a struggle. The good news? With the right care, you can gently train your nails to grow flatter and healthier. One of the best ways to start is with a nourishing oil blend that hydrates and strengthens your nails.

Here’s a complete guide to making your own DIY Nail Training Oil Blend—plus how to use it in a simple routine to train your nails over time.
Why Nails Grow Upwards
Upward-growing nails can happen for a few reasons: genetics, dryness, nail damage, or even wearing acrylics and gels for long periods. While you can’t completely change your genetics, you can make nails stronger, healthier, and more flexible so they grow in a better direction. Hydration and consistent care are key.
DIY Nail Training Oil Blend Recipe
Ingredients
- 2 tbsp jojoba oil (closest to natural nail oils, penetrates deeply)
- 1 tbsp vitamin E oil (repairs weak or damaged nails)
- 1 tbsp sweet almond oil (rich in zinc and magnesium, fights brittleness)
- 5 drops tea tree oil (optional, prevents nail fungus)
- 5 drops lavender essential oil (boosts circulation, calming scent)
Instructions
- Combine all ingredients in a small glass dropper bottle.
- Shake well to mix.
- Store in a cool, dark place. This blend will last up to 6 months.
How to Use
- Daily massage: Apply 1–2 drops to each nail and massage into the nail bed and cuticle for 2–3 minutes.
- Night treatment: Before bed, apply generously and wear cotton gloves overnight for deeper hydration.
- Weekly soak: Add 1 tsp of the oil blend into a small bowl of warm water and soak nails for 10 minutes.
Step-by-Step Weekly Routine for Upward-Growing Nails
To really train your nails, you’ll want to combine the oil blend with a structured routine. Here’s a simple plan you can follow:
Day 1 – Soak and Shape
- Soak nails in warm water with a few drops of the oil blend.
- Gently push back cuticles.
- File nails into a rounded or square shape, avoiding sharp edges. This helps reduce the upward tilt.
Day 2 – Strengthen
- Apply a clear strengthening base coat.
- Massage the oil blend into your nails before bed.
Day 3 – Training with Tape
- If your nails curve up noticeably, apply a breathable nail wrap or gentle medical tape across the top for a few hours. This encourages the nail to lie flatter.
- Keep nails hydrated with your oil blend.
Day 4 – Buff and Nourish
- Lightly buff the surface of your nails to smooth ridges.
- Follow with a good oil massage.
Day 5 – Protect with Polish
- Apply a ridge-filling base coat and a breathable polish if you like color.
- Avoid heavy gels or acrylics that pull nails upward.
Day 6 – Deep Moisture
- Coat nails with the oil blend.
- Apply a thick hand cream and wear cotton gloves overnight.
Day 7 – Rest Day
- Leave nails bare.
- Continue using the oil blend to keep them flexible and healthy.
Extra Tips for Long-Term Nail Training
- Take biotin or collagen supplements to strengthen your nails from the inside out.
- Trim nails regularly so the upward curve doesn’t get exaggerated.
- Wear gloves when cleaning to protect nails from chemicals.
- Be consistent—nail training takes weeks, not days.
Aftercare and Patience
Remember, nails grow slowly. It may take 2–3 months of consistent care to notice a real difference in the way your nails grow. The oil blend will keep them nourished, while the weekly routine will gently train them to grow flatter and stronger.


