12 Easy Disney Themed Nail Design Ideas to Recreate
Bring the magic of Disney to your fingertips with these simple yet enchanting nail designs. From classic Mickey Mouse ears to princess-inspired looks, these easy-to-recreate designs will add a touch of Disney magic to your everyday style.
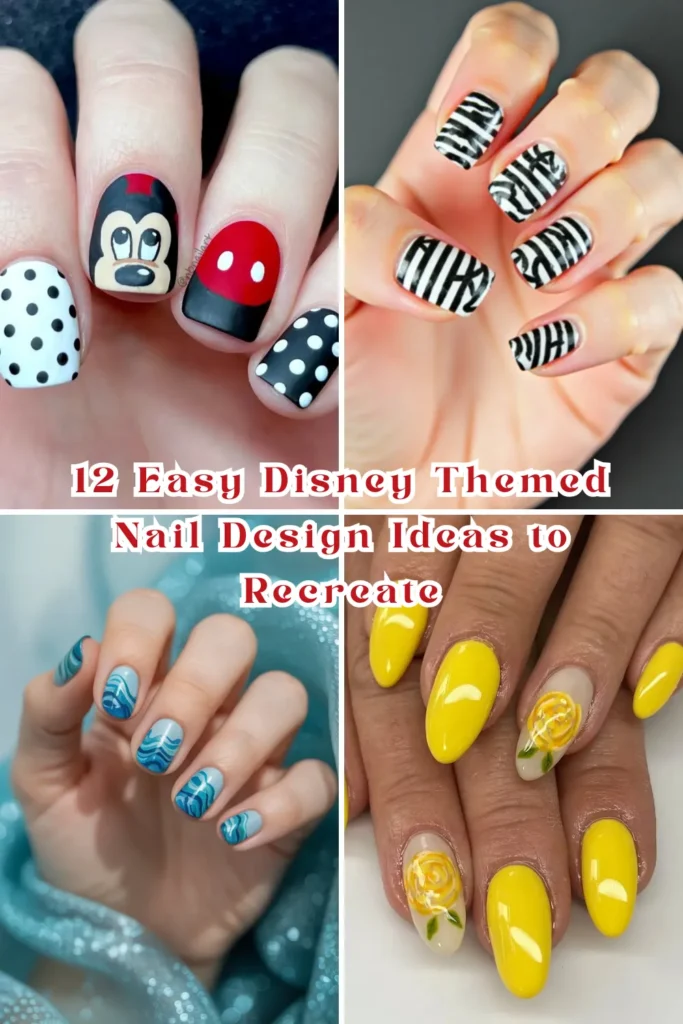
Photo credit can be found via the Instagram link beneath each image.
Classic Mickey Mouse Ears
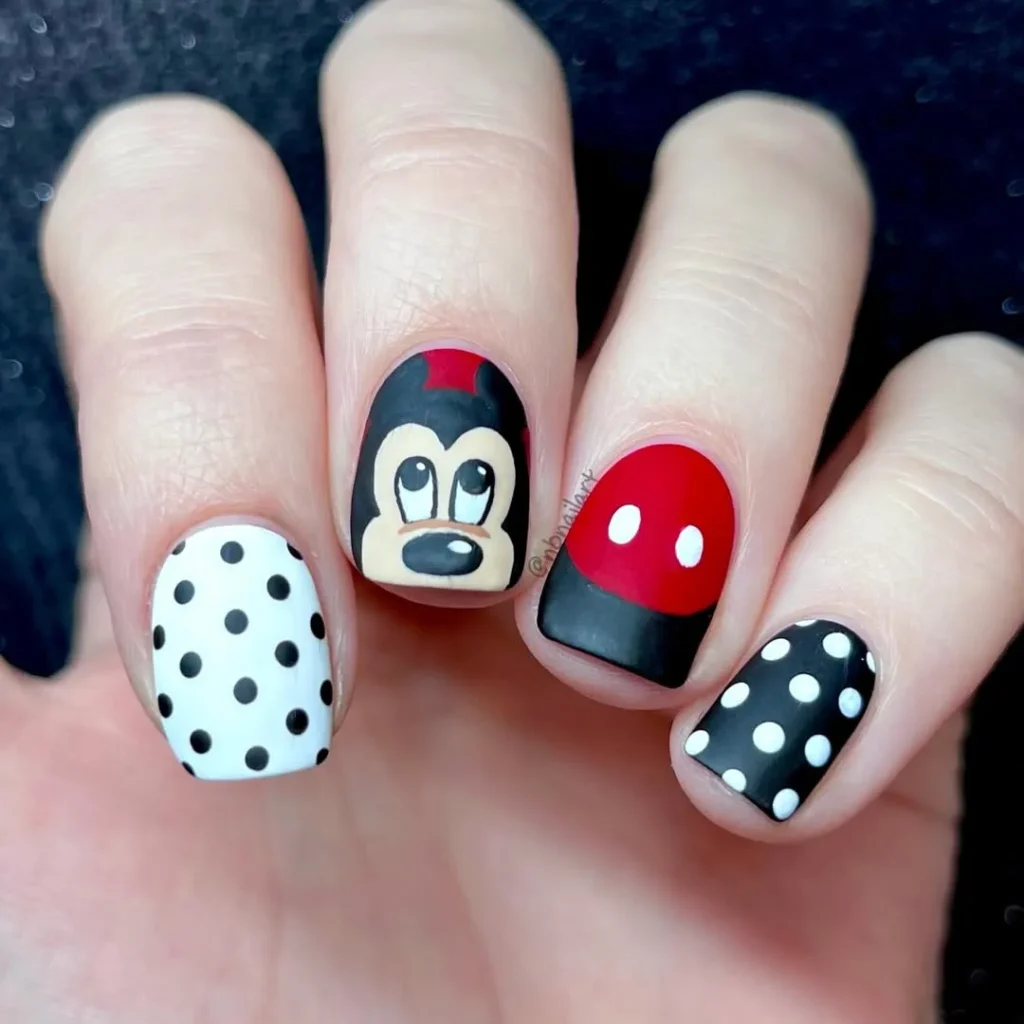
https://www.instagram.com/nbnailart
Create the iconic Mickey Mouse silhouette using black polish and a simple dotting technique. Paint a large black circle for Mickey’s head, then add two smaller circles above for his ears.
This timeless design is perfect for Disney beginners and works on any nail length. The simple shape is instantly recognizable and brings instant Disney charm to your manicure.
Use a dotting tool or small brush to create the three-circle Mickey head shape. Start with the largest circle, then add the two smaller ear circles positioned slightly overlapping the head.
Minnie Mouse Polka Dots
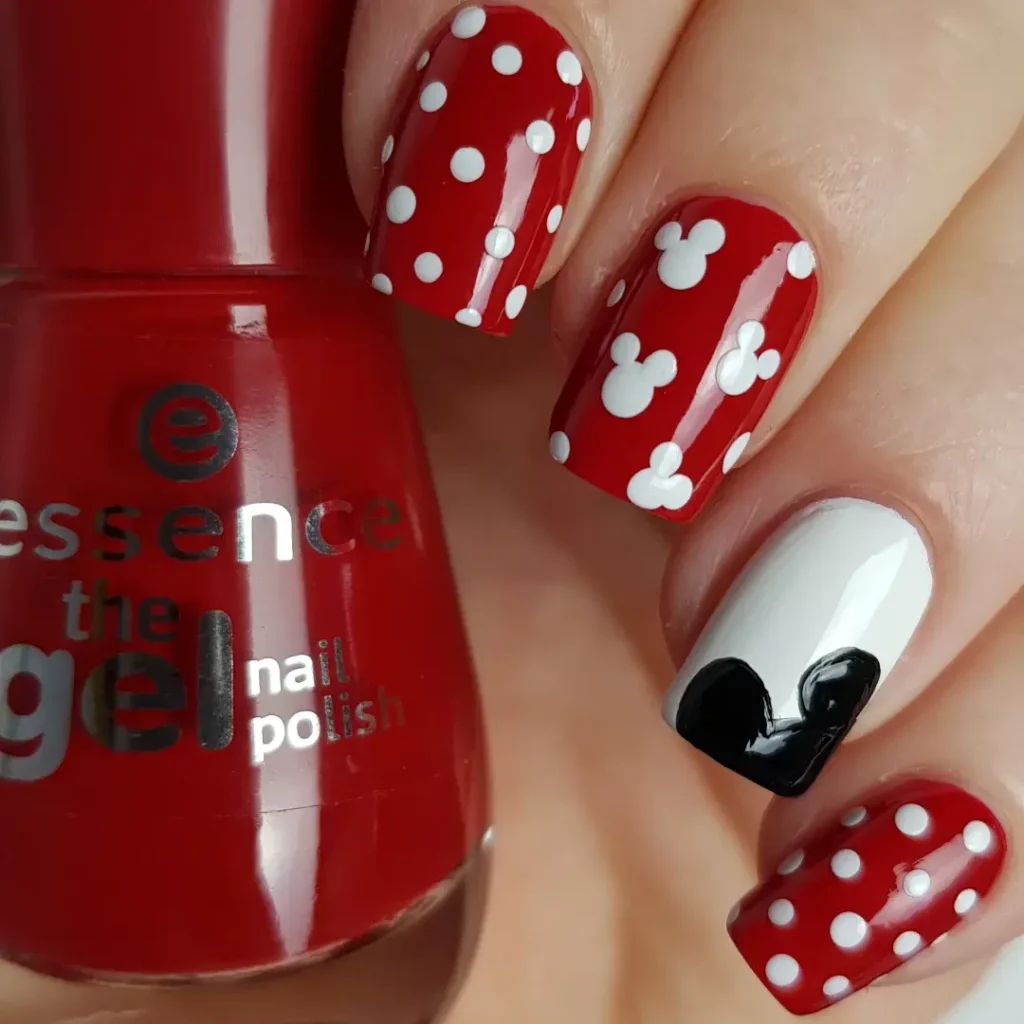
https://www.instagram.com/janina.1997
Combine red polish with white polka dots to recreate Minnie’s classic dress pattern. Add a small yellow bow on one accent nail to complete the adorable Minnie Mouse look.
The polka dot pattern is simple to achieve and creates a playful, feminine design. This look is perfect for Disney park visits or adding whimsy to your everyday style.
Apply red polish as your base, then use a dotting tool with white polish to create evenly spaced dots. Add a small yellow bow shape on one nail using a thin brush.
Princess Aurora Pink Ombré
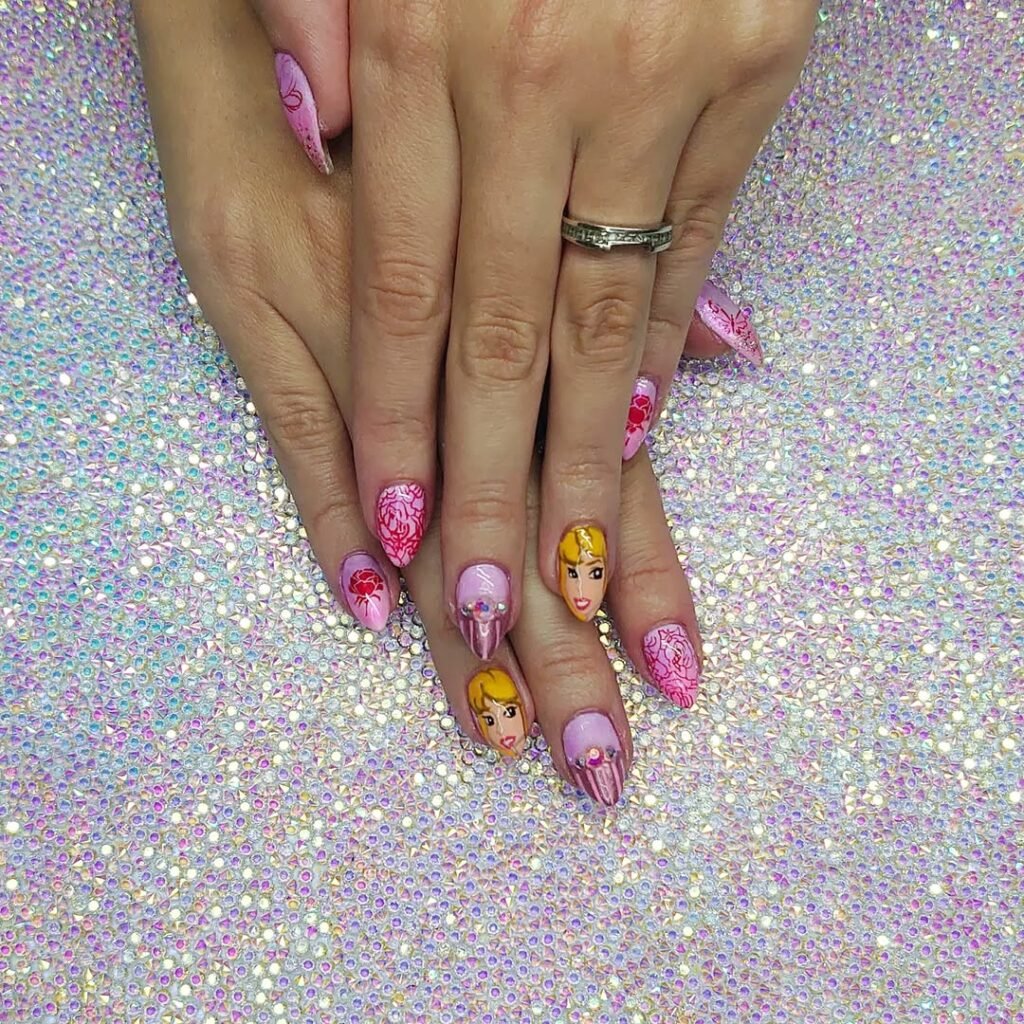
https://www.instagram.com/nails_by_tiffany_gunn
Create a dreamy pink gradient inspired by Sleeping Beauty’s iconic gown. Blend soft pink at the base fading to deeper rose pink at the tips for a royal princess effect.
This elegant gradient captures the romantic essence of Princess Aurora while being subtle enough for everyday wear. The pink tones are universally flattering and timelessly beautiful.
Use a makeup sponge to blend light and dark pink polishes while wet. Start with the lighter shade and gradually build up the deeper pink toward the tips.
Elsa’s Ice Blue Snowflakes
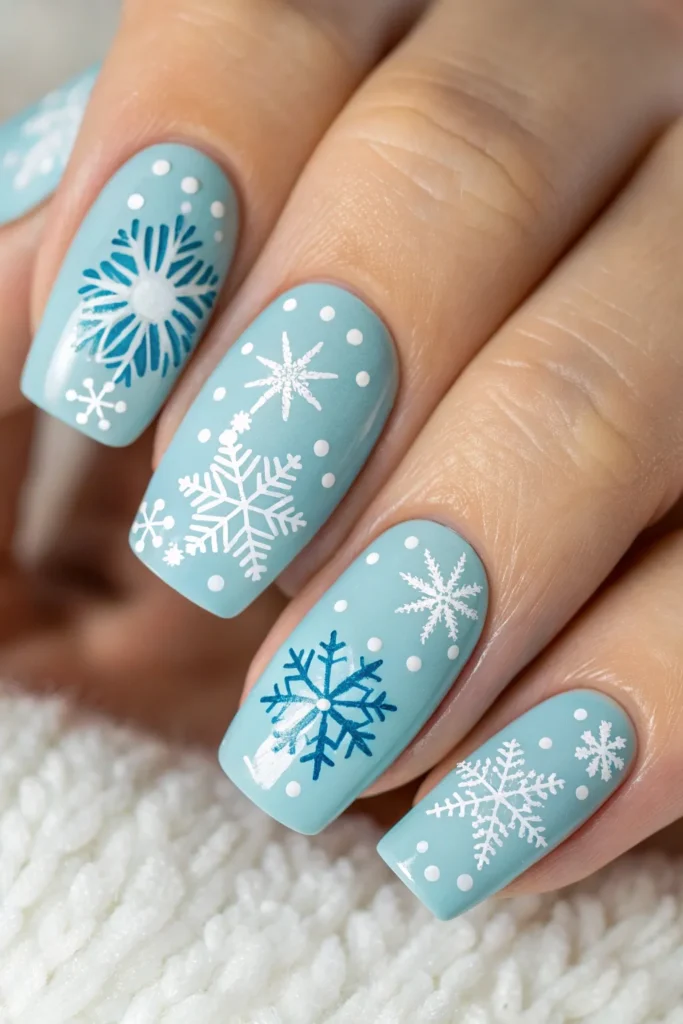
Channel Frozen’s Queen Elsa with icy blue nails decorated with simple white snowflakes. Use a dotting tool to create basic snowflake patterns that don’t require artistic skills.
The cool blue color perfectly represents Elsa’s ice powers while the snowflakes add magical winter charm. This design is perfect for winter months or Frozen fans.
Apply light blue polish as your base, then use white polish with a dotting tool to create simple snowflake patterns. Make six-pointed star shapes with dots at each point.
Ariel’s Ocean Waves
Create flowing wave patterns using different shades of blue and green to represent Ariel’s underwater kingdom. Use a dragging technique to create organic wave shapes.
The ocean-inspired colors capture the essence of The Little Mermaid while being abstract enough for beginners. This design brings mermaid magic to your everyday look.
Apply a light blue base, then use darker blues and greens to create wave patterns. Drag a toothpick through the colors while wet to create flowing wave effects.
Belle’s Yellow Rose
https://www.instagram.com/louise_greaves_nail_artist
Paint your nails sunshine yellow and add a simple yellow rose on one accent nail to represent Belle’s love for books and the enchanted rose from Beauty and the Beast.
The bright yellow represents Belle’s optimistic spirit while the rose adds a romantic fairy tale element. This combination is both cheerful and elegant.
Use bright yellow polish as your base, then paint a simple red rose shape on one accent nail. Add a green stem and small leaves for a complete floral design.
Tinker Bell Glitter
https://www.instagram.com/oliviamaystudio_
Create a magical fairy look using green polish with gold glitter accents. The sparkly finish represents Tinker Bell’s pixie dust while the green matches her iconic dress.
This design captures Tinker Bell’s mischievous spirit and magical nature. The glitter adds movement and sparkle that’s perfect for those who love a bit of glamour.
Apply green polish as your base, then add gold glitter polish over the top. Focus more glitter near the tips to create a gradient effect like falling pixie dust.
Cinderella’s Glass Slipper
Use clear or light blue polish with silver glitter to represent Cinderella’s famous glass slipper. Add small rhinestones or extra glitter for a truly magical effect.
This ethereal design captures the elegance and magic of Cinderella’s transformation. The translucent quality represents the glass slipper while maintaining sophistication.
Apply a sheer blue or clear base, then add silver glitter and small rhinestones. Focus the sparkle elements to create the illusion of light reflecting off glass.
Snow White’s Apple Red
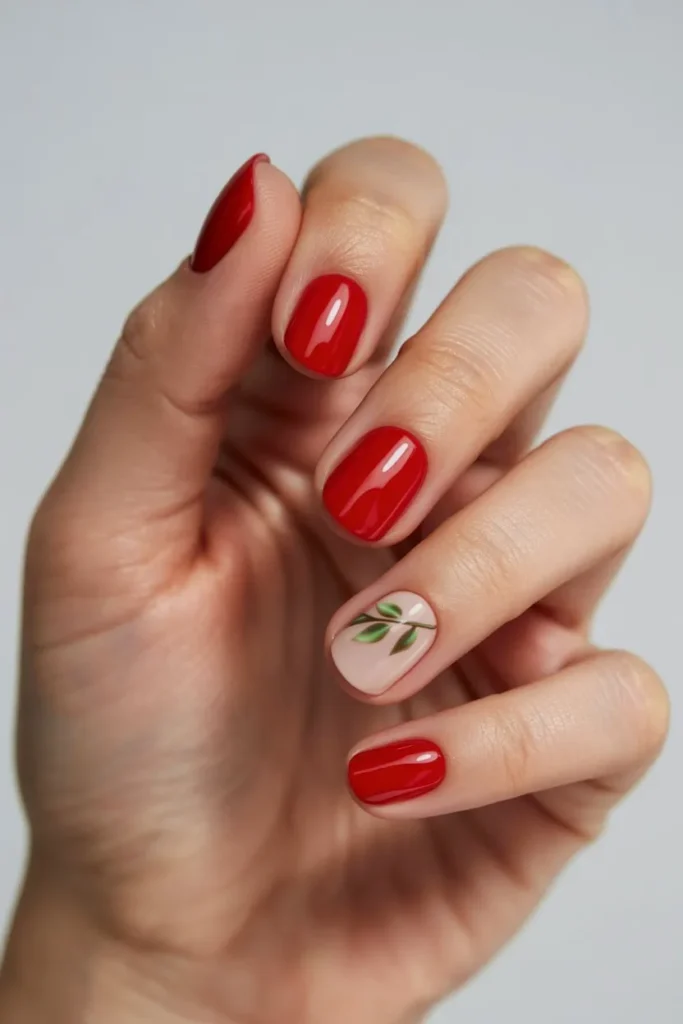
Paint your nails in classic red polish to represent Snow White’s poisoned apple. Add a small green leaf design on one accent nail for the complete apple effect.
The bold red color is timeless and elegant while still being distinctly Disney. This simple design is perfect for those who want Disney magic without obvious character elements.
Use a classic red polish and apply in two coats for full coverage. On one accent nail, add a small green leaf shape at the base to represent the apple stem.
Alice in Wonderland Stripes
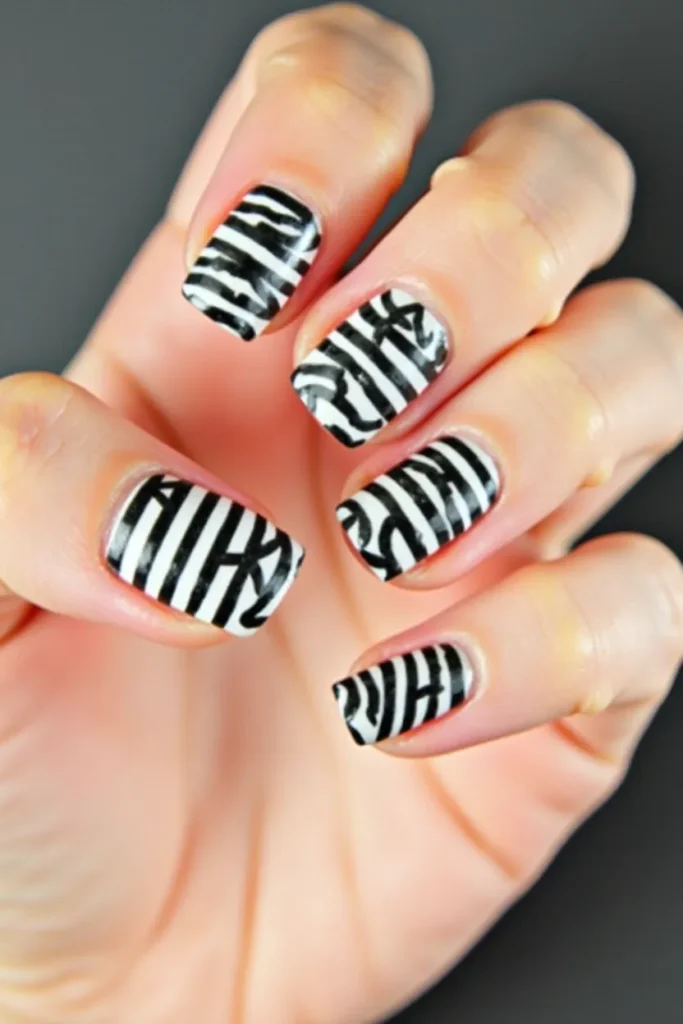
Create whimsical black and white stripes to represent Alice’s stockings or the Cheshire Cat’s grin. This graphic pattern is simple to achieve using striping tape.
The bold stripes capture the topsy-turvy nature of Wonderland while being modern and stylish. This design works well for those who prefer geometric patterns.
Use striping tape to create even black and white stripes across your nails. Apply white as your base, then add black stripes using the tape as a guide.
Rapunzel’s Purple Flowers
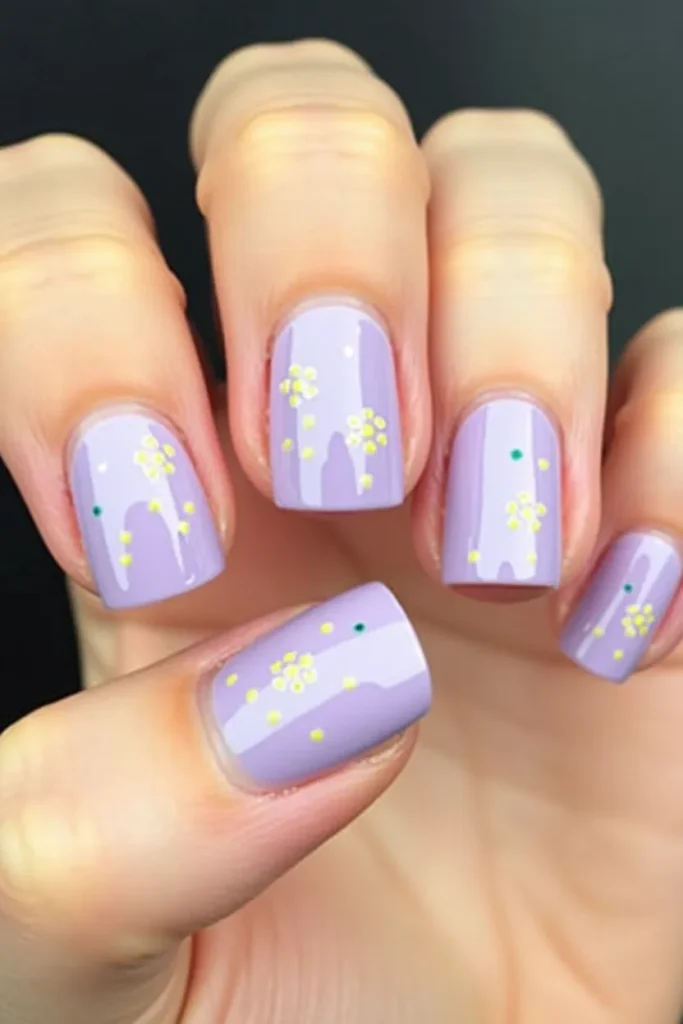
Paint your nails in soft purple and add small yellow flowers to represent Rapunzel’s long hair adorned with flowers. Use a dotting tool to create simple flower shapes.
The purple base represents Rapunzel’s dress while the flowers reference her beautiful hair decorations. This design is feminine and romantic with a fairy tale charm.
Apply light purple polish as your base, then use yellow polish with a dotting tool to create small flower shapes. Add tiny green dots for flower centers.
Toy Story Clouds
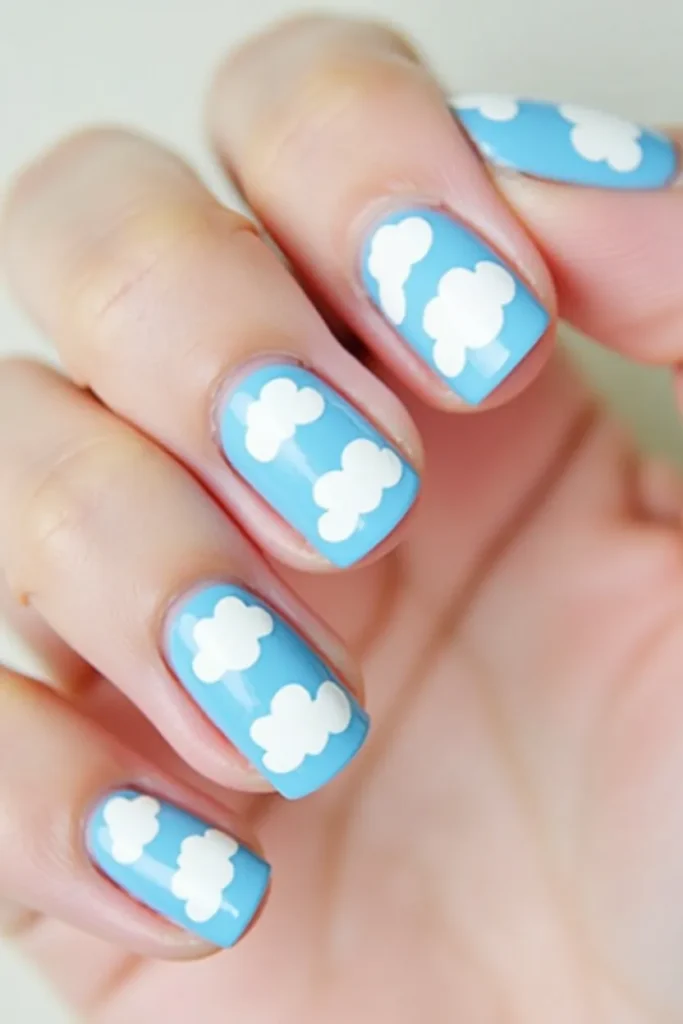
Create Andy’s wallpaper-inspired cloud pattern using white clouds on a blue background. This simple design is perfect for Toy Story fans and easy to recreate.
The cloud pattern is nostalgic and whimsical, representing the childhood magic of Toy Story. This design is subtle enough for adults while still being recognizably Disney.
Apply light blue polish as your base, then use white polish to paint simple cloud shapes. Make them puffy and organic-looking rather than perfectly symmetrical.